

Overview
JupyterLab is pre-wired on your CloudDock desktop. Use the Launcher to open it — no SSH, no terminal.
Sessions start in your workspace (e.g., /workspace) with GPU-enabled kernels when available.
- One click: open from Launcher; a browser tab appears automatically.
- GPU-ready: verify with a single cell (see below).
- Kernels: choose the right Python kernel; keep environments organized.
Launch & Workspace
- Open the Launcher inside your desktop.
- Click JupyterLab. A browser tab opens automatically.
- You land in your workspace (default:
/workspaceunless your admin customized it).

Launcher → JupyterLab (one click).
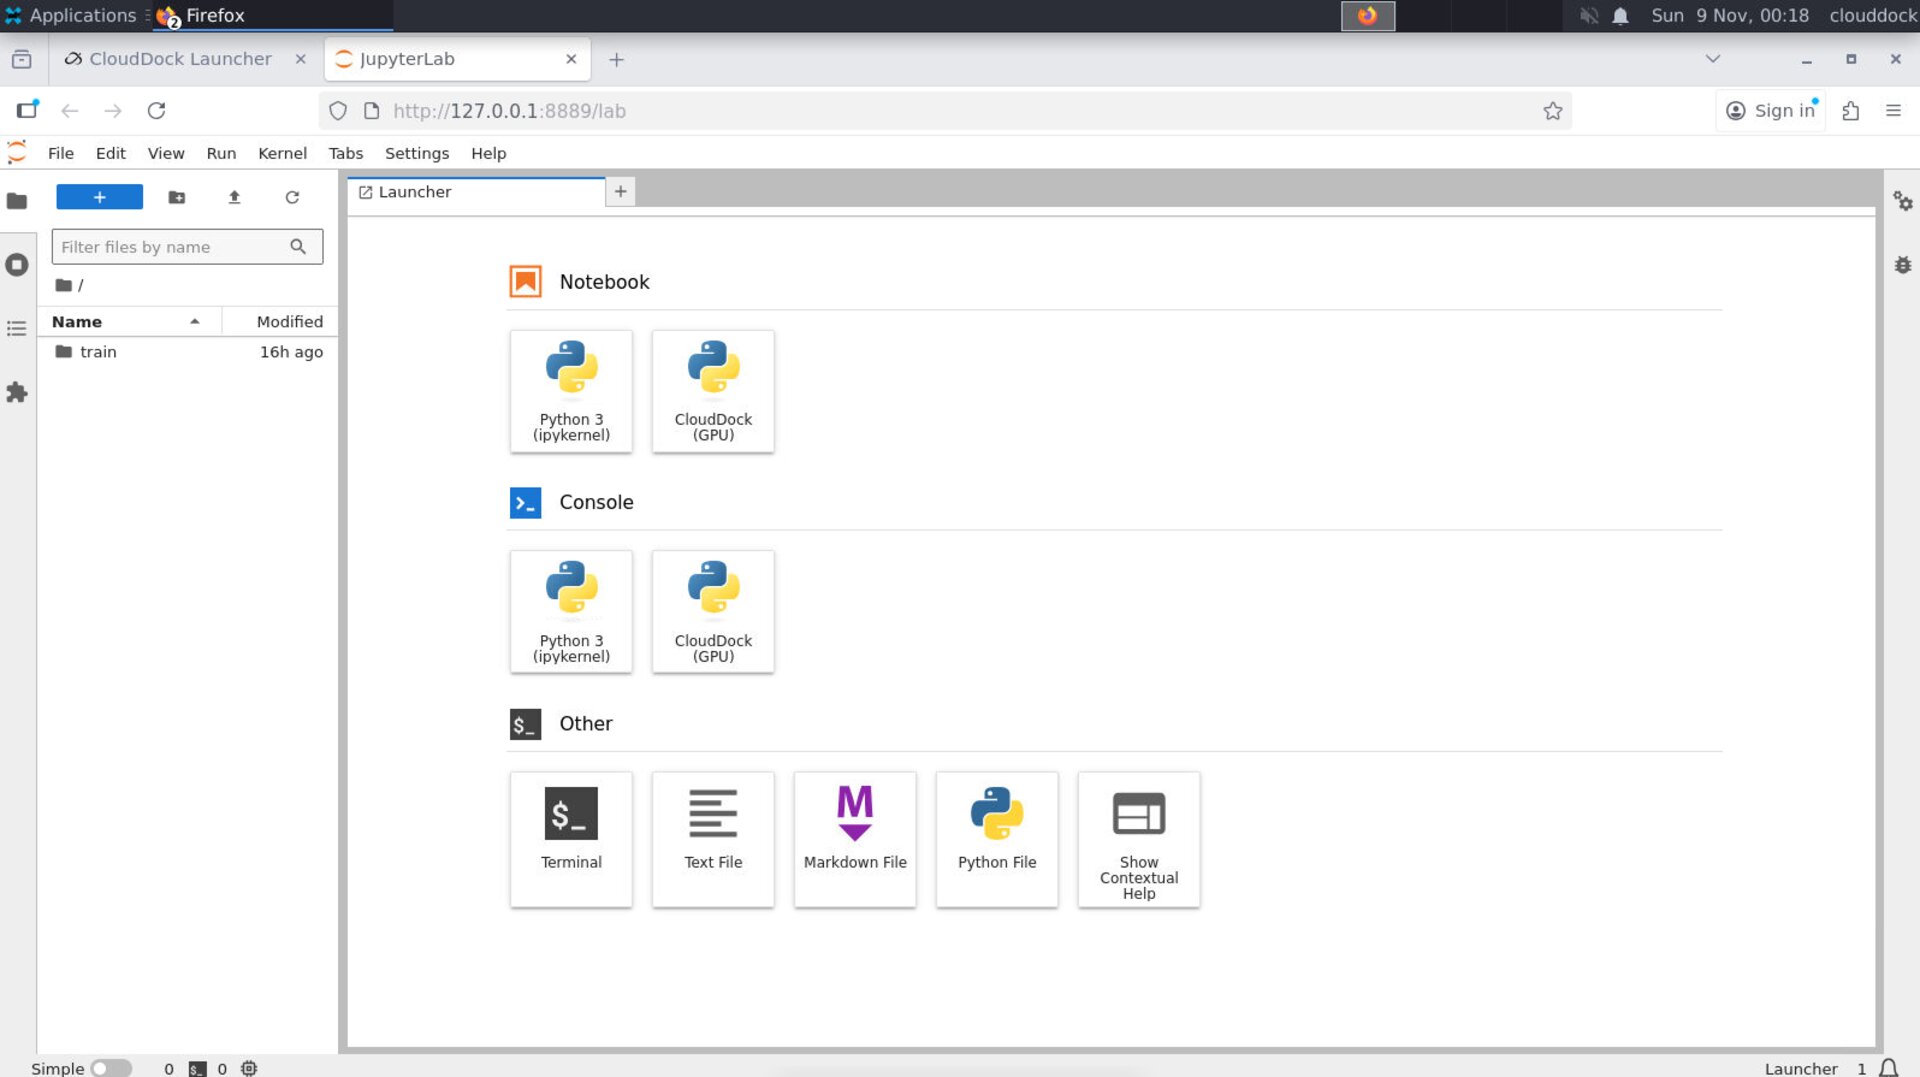
JupyterLab Home — starts in your workspace.
Kernels & Packages
Pick a Python kernel from the top-right status bar or the Command Palette.
Install extra packages from inside a notebook using %pip (preferred) or !pip.
Select the kernel that matches your project.
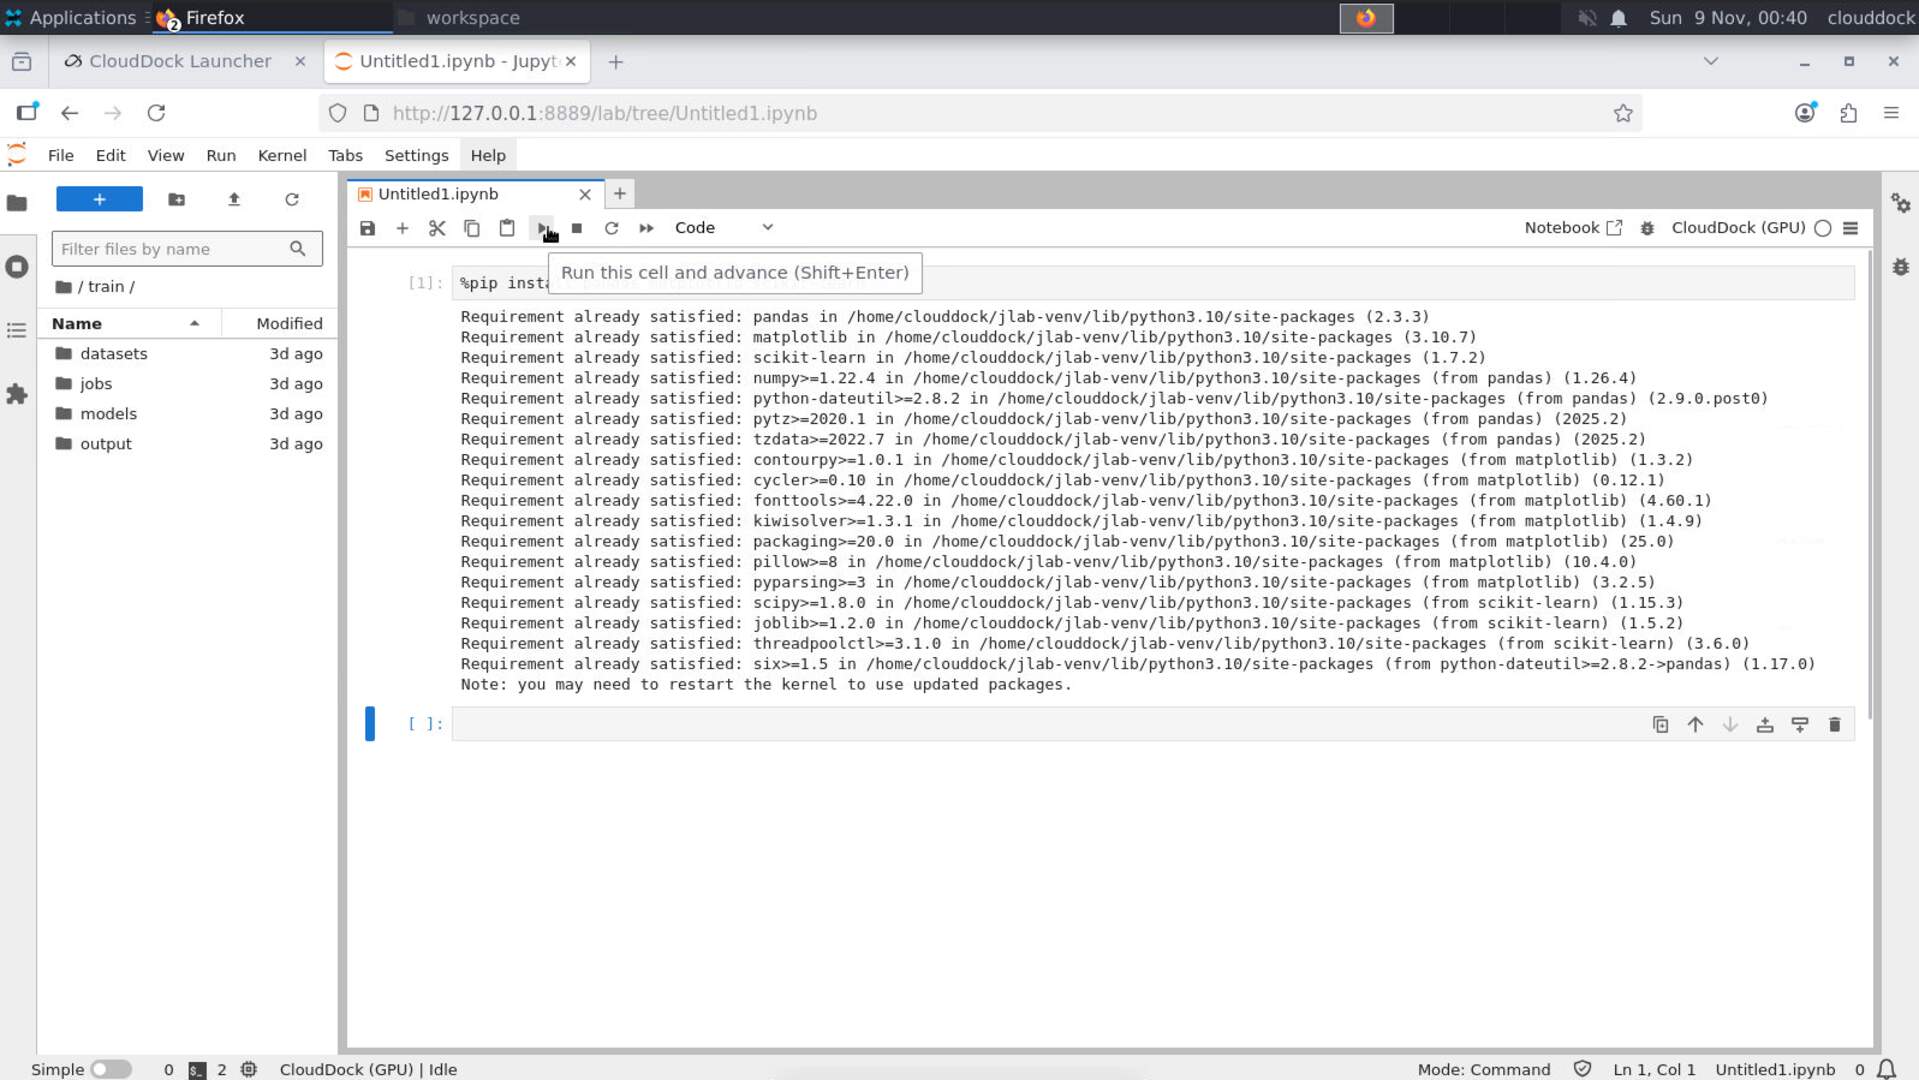
Use
%pip install inside the running kernel.Minimal package commands
# list packages
%pip list


# install packages into the current kernel environment
%pip install pandas matplotlib scikit-learn


# pin exact versions for reproducibility
!pip freeze > requirements.txt
Tip: Prefer
%pip over !pip — it integrates better with the active kernel.
GPU check (PyTorch)
Run this cell — if cuda is available, you’re on GPU:
import torch, platform
print("torch:", torch.__version__)
print("python:", platform.python_version())
print("cuda available:", torch.cuda.is_available())
if torch.cuda.is_available():
    print("device:", torch.cuda.get_device_name(0))
    print("memory allocated (MB):", round(torch.cuda.memory_allocated()/1024**2, 1))
Optional: a quick system snapshot:
!nvidia-smi --query-gpu=name,memory.total,memory.used,utilization.gpu --format=csv
Heads-up: If CUDA is False, confirm on the Launcher → System page that your session has GPU and free VRAM.
Files & Paths
Keep data, notebooks, and outputs tidy under your workspace. A simple layout:
/workspace/
  data/            # input datasets (read-only or original copies)
  notebooks/       # .ipynb files
  outputs/         # models, CSVs, plots
  runs/            # experiment logs & artifacts
  requirements.txt # pinned dependencies for this project

A clean layout saves time later.
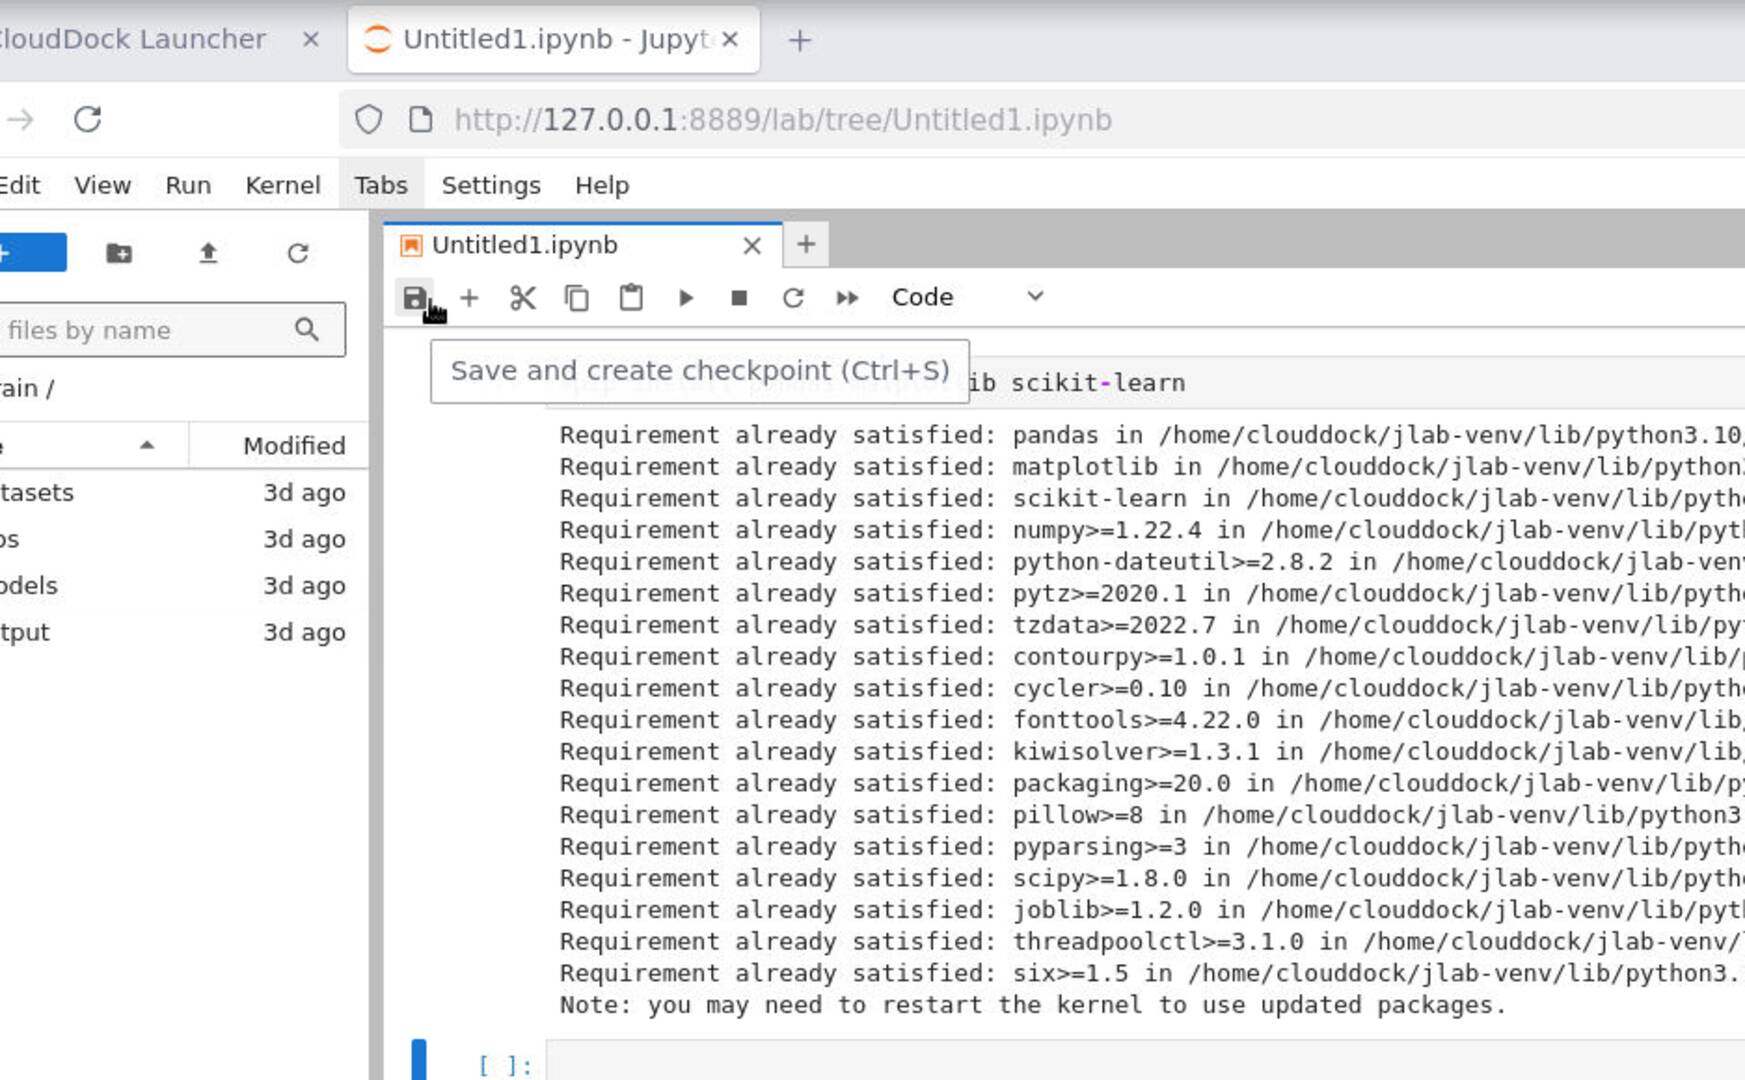
Notebook → Save and Export As…
Save & Export
- Save: Ctrl+S (or menu).
- Export: File → Save and Export As… → .py, .html, etc.
- Freeze deps:
!pip freeze > requirements.txtand keep it in the project root.
Troubleshooting
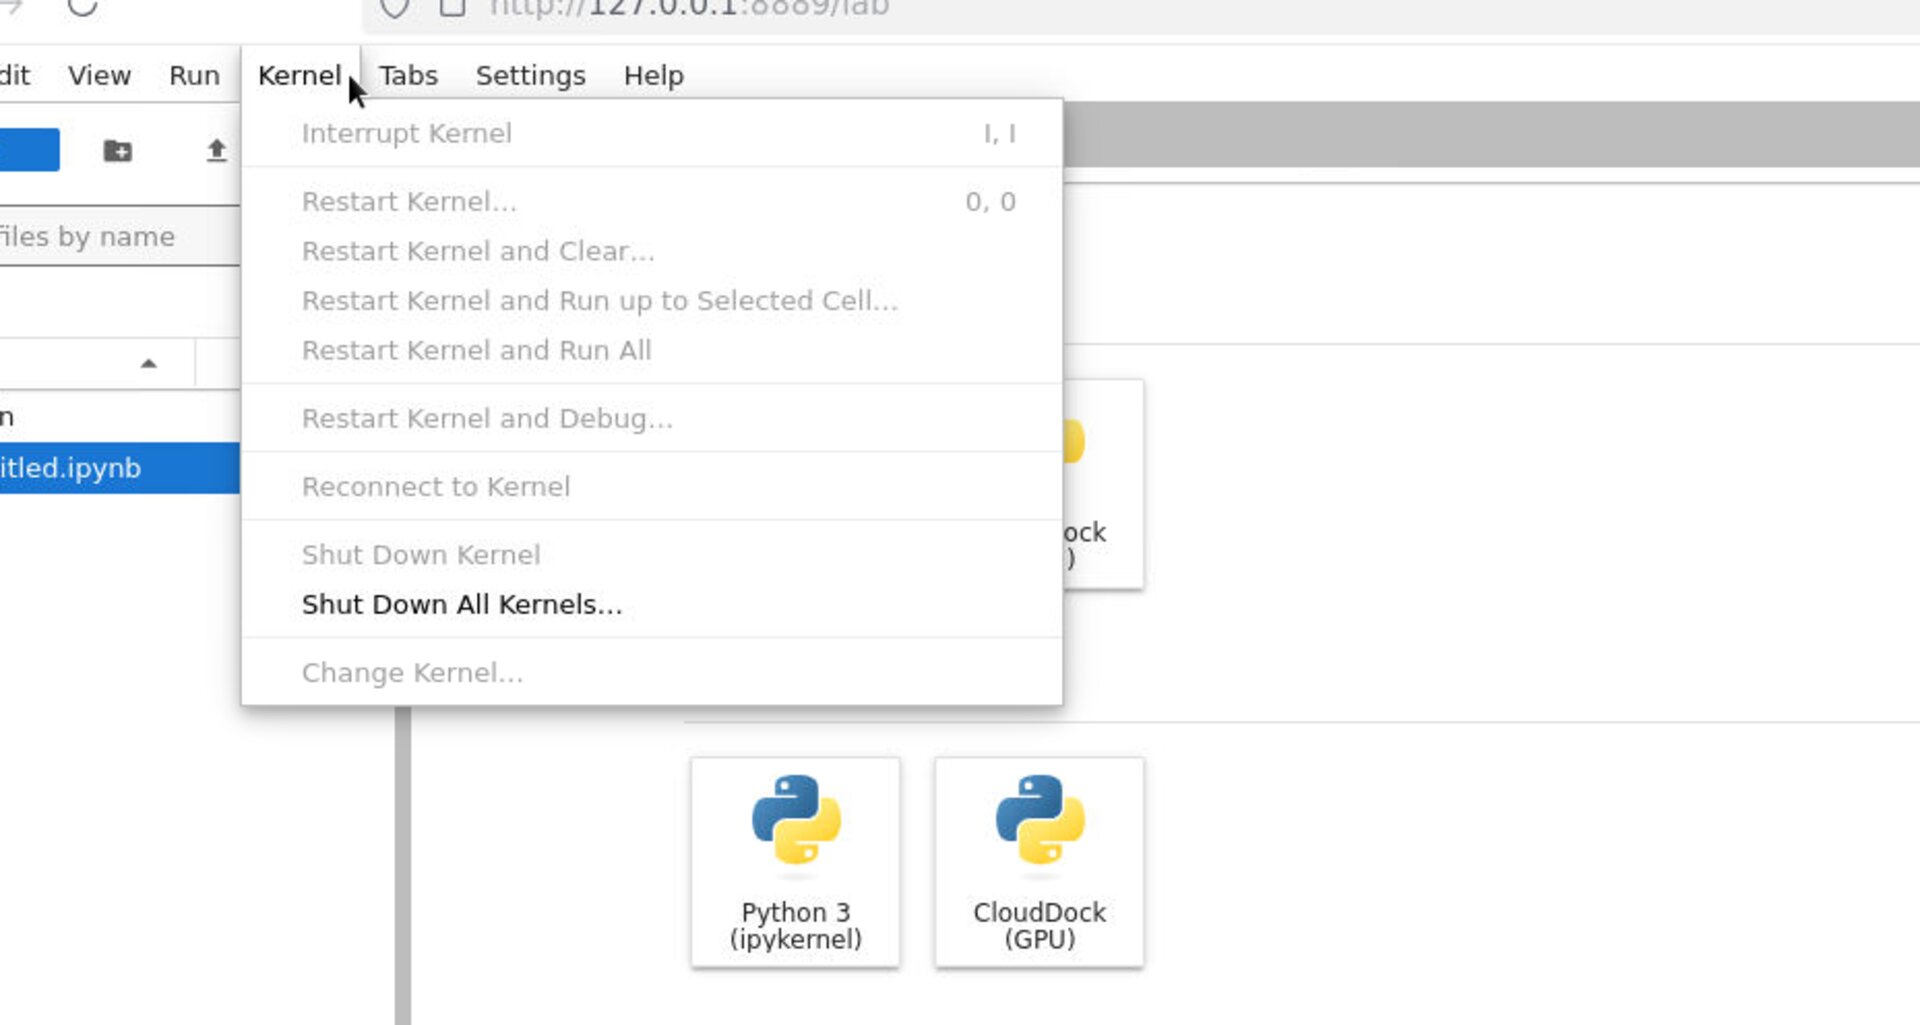
Notebook says “kernel dead”
- Restart the kernel; close unused notebooks.
- Check VRAM on Launcher → System; free memory if close to the limit.
CUDA not available
- Confirm you launched a GPU-backed session.
- Use the PyTorch GPU check cell above; if still false, try a fresh session.
Package import errors
- Install into the current kernel with
%pip install .... - Reopen the notebook if the kernel changed.
Less setup. More training.