

Overview
VS Code is a lightweight IDE for editing code, running scripts, and working with Jupyter notebooks.
On CloudDock, the recommended project folder is /workspace/ (writable, persistent for your session).
Install from App Store
- 1 Open the App Store inside your CloudDock desktop.
- 2 Search “VS Code” → click Install. When it finishes, click Open.
First steps
- 1 Open Folder… → select
/workspace/. - 2 Terminal → New Terminal (bottom panel). It uses your CloudDock environment.
- 3 Optionally install the Python and Jupyter extensions.
Recommended extensions
- Python (linting, debugging, formatter integration)
- Pylance (faster IntelliSense)
- Jupyter (edit/run
.ipynbalongside notebooks in your browser)
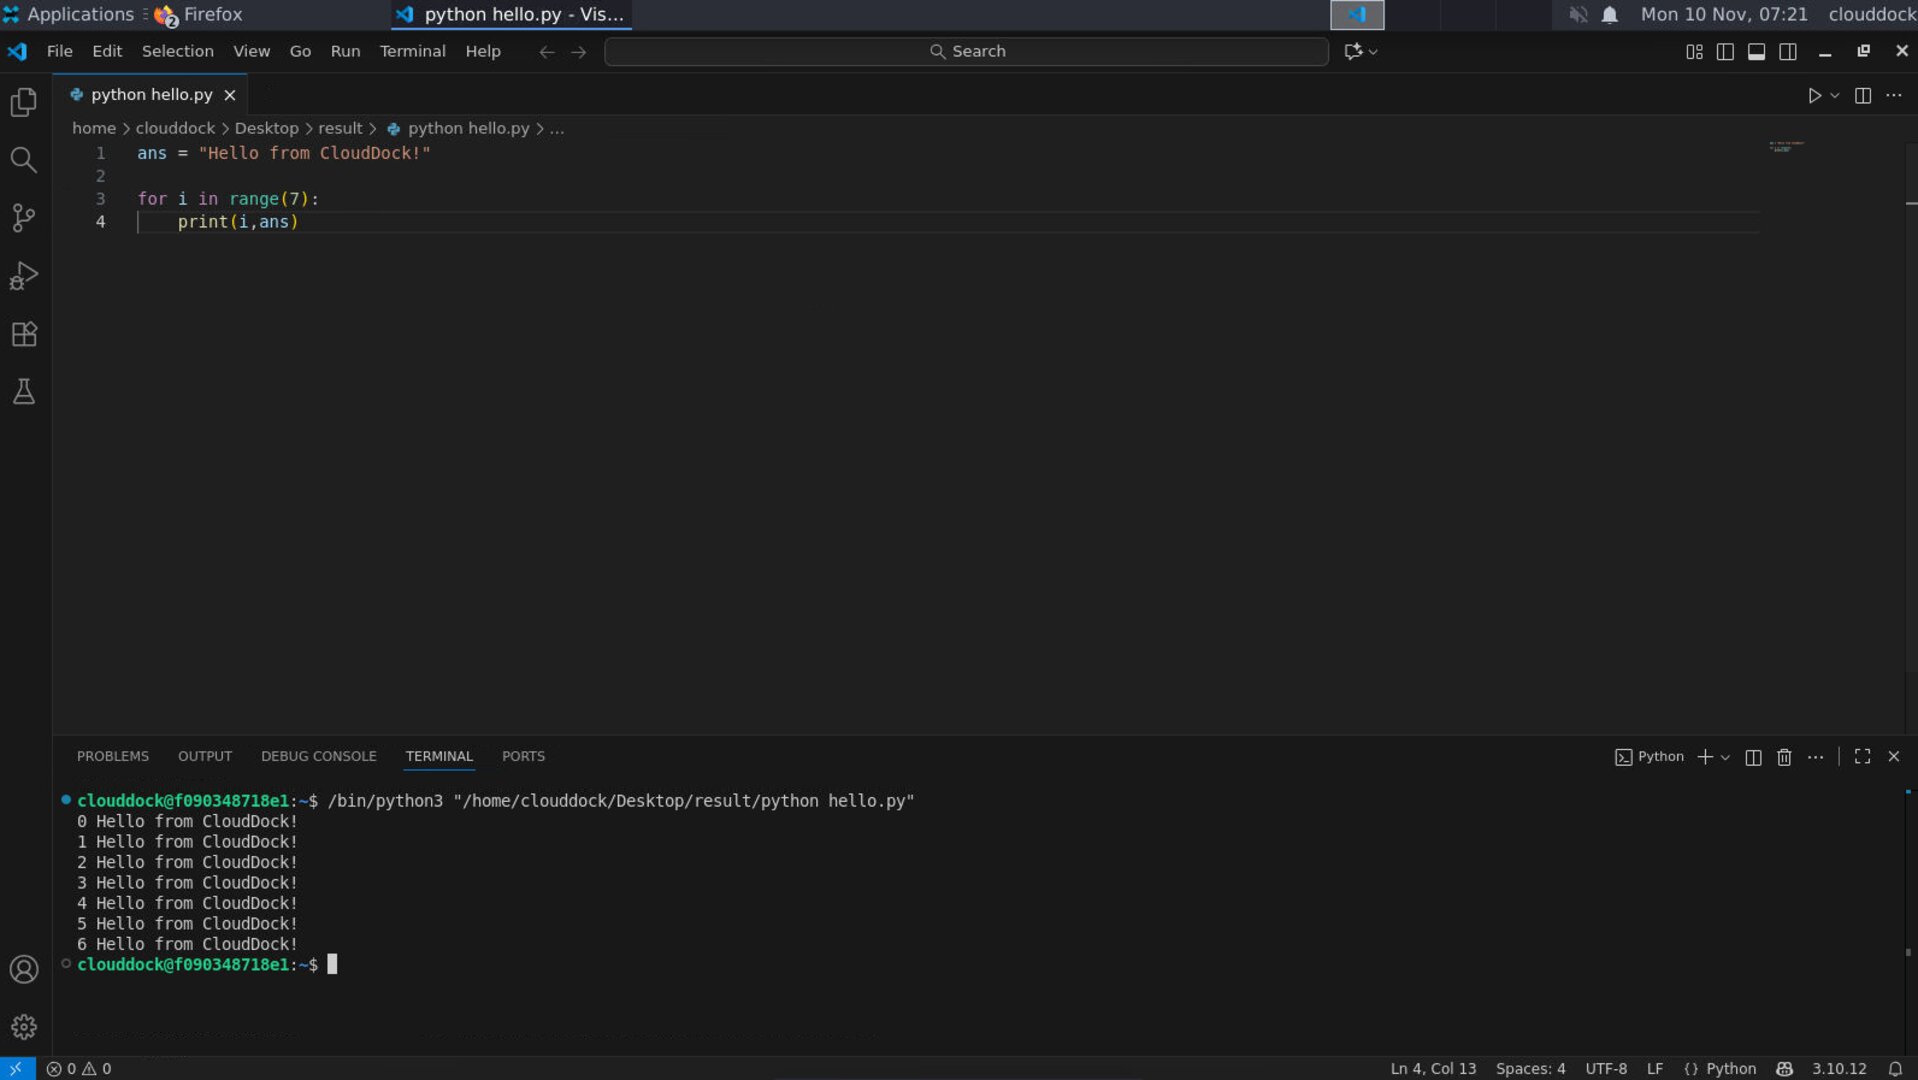
Quick test
Create a new file hello.py under /workspace/:
print("Hello from CloudDock!")Then run it in the integrated terminal:
python hello.pyWorking with notebooks
With the Jupyter extension installed, you can open .ipynb files directly in VS Code. For heavy GPU work,
you can still use the browser Jupyter UI; both share the same /workspace/ files.
Settings that help
Add these to File → Preferences → Settings (search “python” / “terminal”), or edit .vscode/settings.json:
{
  // Make VS Code prefer the container's Python
  "python.defaultInterpreterPath": "/usr/bin/python3",
  // Always open the integrated terminal at /workspace
  "terminal.integrated.cwd": "/workspace",
  // Optional: format on save
  "editor.formatOnSave": true
}
FAQ
Where should I keep my project?
Use /workspace/. It’s the standard location for CloudDock projects and examples in our docs assume this path.
Do I need to install Git?
Git CLI is usually available. If you need the VS Code Git UI, it works out of the box once a folder is a Git repo.
VS Code can't find Python?
Set python.defaultInterpreterPath (see above) or use the interpreter picker in the status bar (bottom-right).