
What you get
- DeepSpeed CLI: run training exactly the way you do on bare metal or a server.
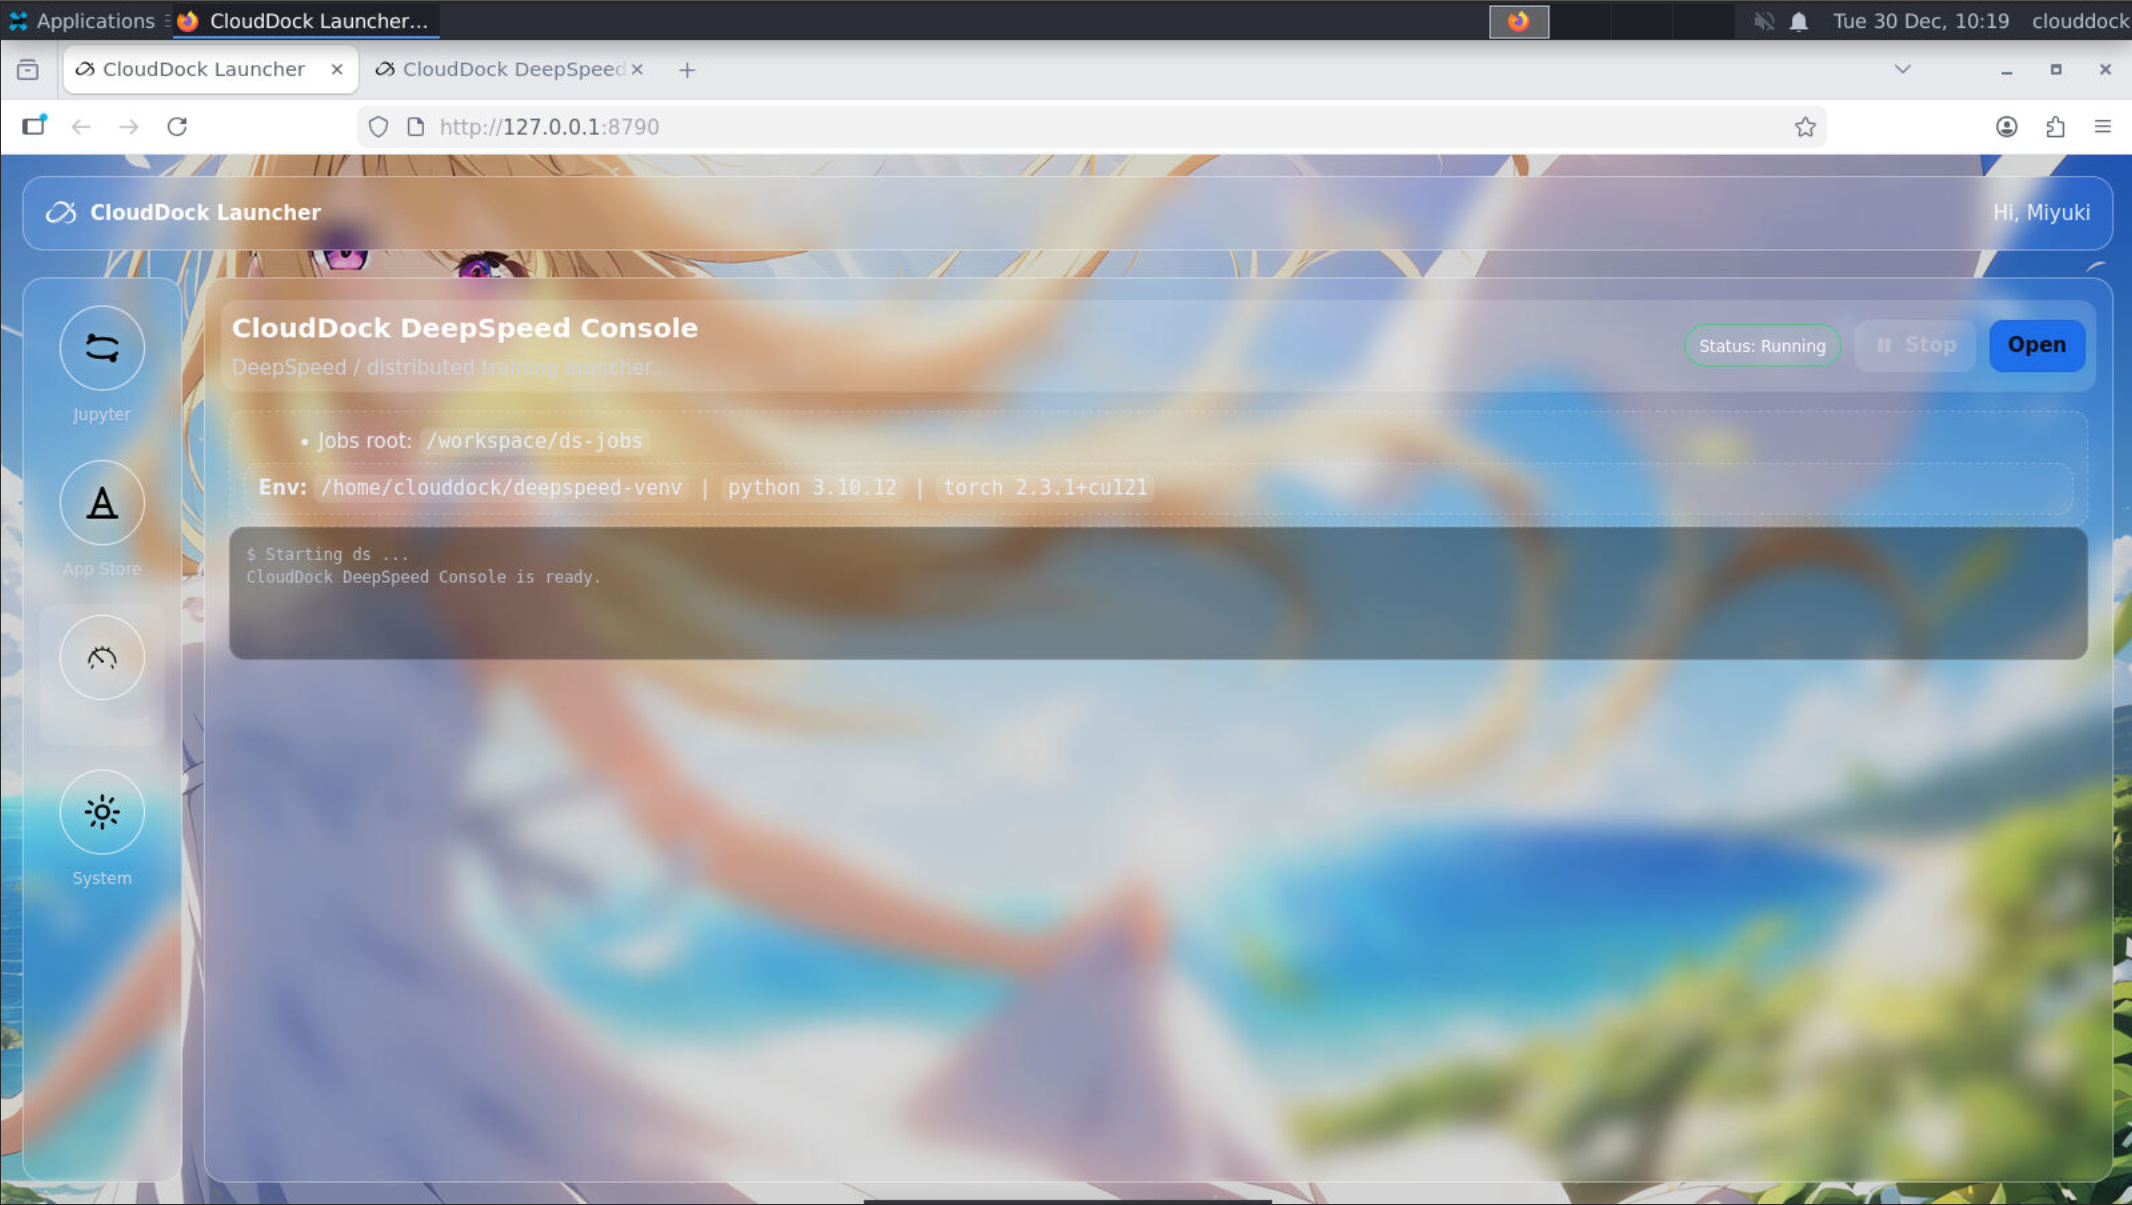
- CloudDock DeepSpeed Console: upload script + dataset, tweak common knobs, start/stop/resume, watch logs, and view a live loss curve.
- Launcher integration: switch between Universal and DeepSpeed with a consistent CloudDock workflow.
Two ways to run training
1) CLI mode (terminal)
Use CLI when you want maximum control (custom args, configs, distributed settings, debugging). The container ships with DeepSpeed ready — you focus on your code and data.
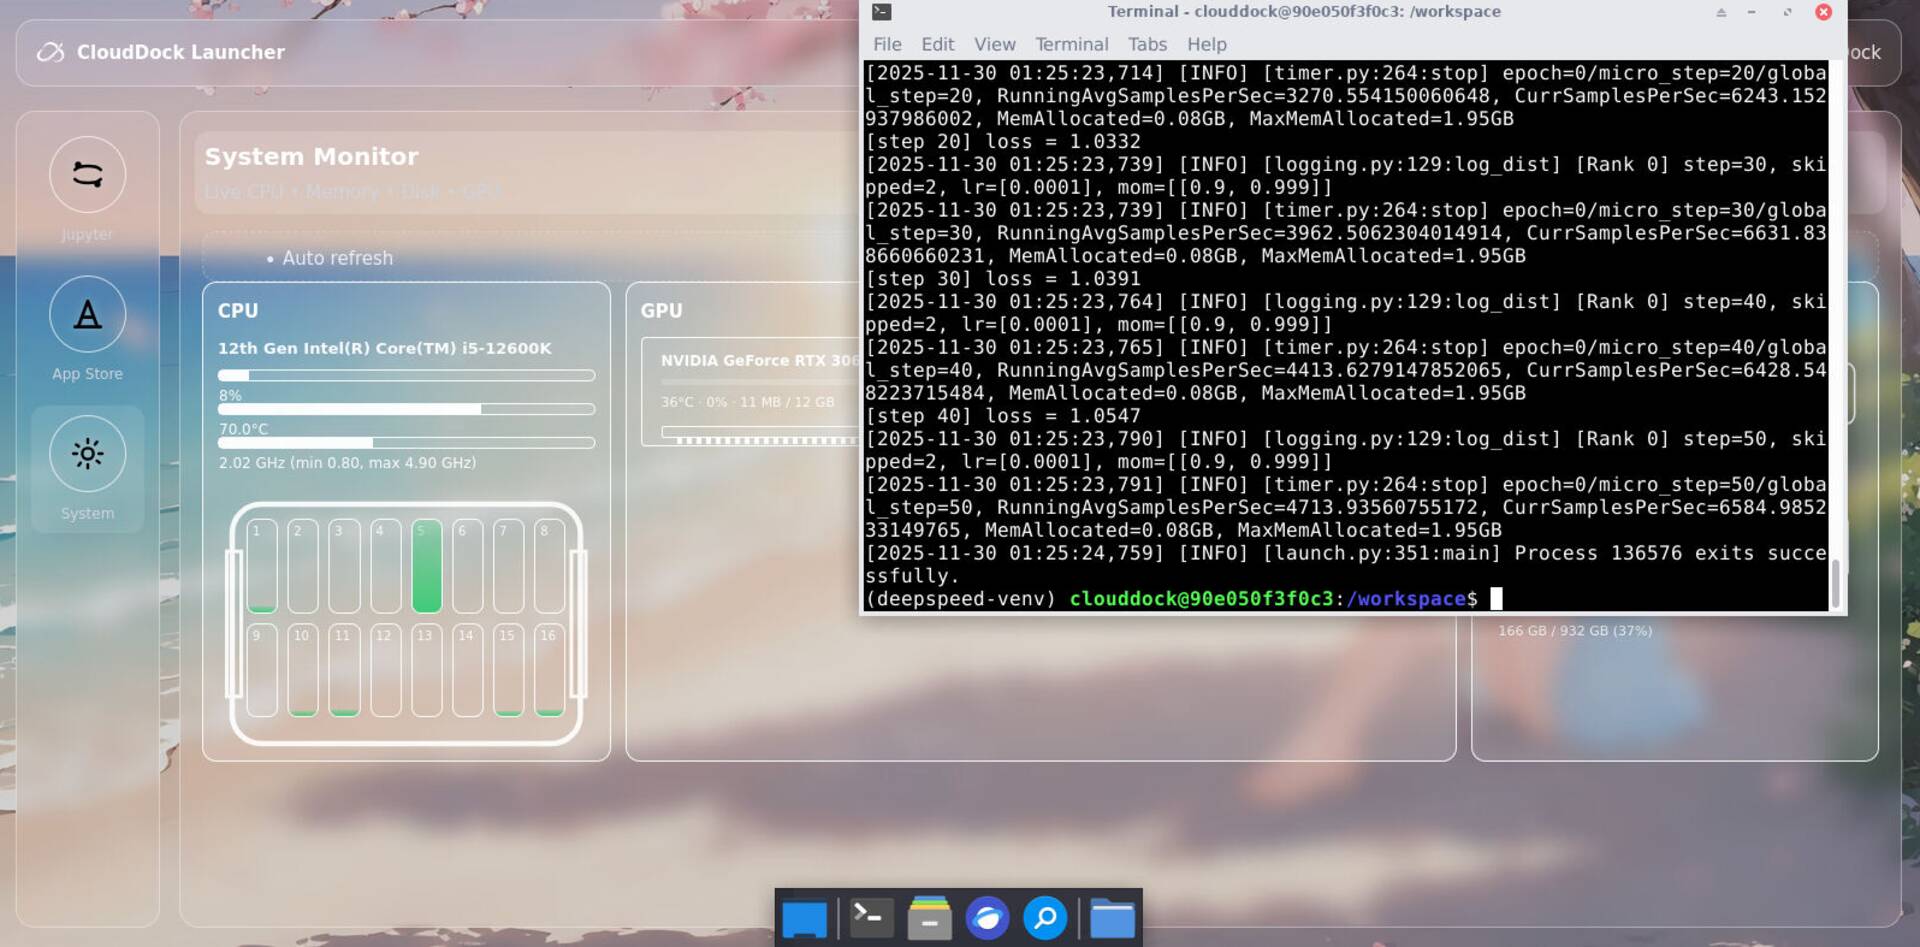
Figure 1 — DeepSpeed running in terminal: step logs + loss streaming.
# Example (single GPU)
deepspeed --num_gpus=1 train.py \
  --data_dir /workspace/data \
  --output_dir /workspace/output \
  --lr 3e-5 --epochs 1 --batch_size 8


# Tip: keep your dataset & outputs in a mounted drive / your own storage when possible.
2) GUI mode (CloudDock DeepSpeed Console)
Use the console when you want a fast “from blank instance to first run” workflow: upload your script + data, adjust common parameters, and monitor progress with real-time logs and a loss curve.
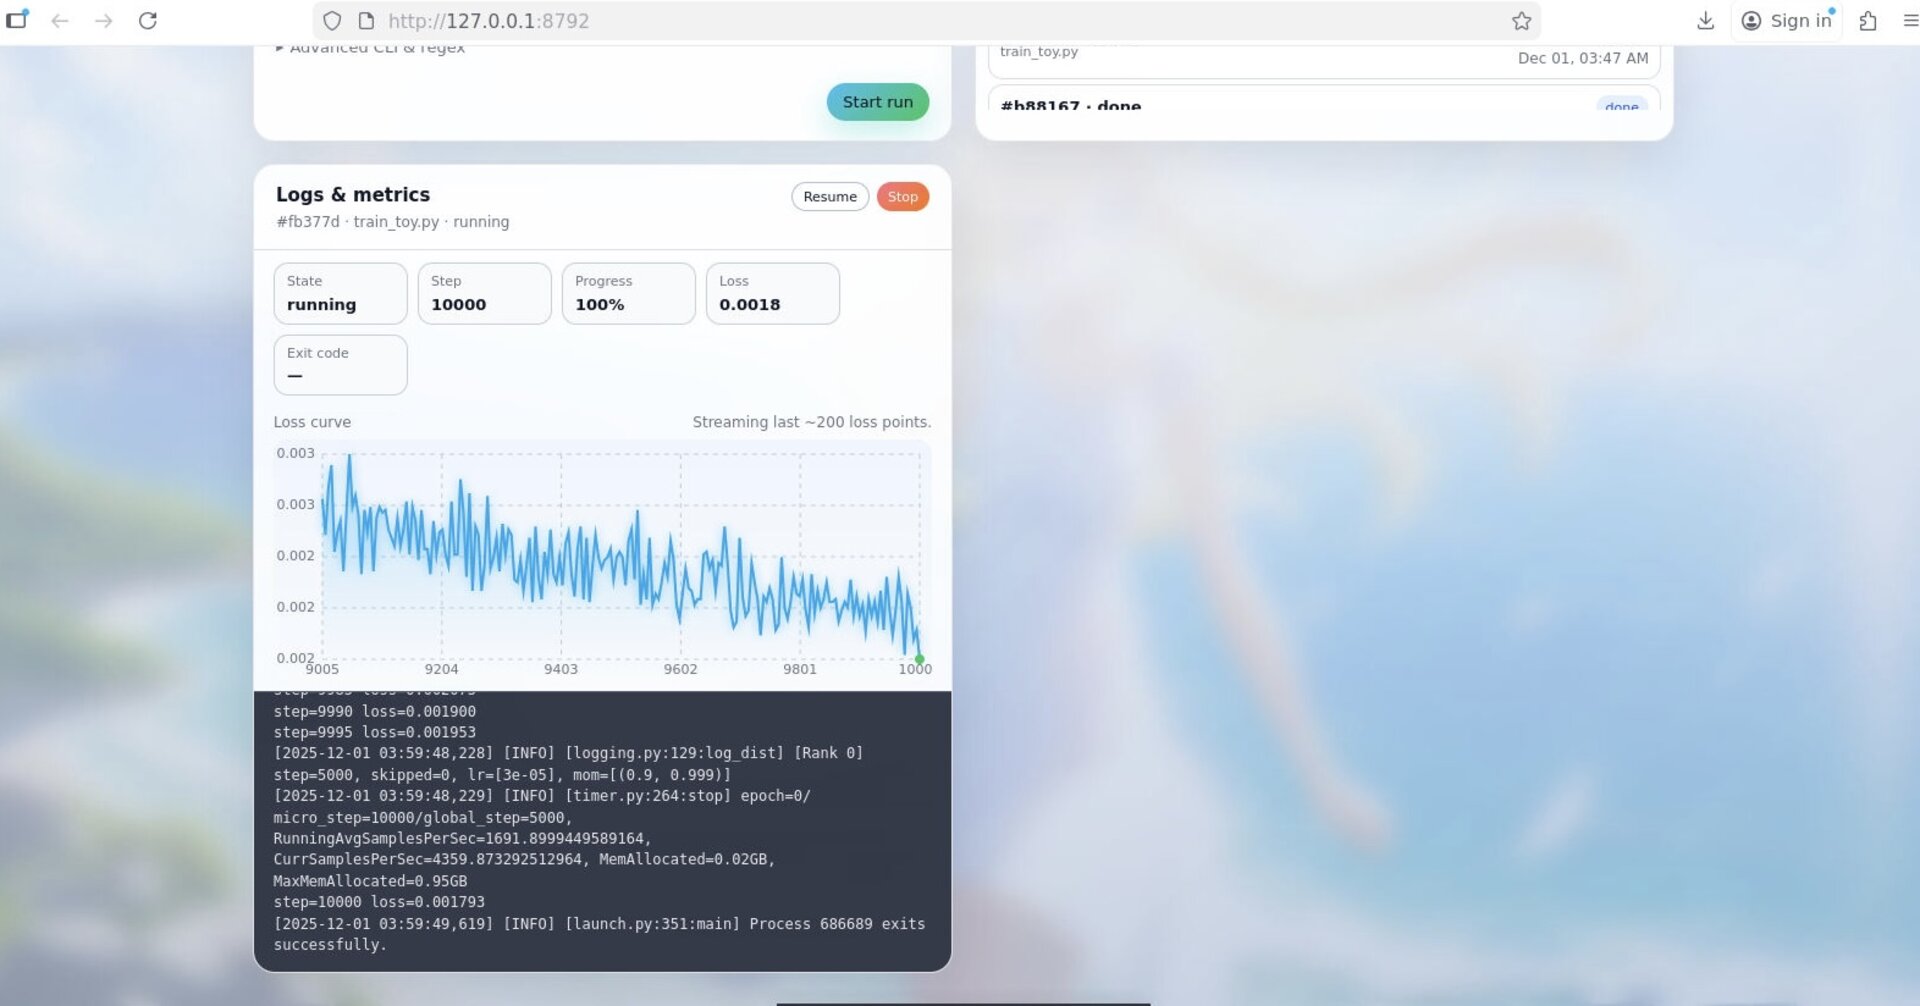
Figure 2 — Console: state, step, loss, log tail, and a live loss curve.
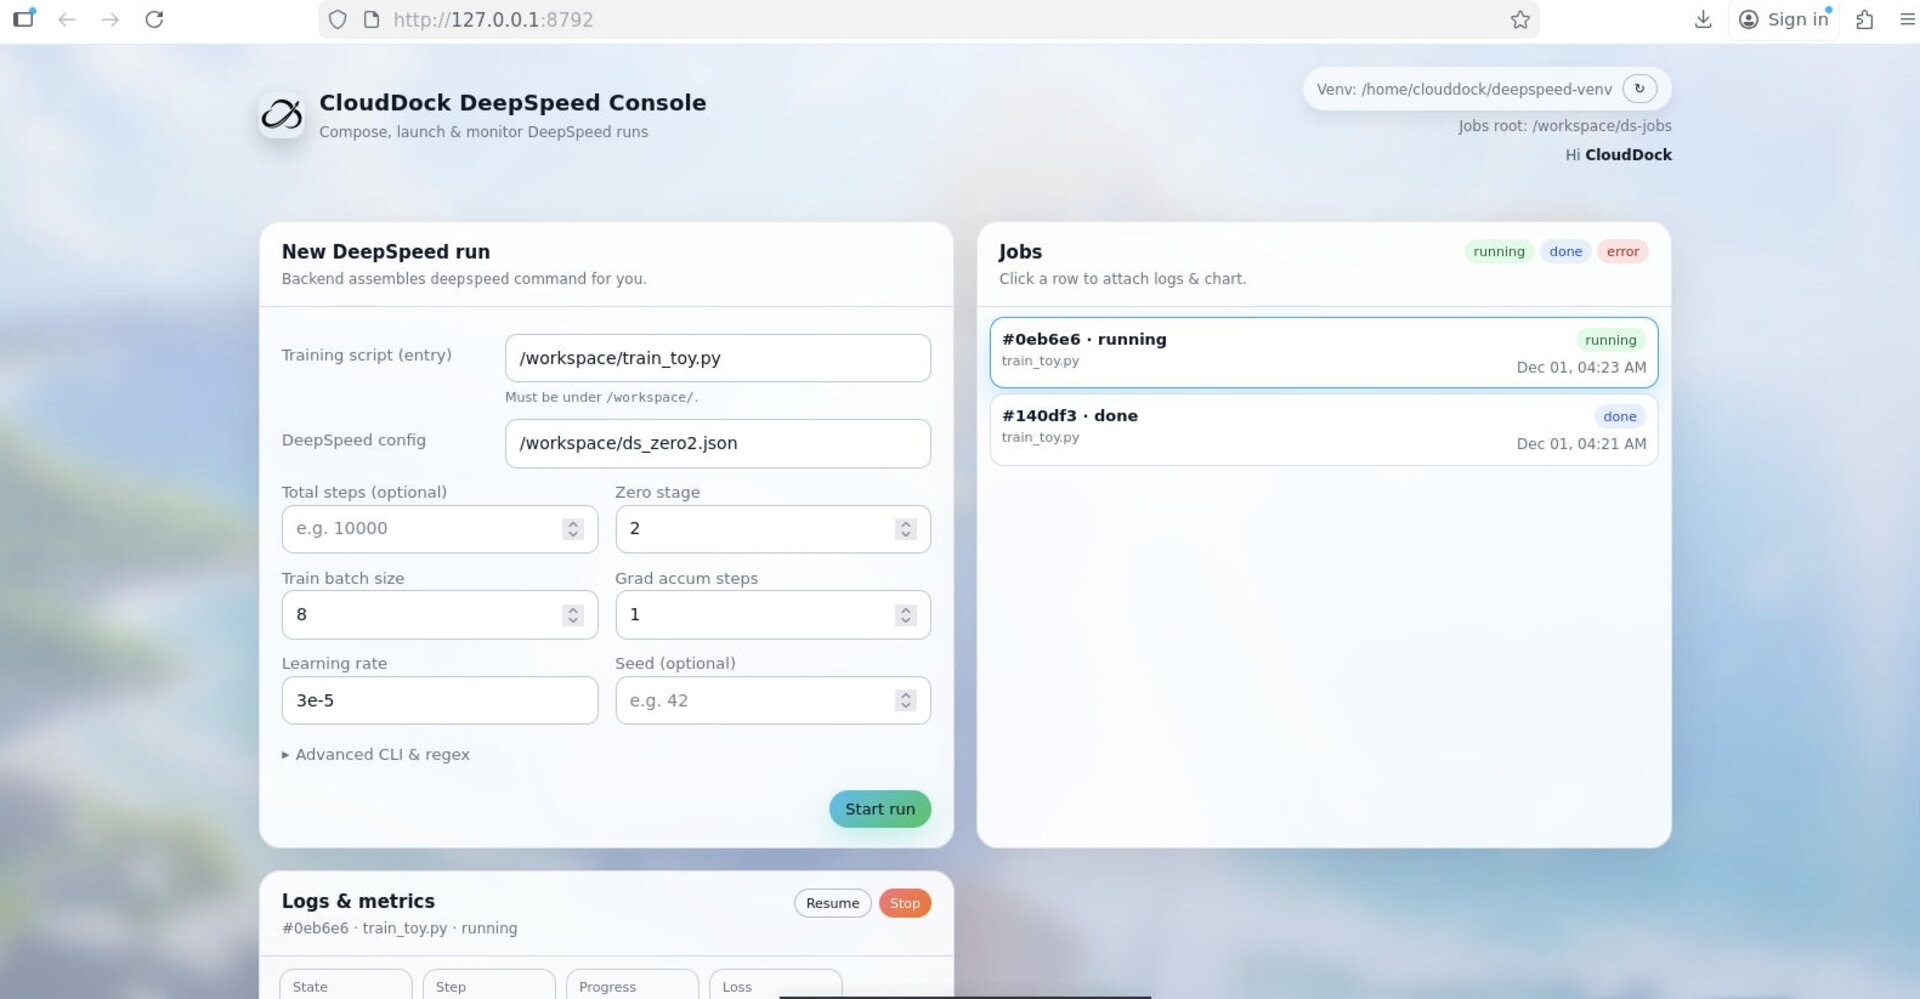
Figure 3 — Console: upload script/data, tweak parameters, then Start run.
From blank instance to first run
- 1Launch DeepSpeed from CloudDock Launcher.
- 2Open the DeepSpeed Console (GUI) or Terminal (CLI).
- 3Upload your training script (e.g.
train.py). - 4Upload your dataset to a known folder (e.g.
/workspace/data). - 5Set basic knobs (batch size / lr / epochs / precision / output dir).
- 6Start run and monitor logs + loss curve.
Tip: If you’re new, start with the console first. Once you know your script is correct,
switch to CLI for deeper tuning and automation.
What you can monitor
- State: running / finished / stopped
- Step & loss: current training step and loss value
- Log tail: live log stream (you can copy and paste for debugging)
- Loss curve: recent points streamed live for quick sanity check
Reminder: If your loss is nan or explodes quickly, common causes are:
wrong dtype/mixed precision config, too high LR, unstable batch size, or bad data.
Start small, verify one run, then scale up.
Basic folder convention (recommended)
/workspace/
  train.py
  data/
  output/
  configs/
Ship it. Then measure it. Then ship it again.