
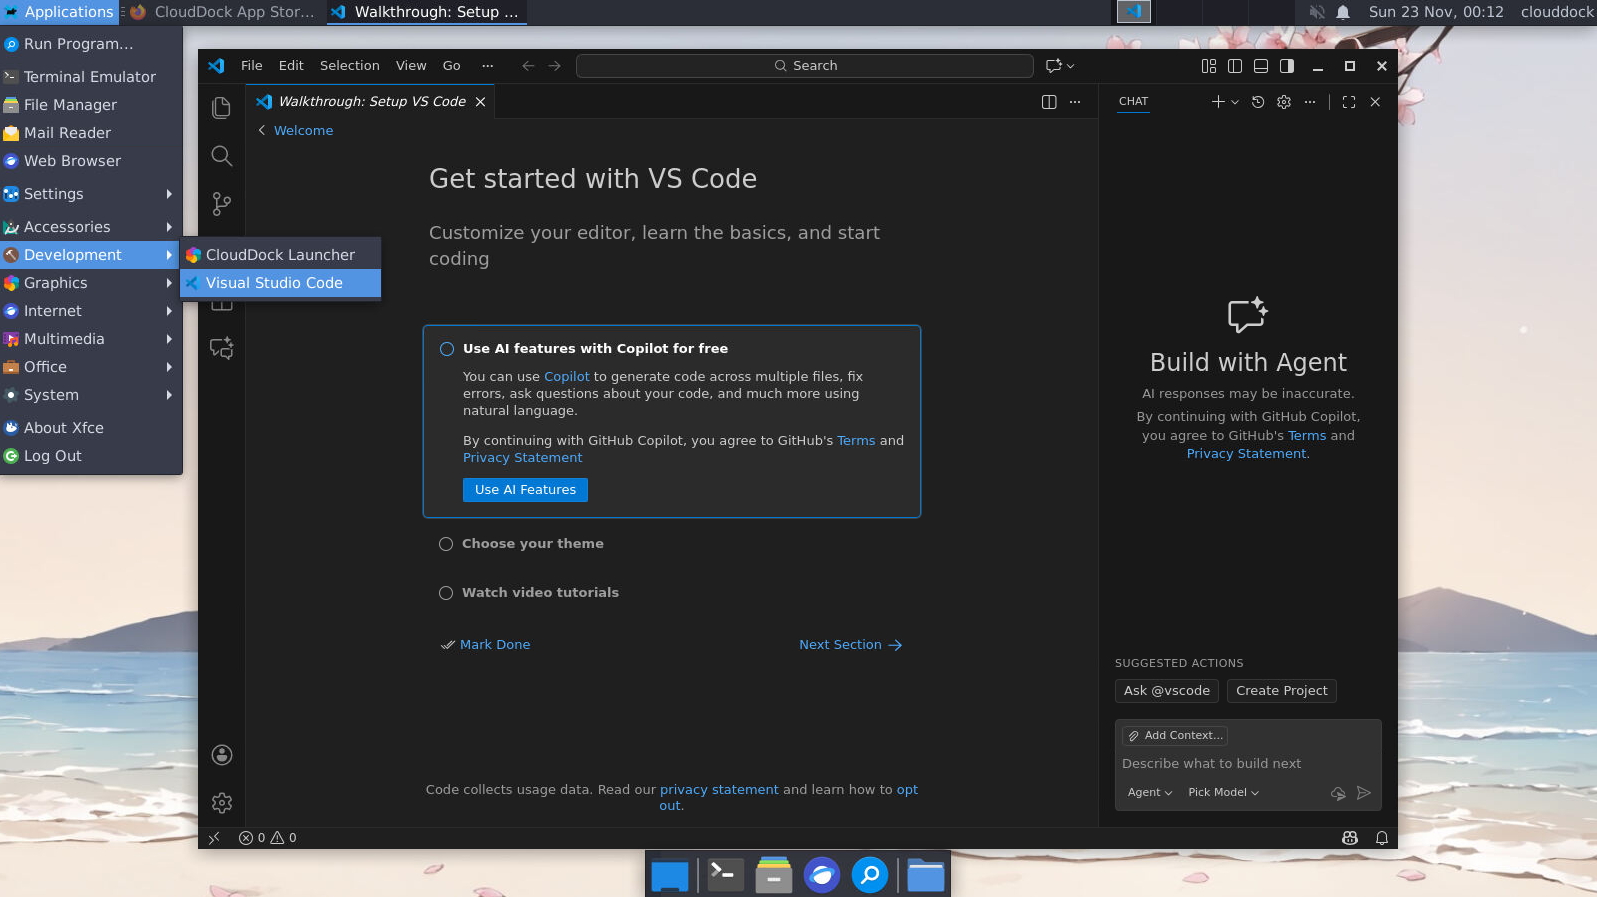
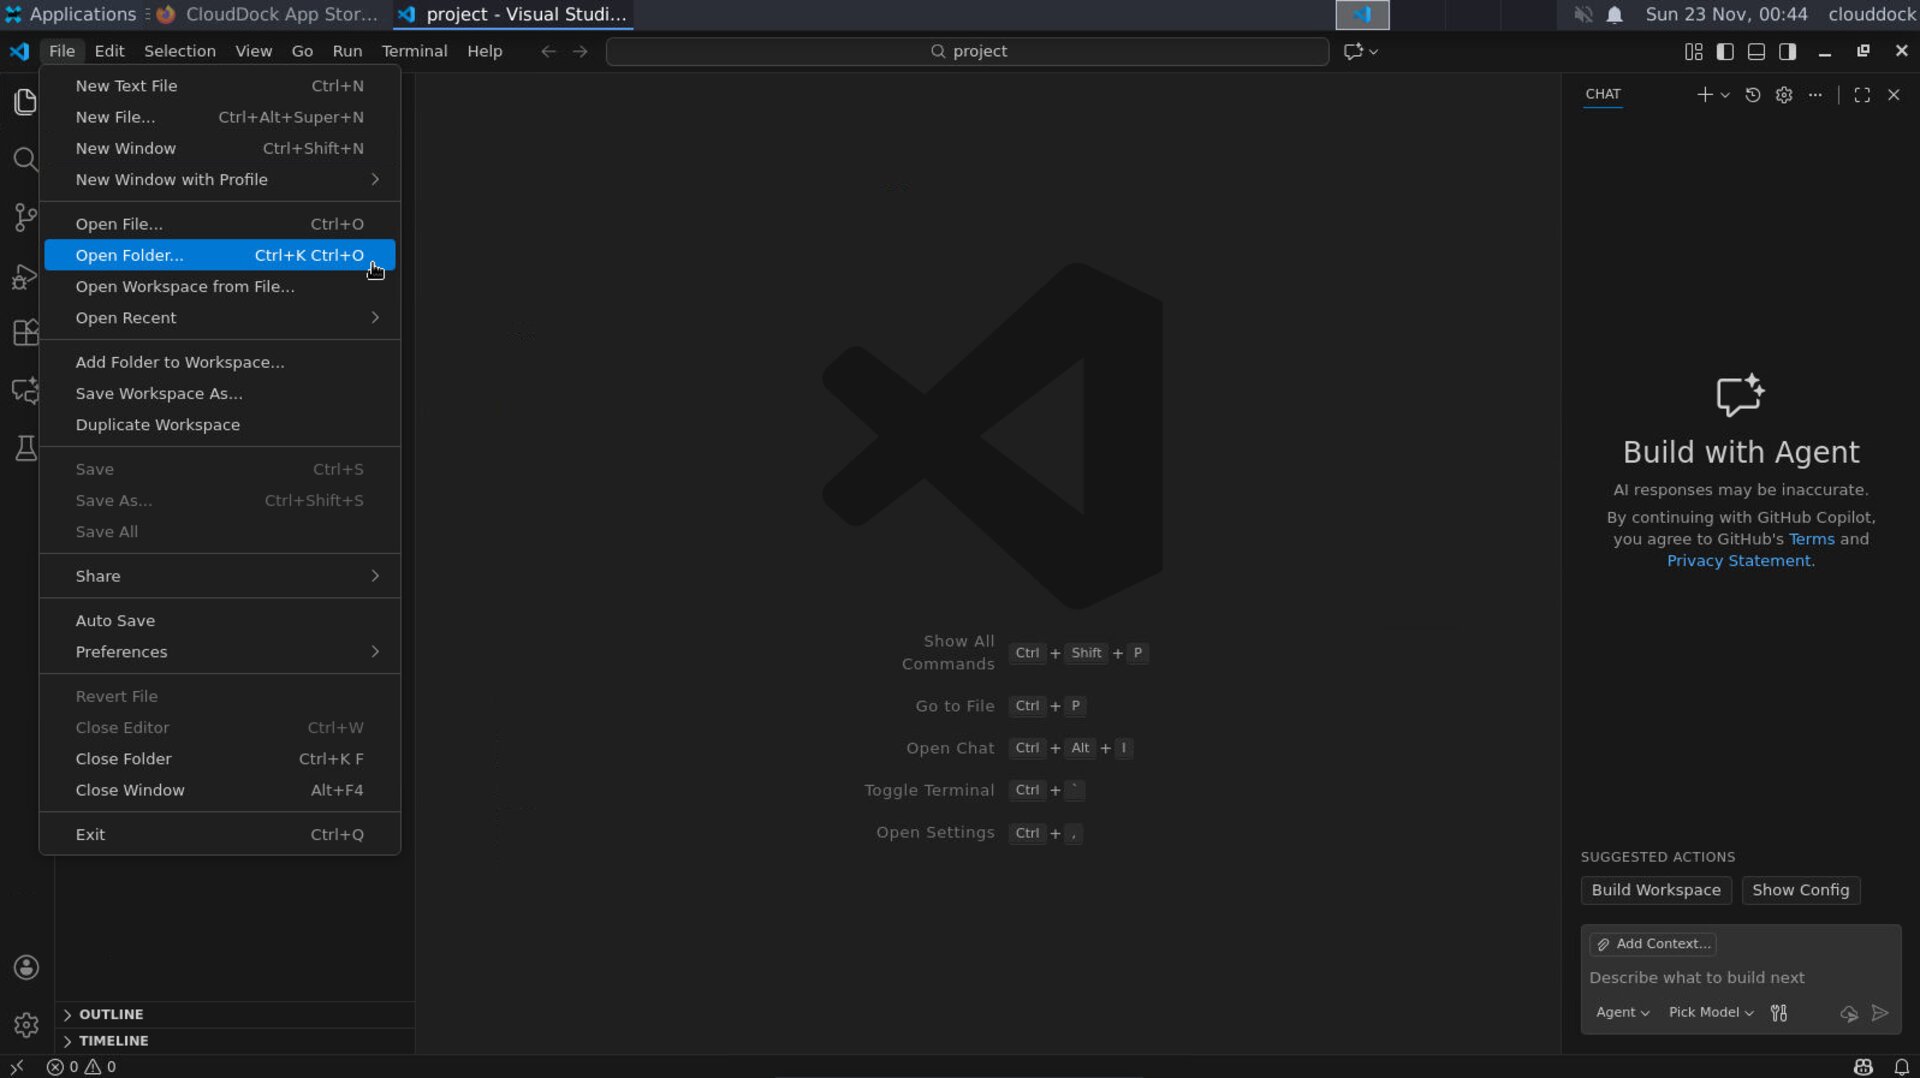
Open a folder
- 1 Launch VS Code from Applications → Development or the desktop shortcut.
- 2 File → Open Folder… → choose
/workspace/(recommended) or a subfolder like/workspace/projects/your-project/. - 3 Click Open. When prompted to trust the folder, choose Yes, I trust the authors.
Open
/workspace/ so files are saved in your home workspace.Install essential extensions
- 1 Open the Extensions panel (left toolbar) and install:
- Python (Microsoft)
- Pylance (Microsoft)
- Jupyter (Microsoft)
- 2 Reload VS Code if asked.
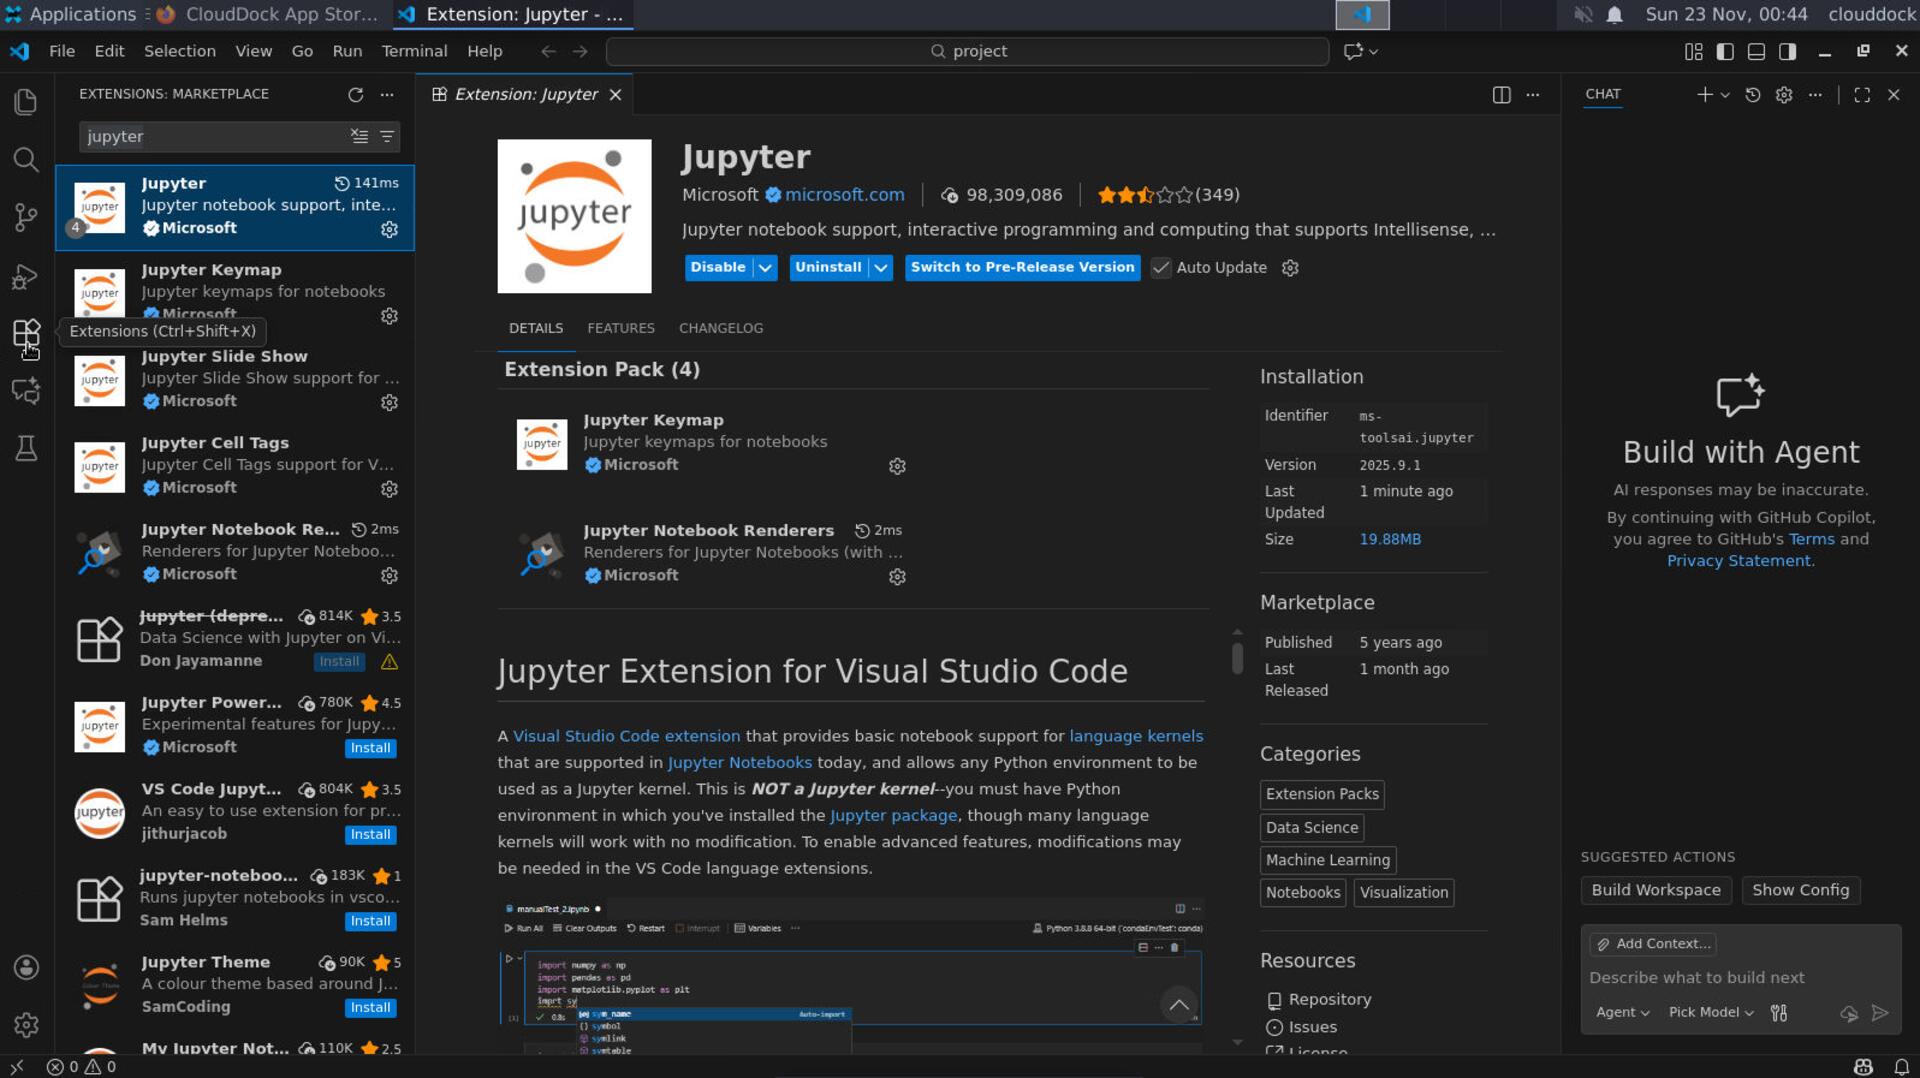
Extensions — Python, Pylance, and Jupyter.
Select interpreter or create a venv
- 1 Press Ctrl+Shift+P → type Python: Select Interpreter → choose a Python under
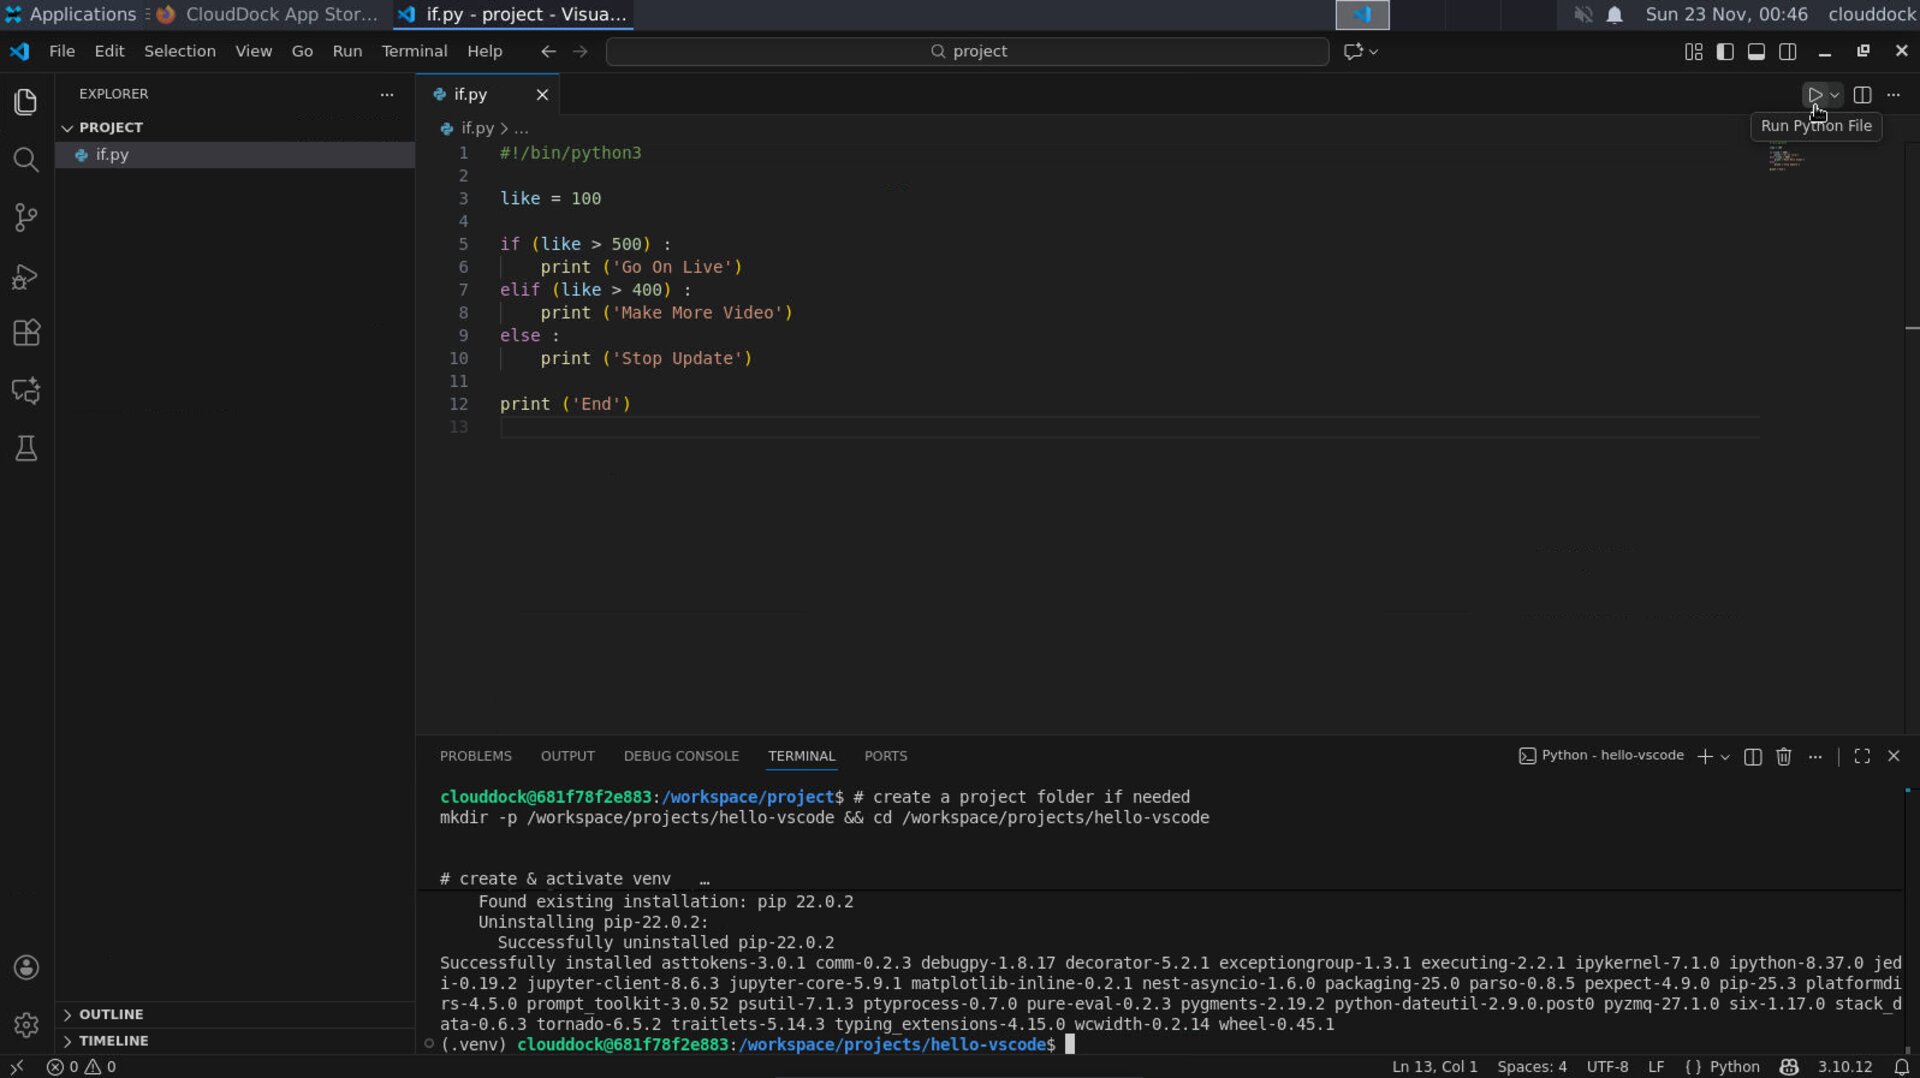
/workspace/venv/bin/pythonif it exists, or create one. - 2 To create a venv (recommended per project), open the VS Code integrated terminal (Ctrl+`) and run:
# create a project folder if needed mkdir -p /workspace/projects/hello-vscode && cd /workspace/projects/hello-vscode # create & activate venv python3 -m venv .venv source .venv/bin/activate # ensure tooling python -m pip install --upgrade pip wheel ipykernel - 3 Run Python: Select Interpreter again and pick
.venv/bin/python. Jupyter will also see this kernel in notebooks.
Pick the project venv as your interpreter.
Create & run your first script
- 1 In Explorer, click New File →
app.py. - 2 Paste:
# app.py from datetime import datetime print("Hello from VS Code on CloudDock! Time =", datetime.now()) - 3 Click the top-right Run button, or use Run → Run Without Debugging (Ctrl+F5). Output appears in the terminal panel.
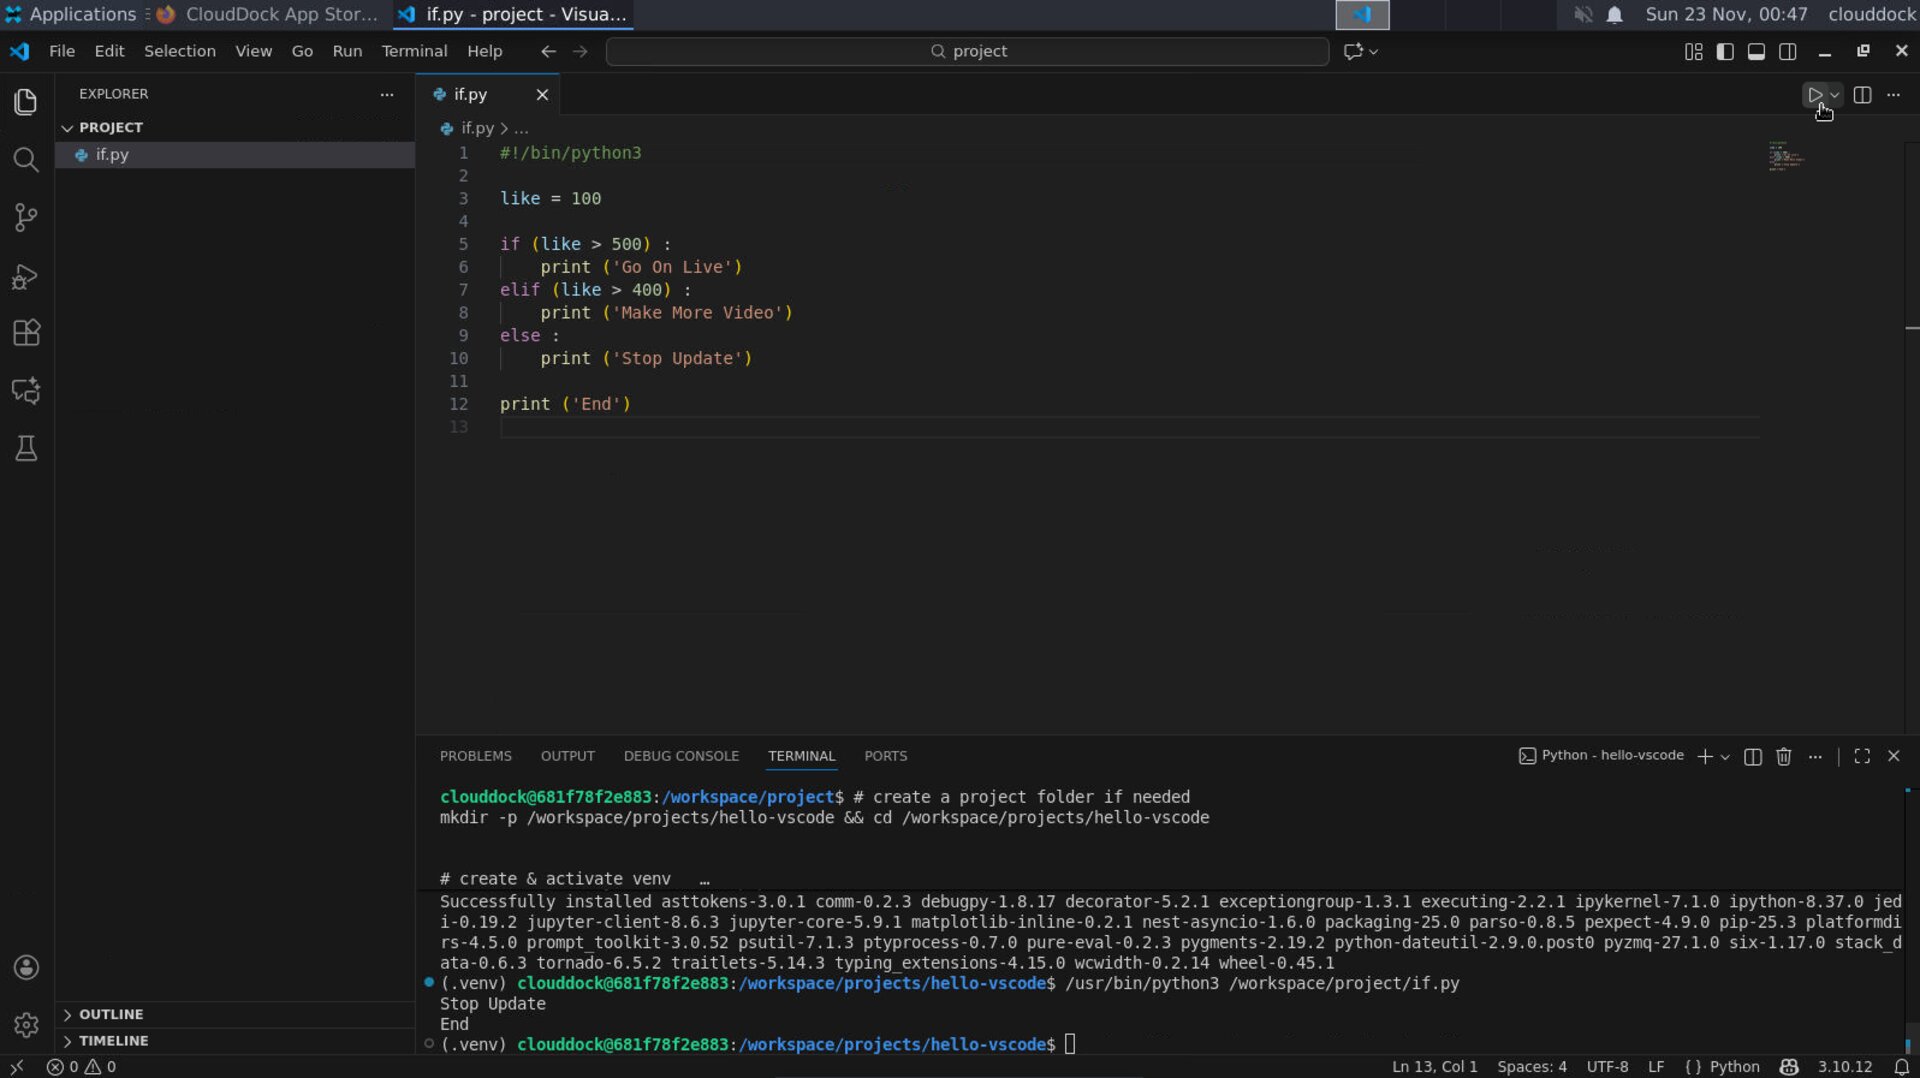
Run your script — output in the integrated terminal.
Use notebooks in VS Code
- 1 File → New File… →
notebook.ipynb. - 2 When asked for a kernel, choose your project venv. Execute cells with the ▶ button.
- 3 Data paths: default working directory is your opened folder (e.g.,
/workspace/projects/hello-vscode).
Debugging (launch.json)
- 1 Open the Run and Debug view → create a launch.json → choose Python: Current File.
- 2 Minimal config:
{ // launch.json "version": "0.2.0", "configurations": [ { "name": "Python: Current File", "type": "python", "request": "launch", "program": "${file}", "console": "integratedTerminal" } ] } - 3 Set breakpoints and press F5.
Git basics
- 1 To clone: open terminal and run
cd /workspace/projects git clone https://github.com/your/repo.git code /workspace/projects/repo - 2 Or initialize:
cd /workspace/projects/hello-vscode git init git add . git commit -m "first commit on CloudDock" - 3 Use the Source Control panel to stage/commit changes.
Recommended settings
// .vscode/settings.json
{
  "files.autoSave": "afterDelay",
  "editor.formatOnSave": true,
  "python.analysis.typeCheckingMode": "basic",
  "python.defaultInterpreterPath": "${workspaceFolder}/.venv/bin/python"
}
Folder layout (example)
/workspace/
  projects/
    hello-vscode/
      .venv/
      .vscode/
        settings.json
        launch.json
      app.py
      notebook.ipynb
Troubleshooting
“Permission denied” creating venv.
Create venvs under /workspace, not system folders. Example: /workspace/projects/yourproj/.venv.
Interpreter not detected.
Run source .venv/bin/activate, then re-run Python: Select Interpreter. Ensure the Python extension is enabled.
Notebook cannot find kernel.
Install ipykernel inside the venv: python -m pip install ipykernel, then reopen the notebook and pick the venv kernel.
Open. Code. Debug. Ship.