What this guide delivers
This is the CloudDock “one sitting” loop: start from a fresh instance, produce a clean set of images, and validate training — without spending your night installing extensions or hunting scripts.
What’s already installed (so you don’t waste time)
Universal containers ship with the essentials pre-wired:
- A1111 ready to generate
- ControlNet preinstalled (pose/hand/face, lineart, depth, etc.)
- Hires Fix ready out-of-the-box
- CloudDock SD Training Center (GUI training + job management)
- kohya training scripts preinstalled (SD 1.5 + SDXL)
- Default training paths already set (no mystery folders)
Step 0 — Start a fresh instance
- Boot into Universal Usagi (or Momonga for stable lane).
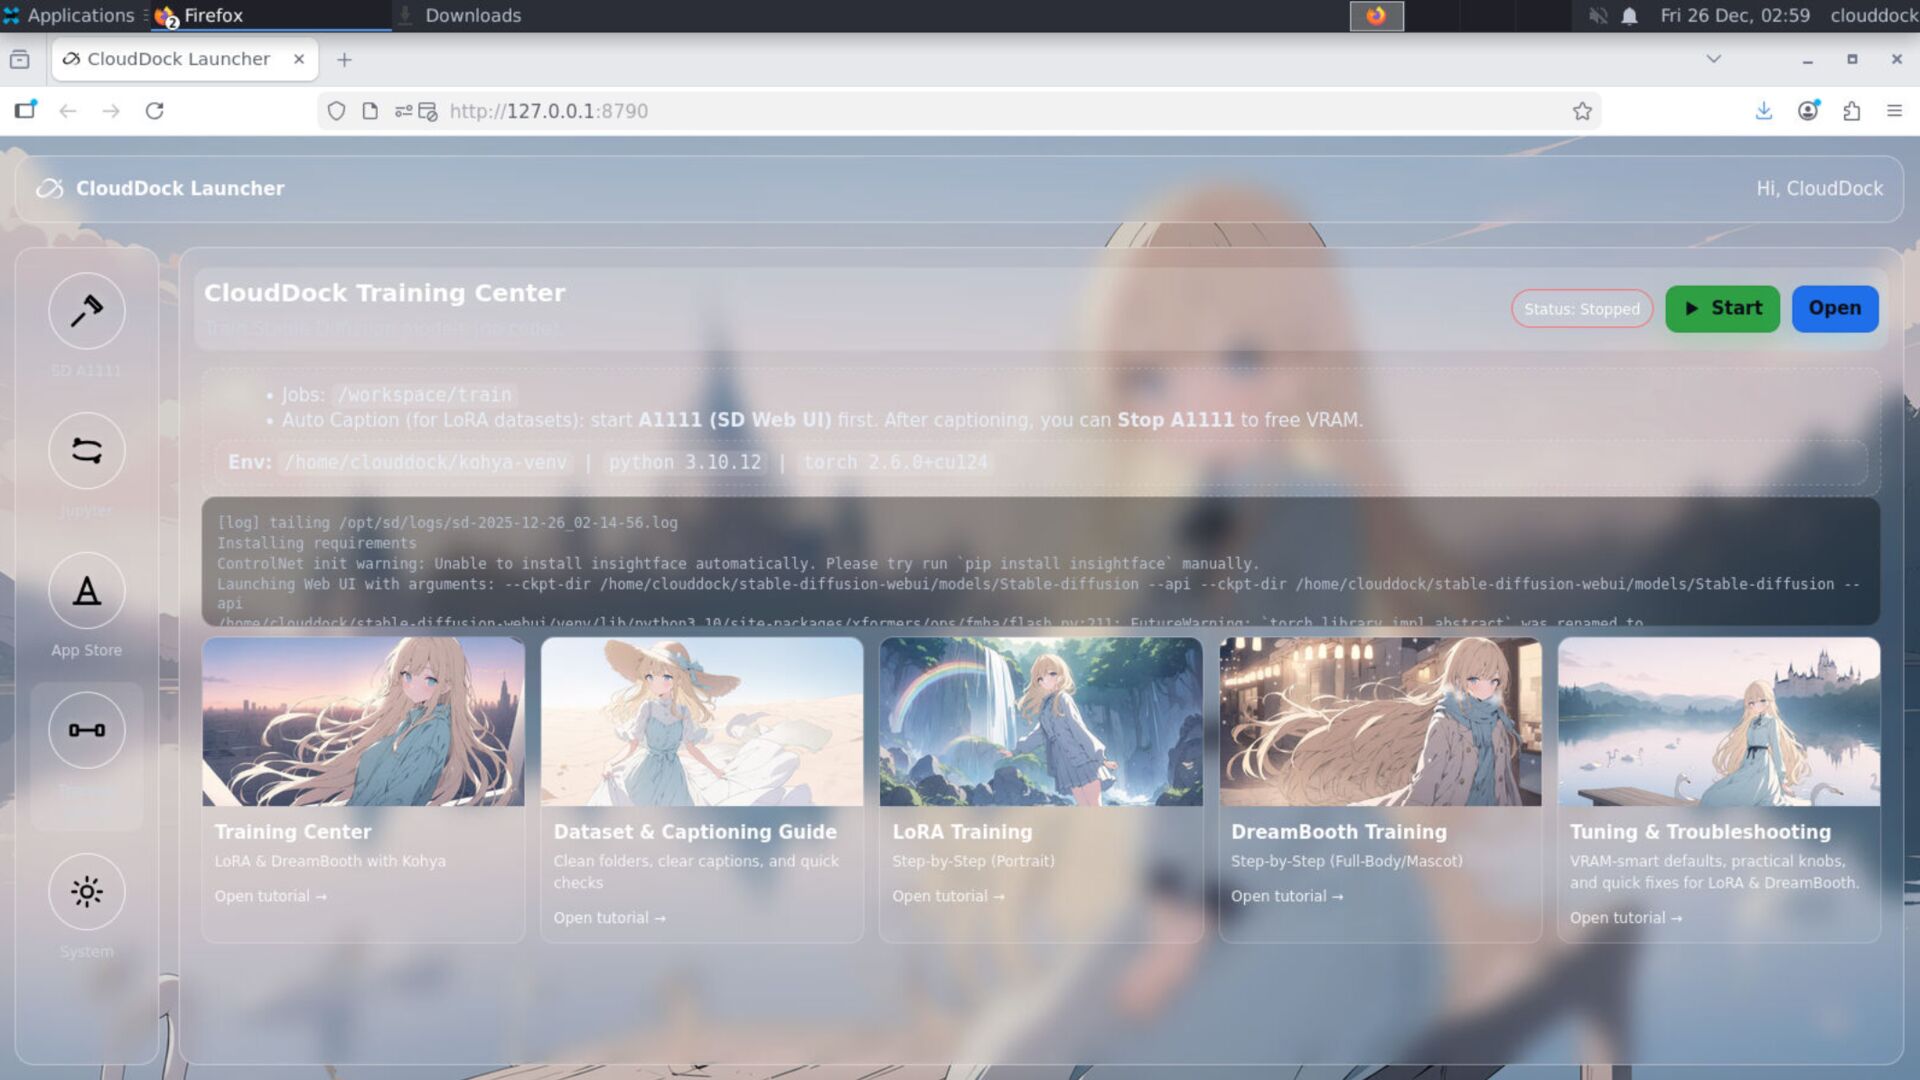
- Open CloudDock Launcher.
- Click SD to open A1111.
Step 1 — Generate your base images (SD)
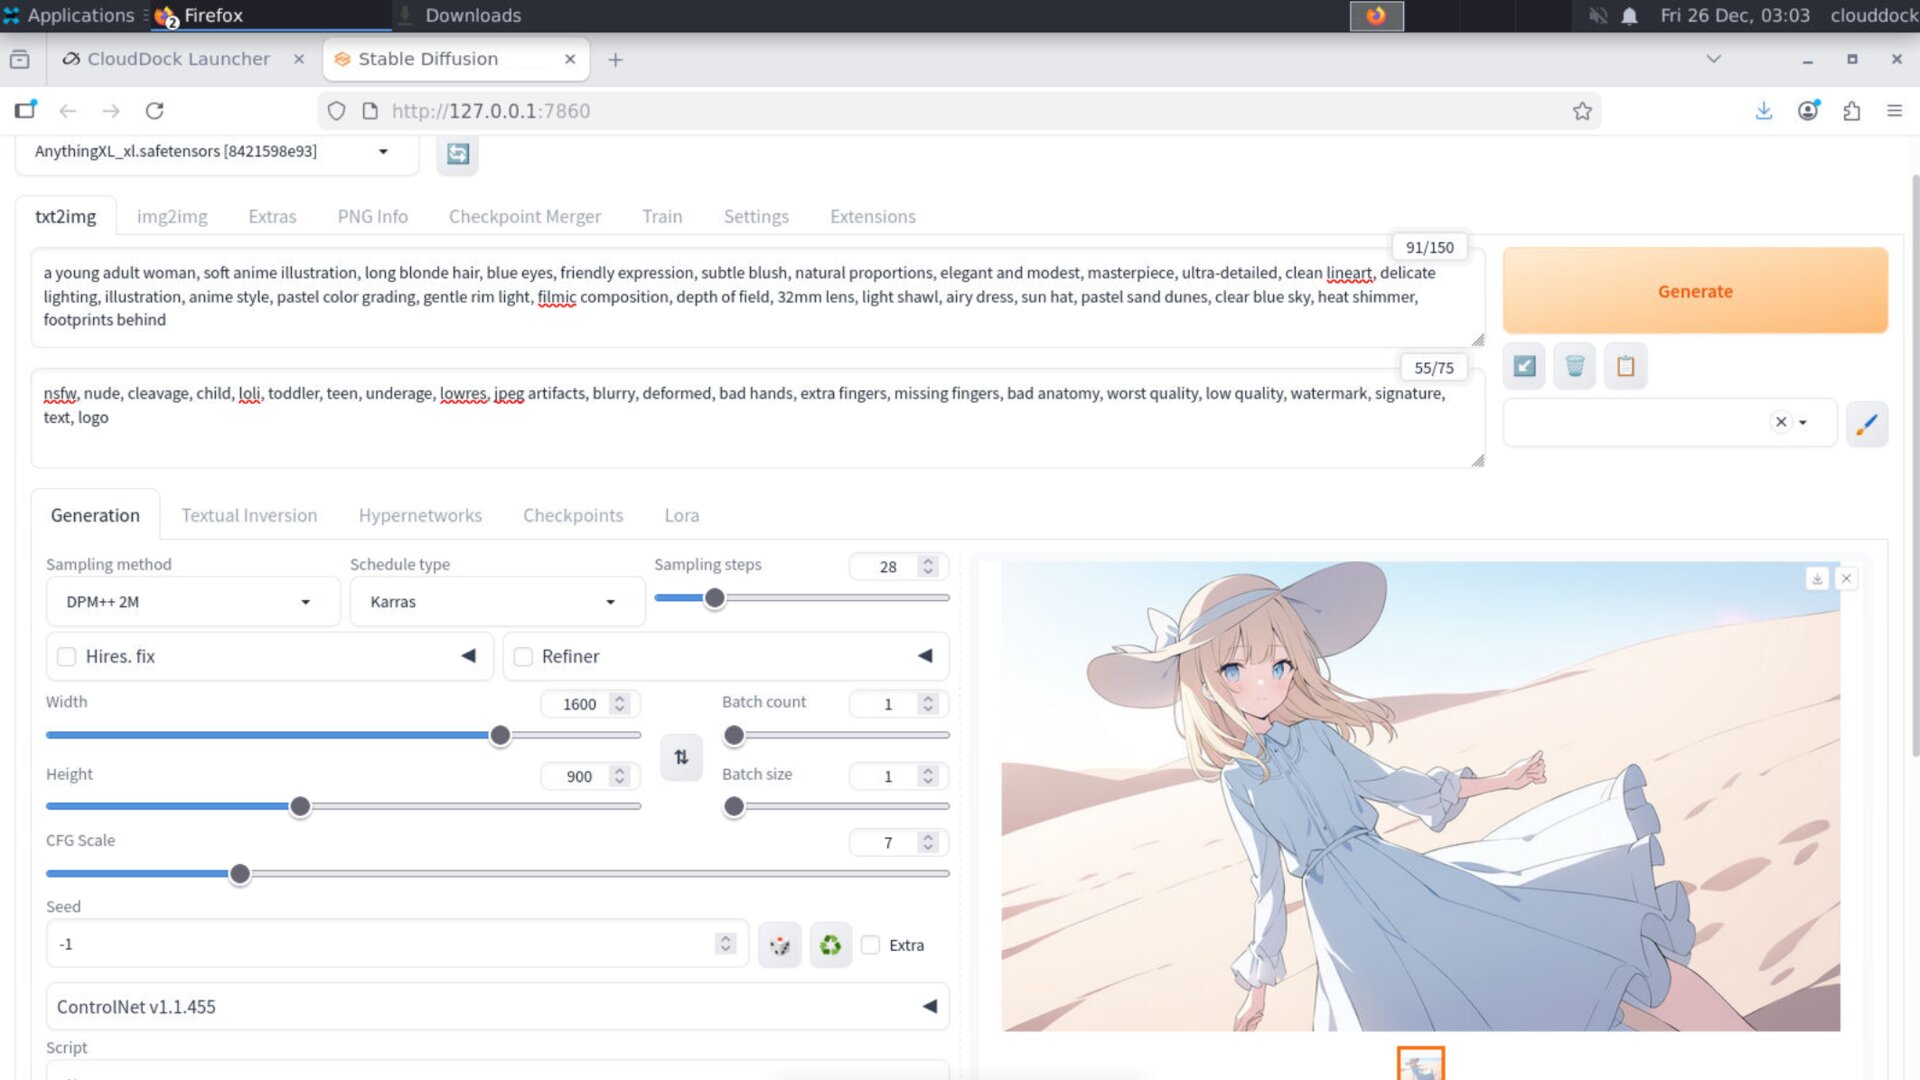
Start with a clean base resolution. Don’t jump straight to 2K.
- Pick your checkpoint (top left)
- Write prompt + negative prompt
- Generate a few candidates
- Lock seed when you find a vibe you like
Step 2 — Lock structure with ControlNet
Use ControlNet to keep the pose and anatomy consistent while you iterate style. This is where you stop “random drift” from ruining a good idea.
Recommended preset (anime)
- Pose soft, hands strong, face medium
- Keep Pose ending earlier to avoid mannequin-fu
- Batch size
1if VRAM is tight

Step 3 — Hires fix without soup
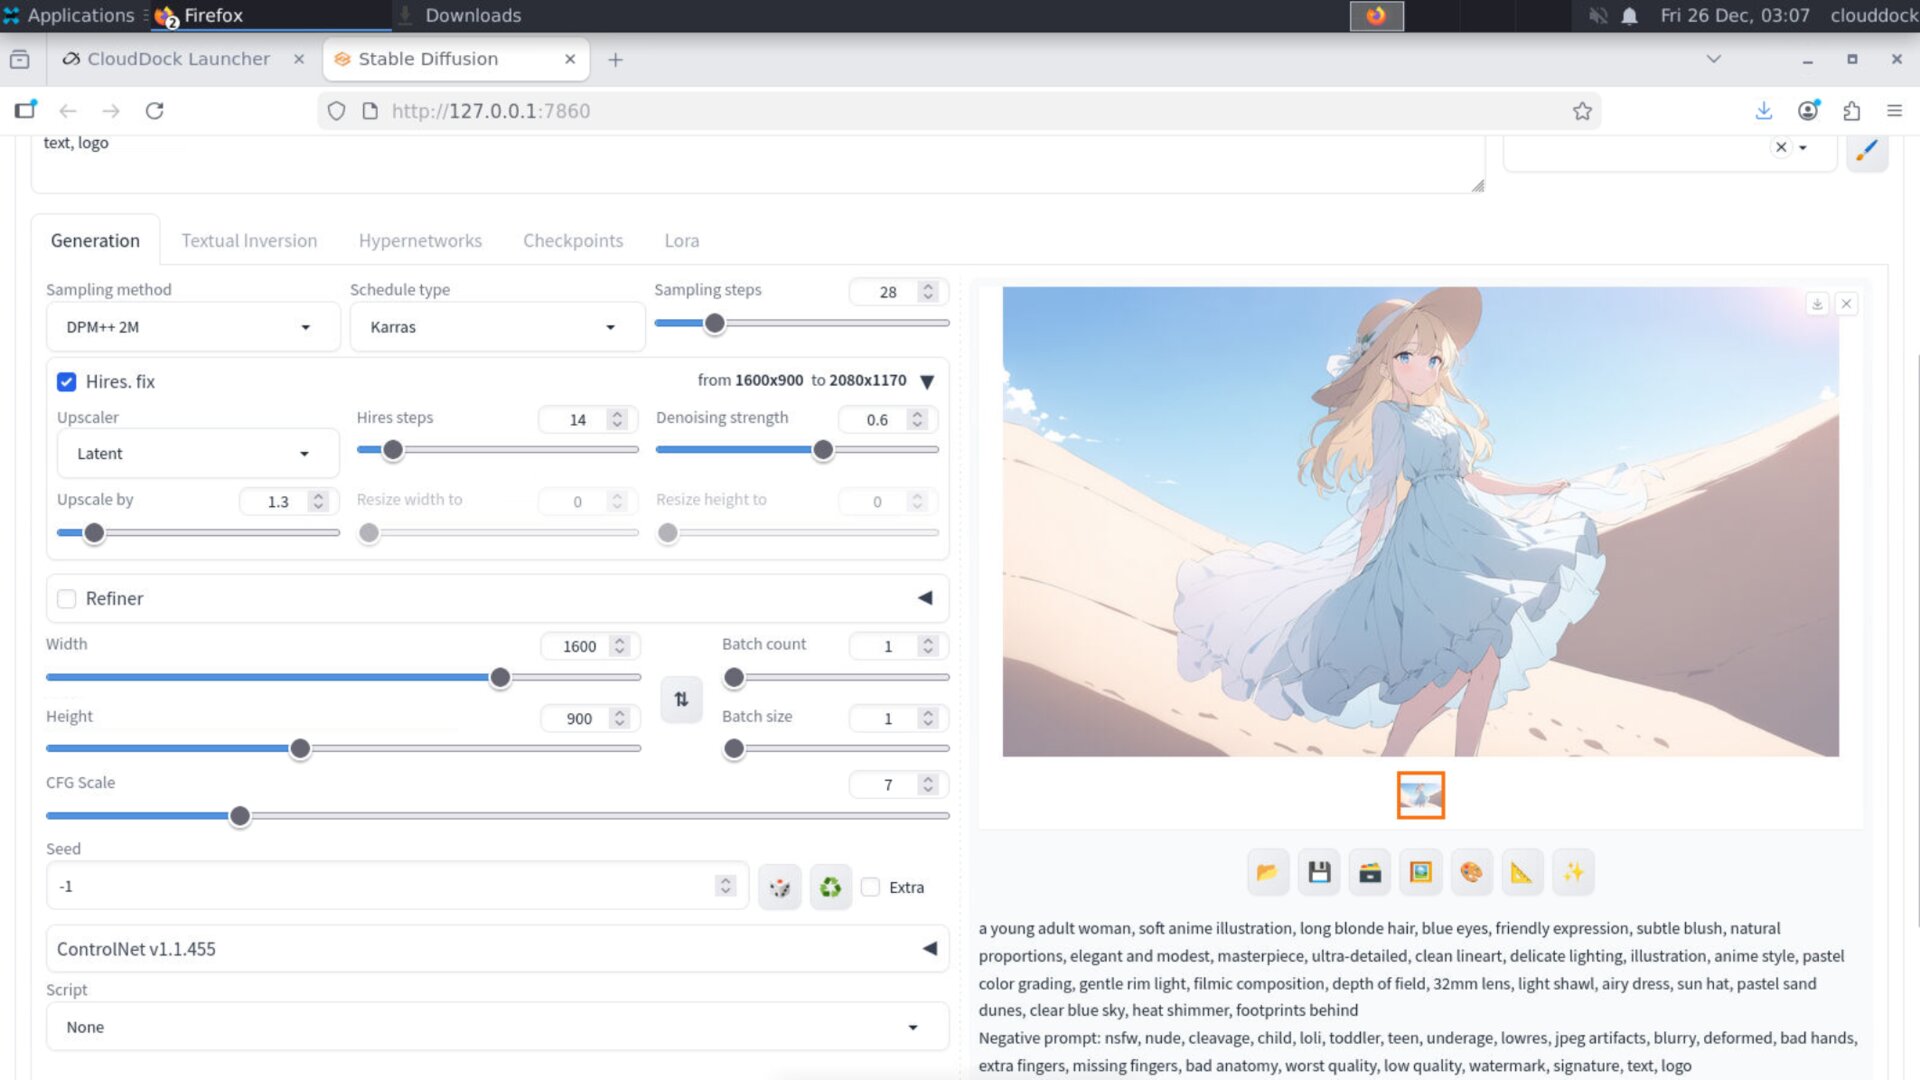
Once composition is stable, upscale with a VRAM-friendly ladder:
1.3× first, then a low-noise repair pass.
This keeps details sharp without melting everything into mush.
- Keep hires scale around
1.3×for A-group - Keep denoise low (
~0.25–0.38) - If something is still off: do targeted inpaint repair on face/hands
Step 4 — Bring your dataset (the only thing you must supply)
CloudDock provides the tools — you provide the data. Upload your dataset into your workspace, typically:
/workspaceIf you’re pulling datasets from cloud storage, use whatever fits you: Google Drive, Dropbox, OneDrive, your NAS — anything you control.
Step 5 — Train in SD Training Center (kohya scripts ready)
Open CloudDock SD Training Center from the Launcher. Under the hood, the training engine is already wired:
- kohya training scripts installed
- Support for SD 1.5 and SDXL
- Outputs saved by default to:
/workspace/train/output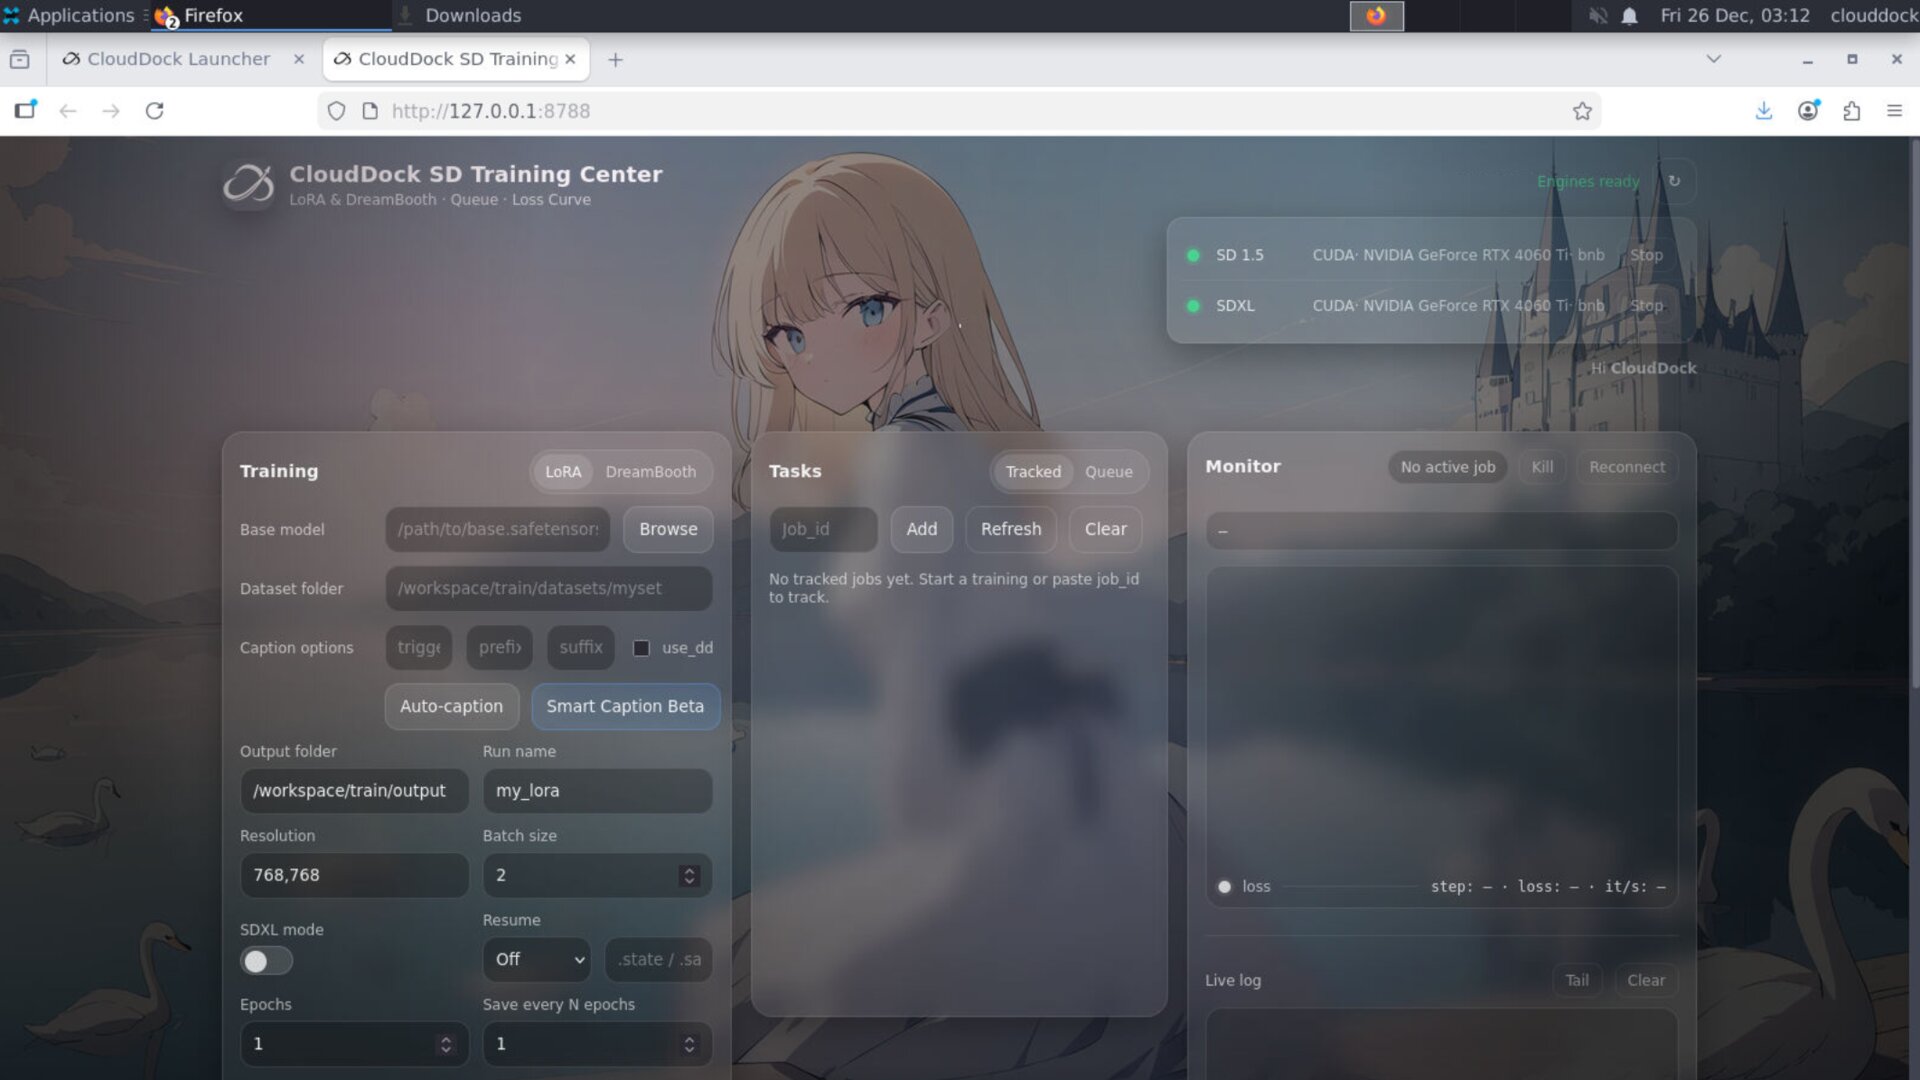
Validation: test the trained result immediately
The fastest way to know if training worked is to validate in the same sitting:
- Load the trained model in A1111.
- Run a small batch with the same prompt/seed used earlier.
- Compare consistency: face, outfit patterns, signature features.
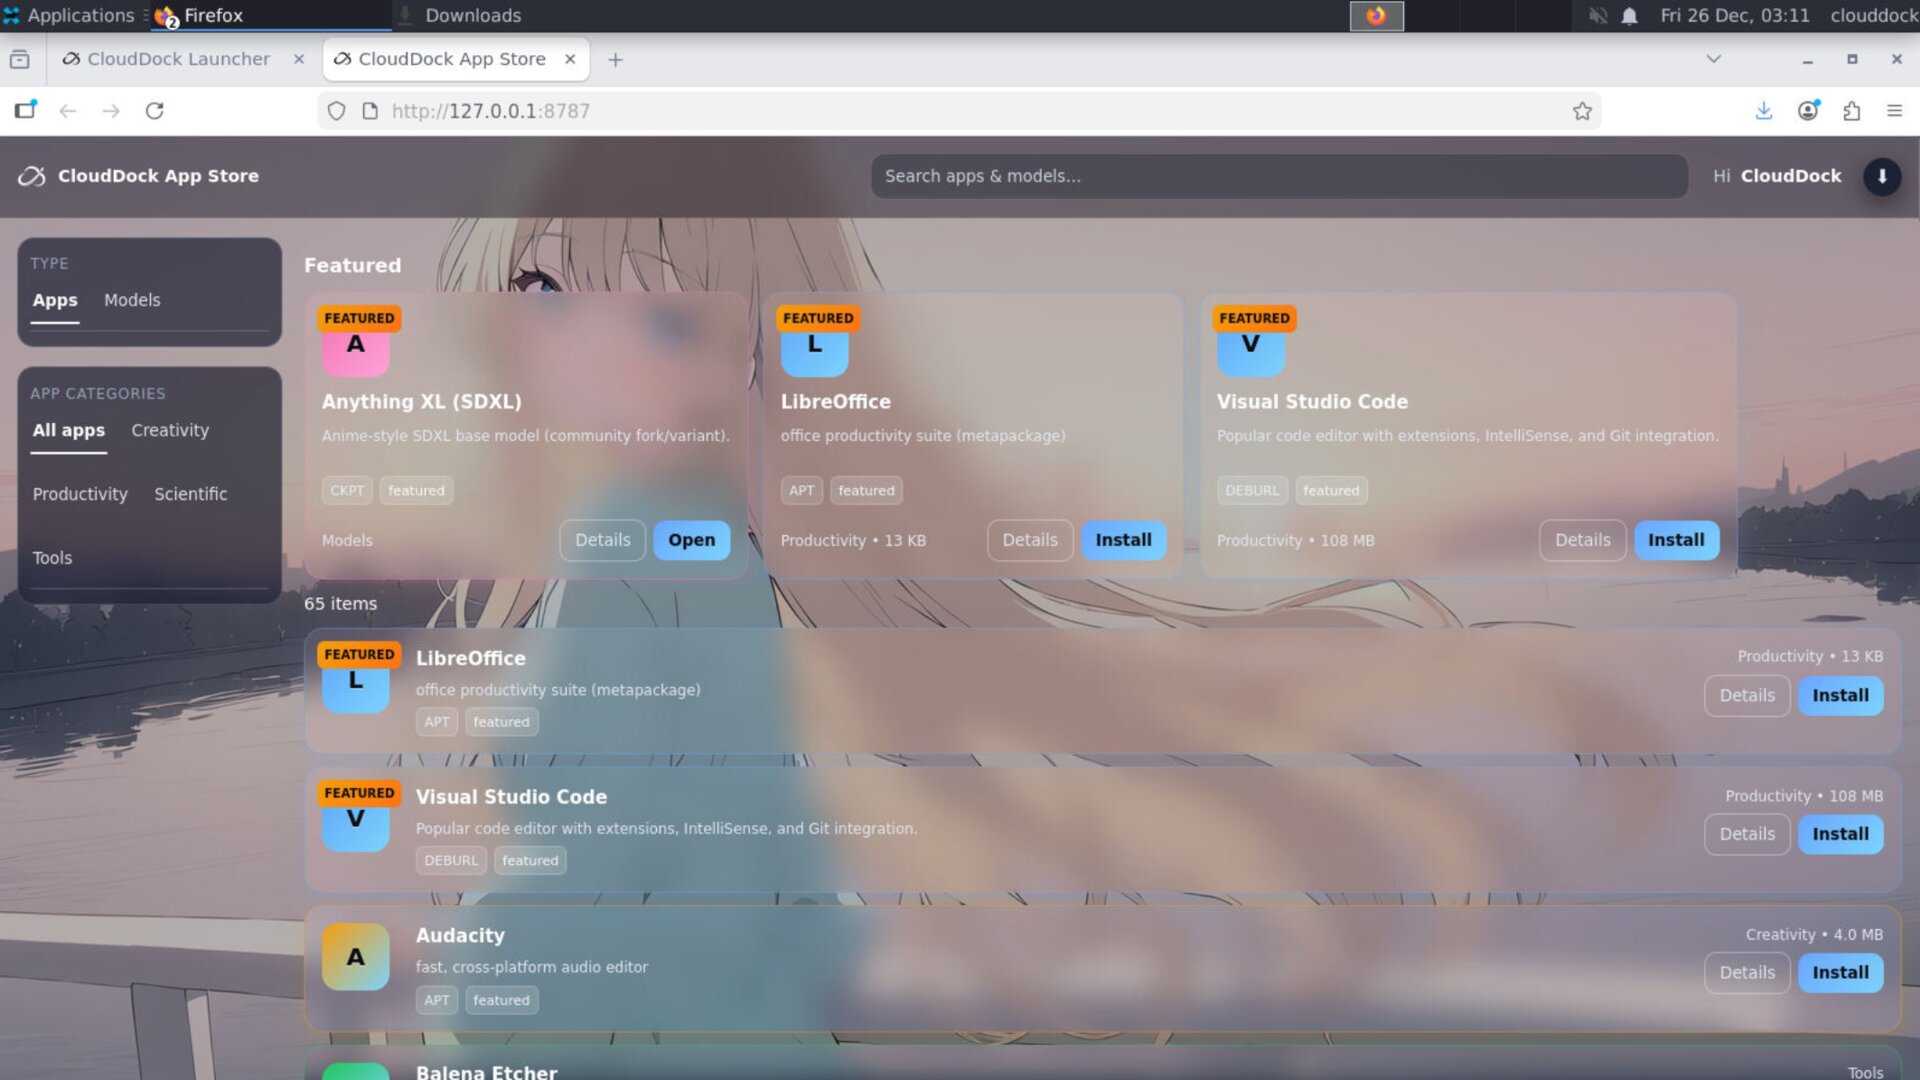
Need a base model? Use App Store Models
If you don’t have a checkpoint handy, CloudDock App Store includes a Models shortcut for mainstream starting points.
- Pick a common base checkpoint
- Download once
- Reuse across your workflows
Common failure modes (and how to avoid them)
“My results drift too much.”
Use ControlNet earlier, lock seed, and keep hires denoise low.
“Hires turns everything into soup.”
Don’t jump to 2×. Use the 1.3× ladder and do a low-noise repair pass (or inpaint face/hands only).
“I lost my outputs.”
Containers are temporary. Export to your own drive at least every 24 hours (ideally more often). Support cannot restore destroyed containers.
What’s next?
-
Exports & Backups: keep outputs in your own drive.
Go to “Exports & Backups →” -
Pose · Hand · Face presets: hands strong, faces medium, body soft.
Go to “Pose · Hand · Face →” -
Two-stage hires ladder: 1.3× first, low-noise repair second.
Go to “Two-stage Hires →”