What is Universal Usagi?
Universal Usagi is CloudDock’s most advanced Stable Diffusion container — a complete SD workspace built for creators who just want results.
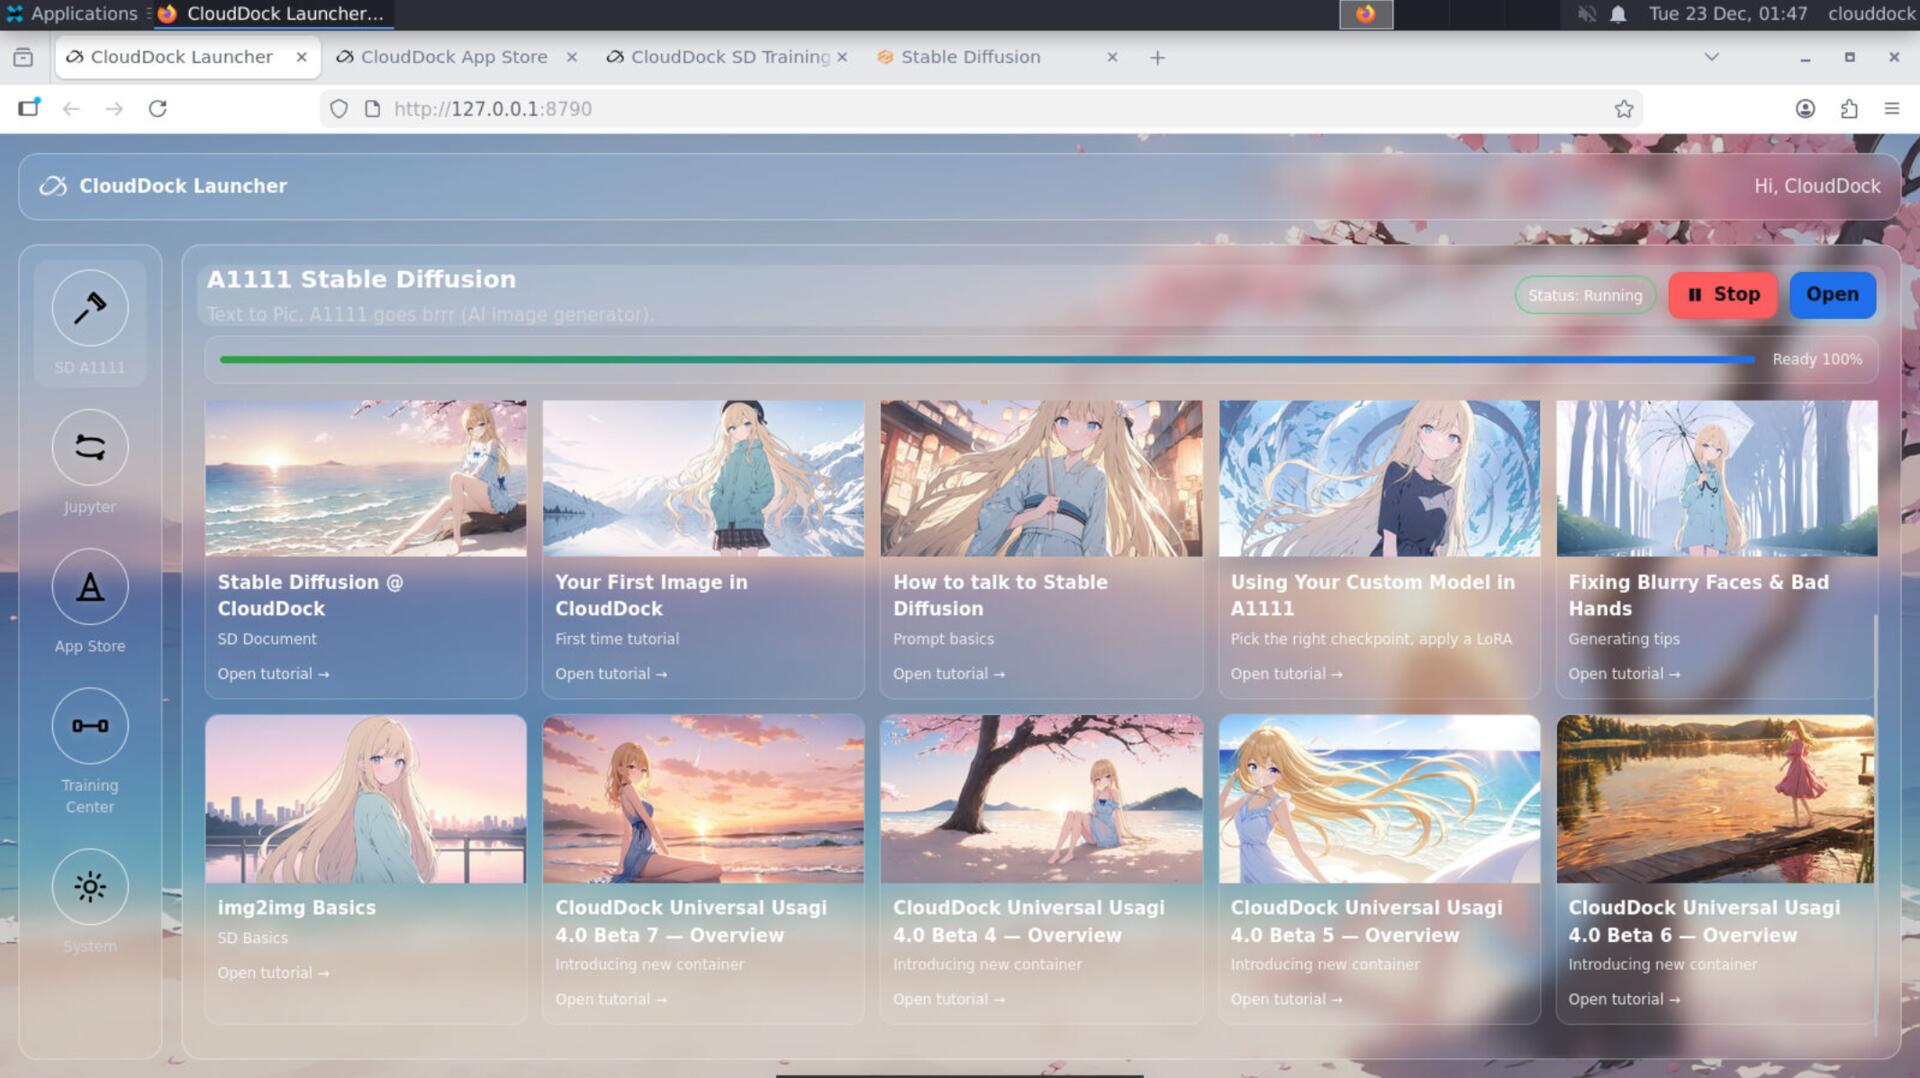
It includes everything you need in one session: A1111, JupyterLab, a built-in browser, the CloudDock Launcher, CloudDock App Store, and the CloudDock SD Training Center.
The design philosophy is simple: “If you used the keyboard when it wasn’t necessary, that’s our mistake.”
Why we built Usagi
Most Stable Diffusion setups assume you’re comfortable with terminals, dependency conflicts, random extensions, and “it works on my machine.” That’s fine for experts — but it blocks everyone else.
Usagi solves the SD workflow as a product: click-first, safe by default, and consistent across machines. The container is built around CloudDock’s hardware groups, so the experience is predictable — not lucky.
What’s inside Usagi
Usagi is not “just A1111.” It’s a full pipeline container:
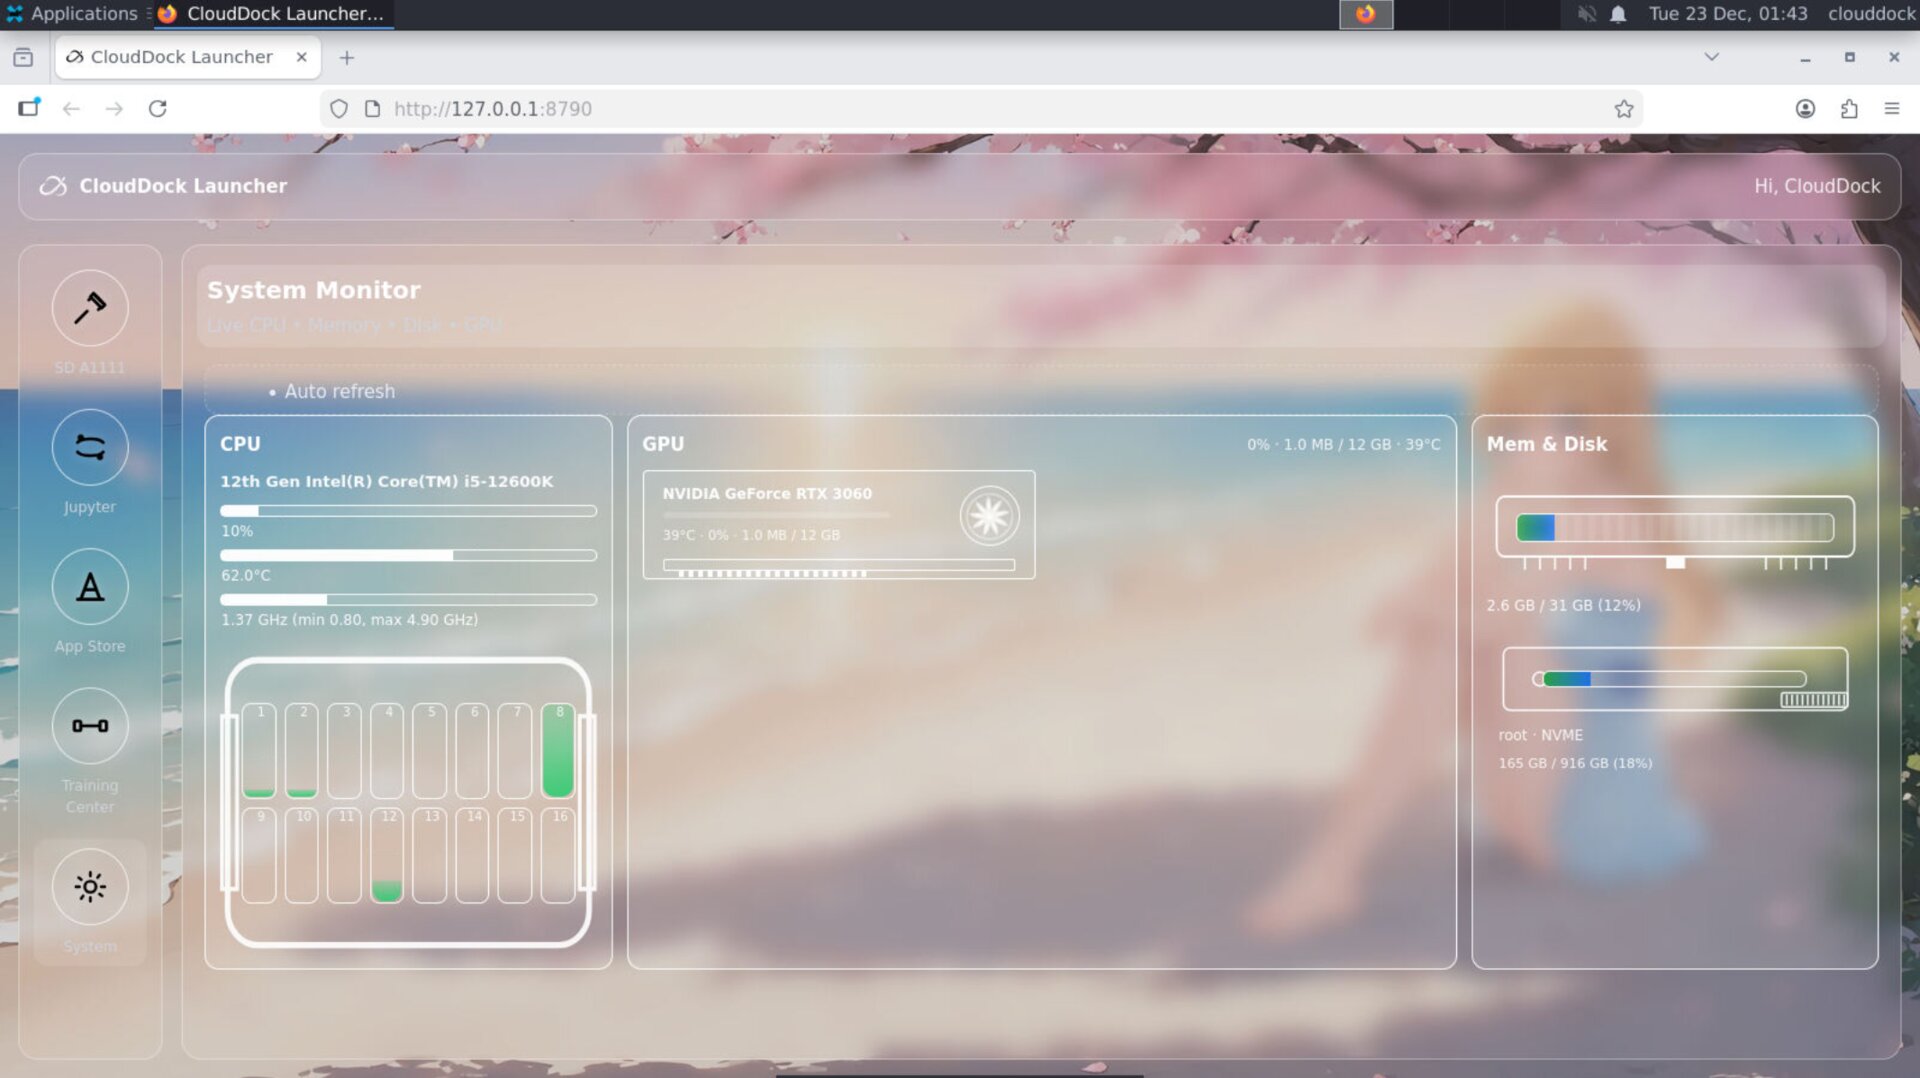
- CloudDock Launcher — the starting hub: open apps, view system status, and navigate the workflow.
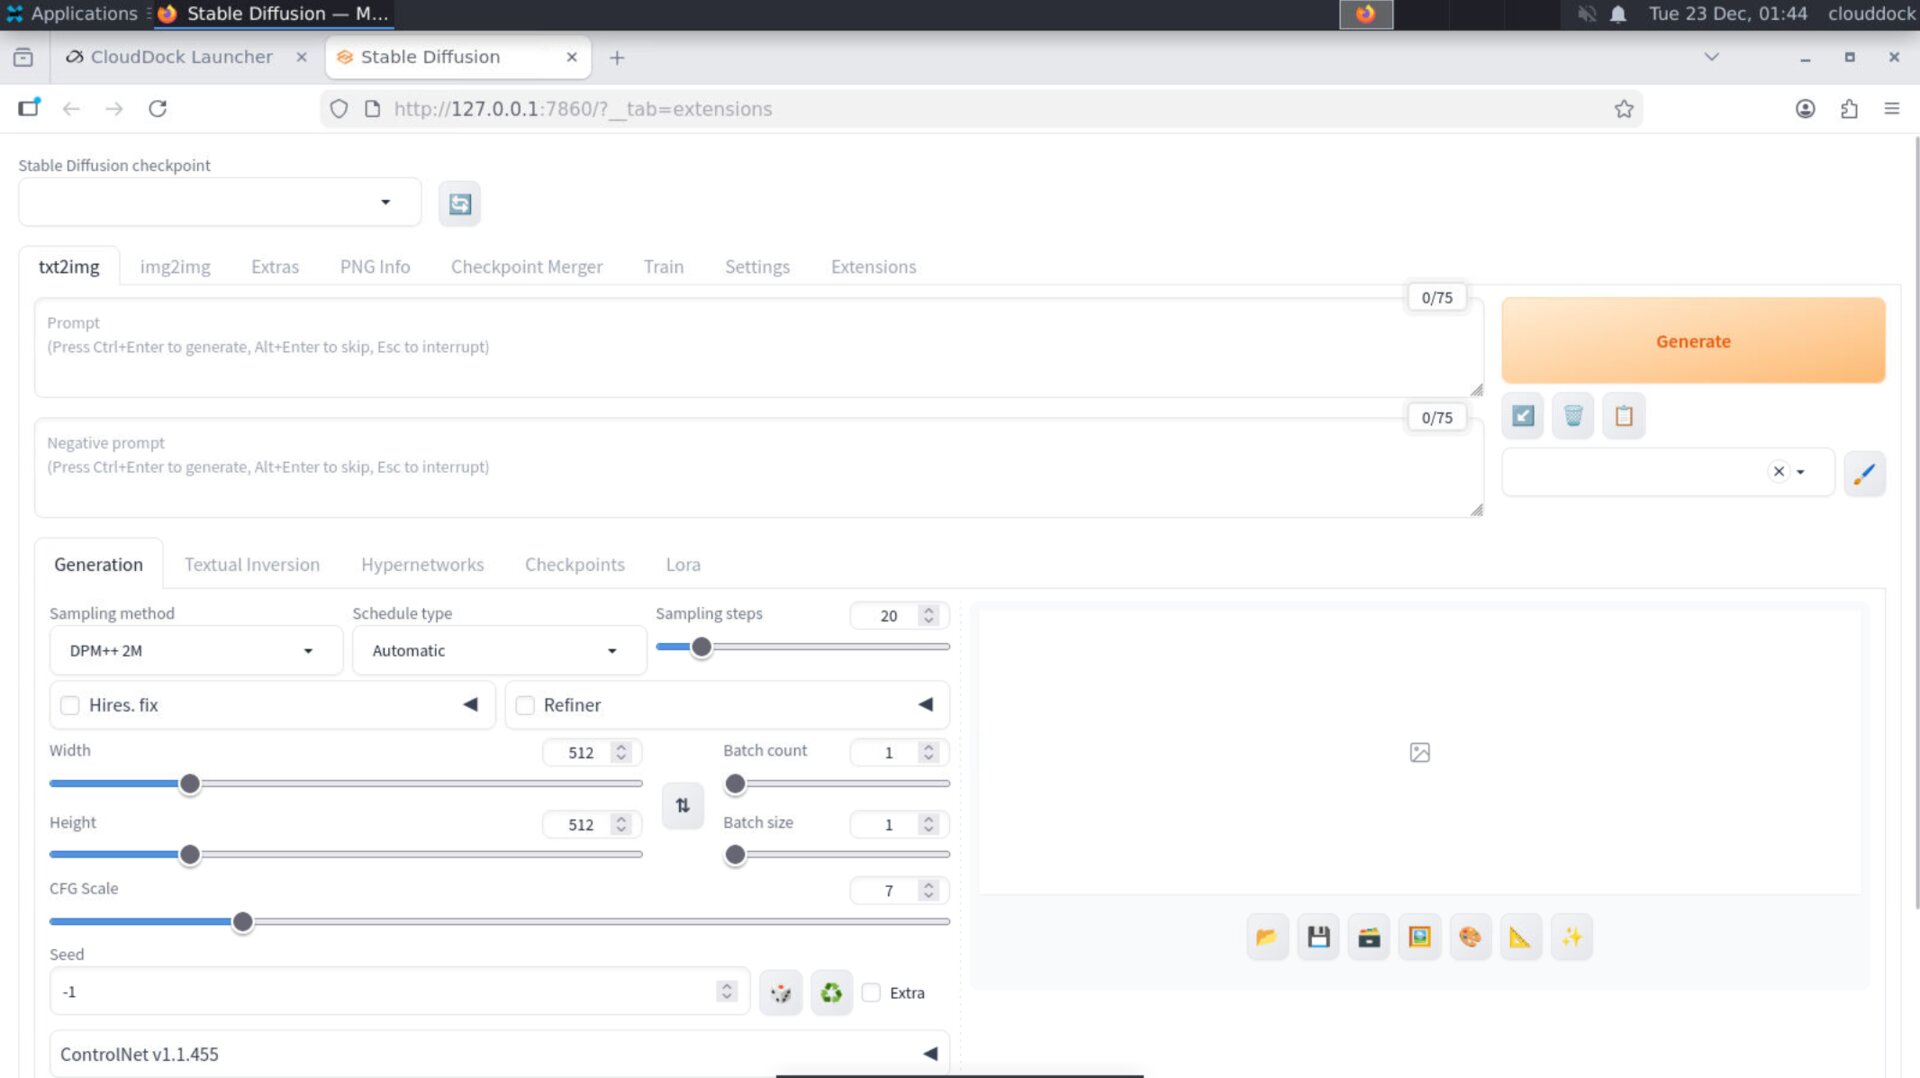
- A1111 Stable Diffusion — the generation engine for SD1.5 / SDXL workflows (depending on your model choice).
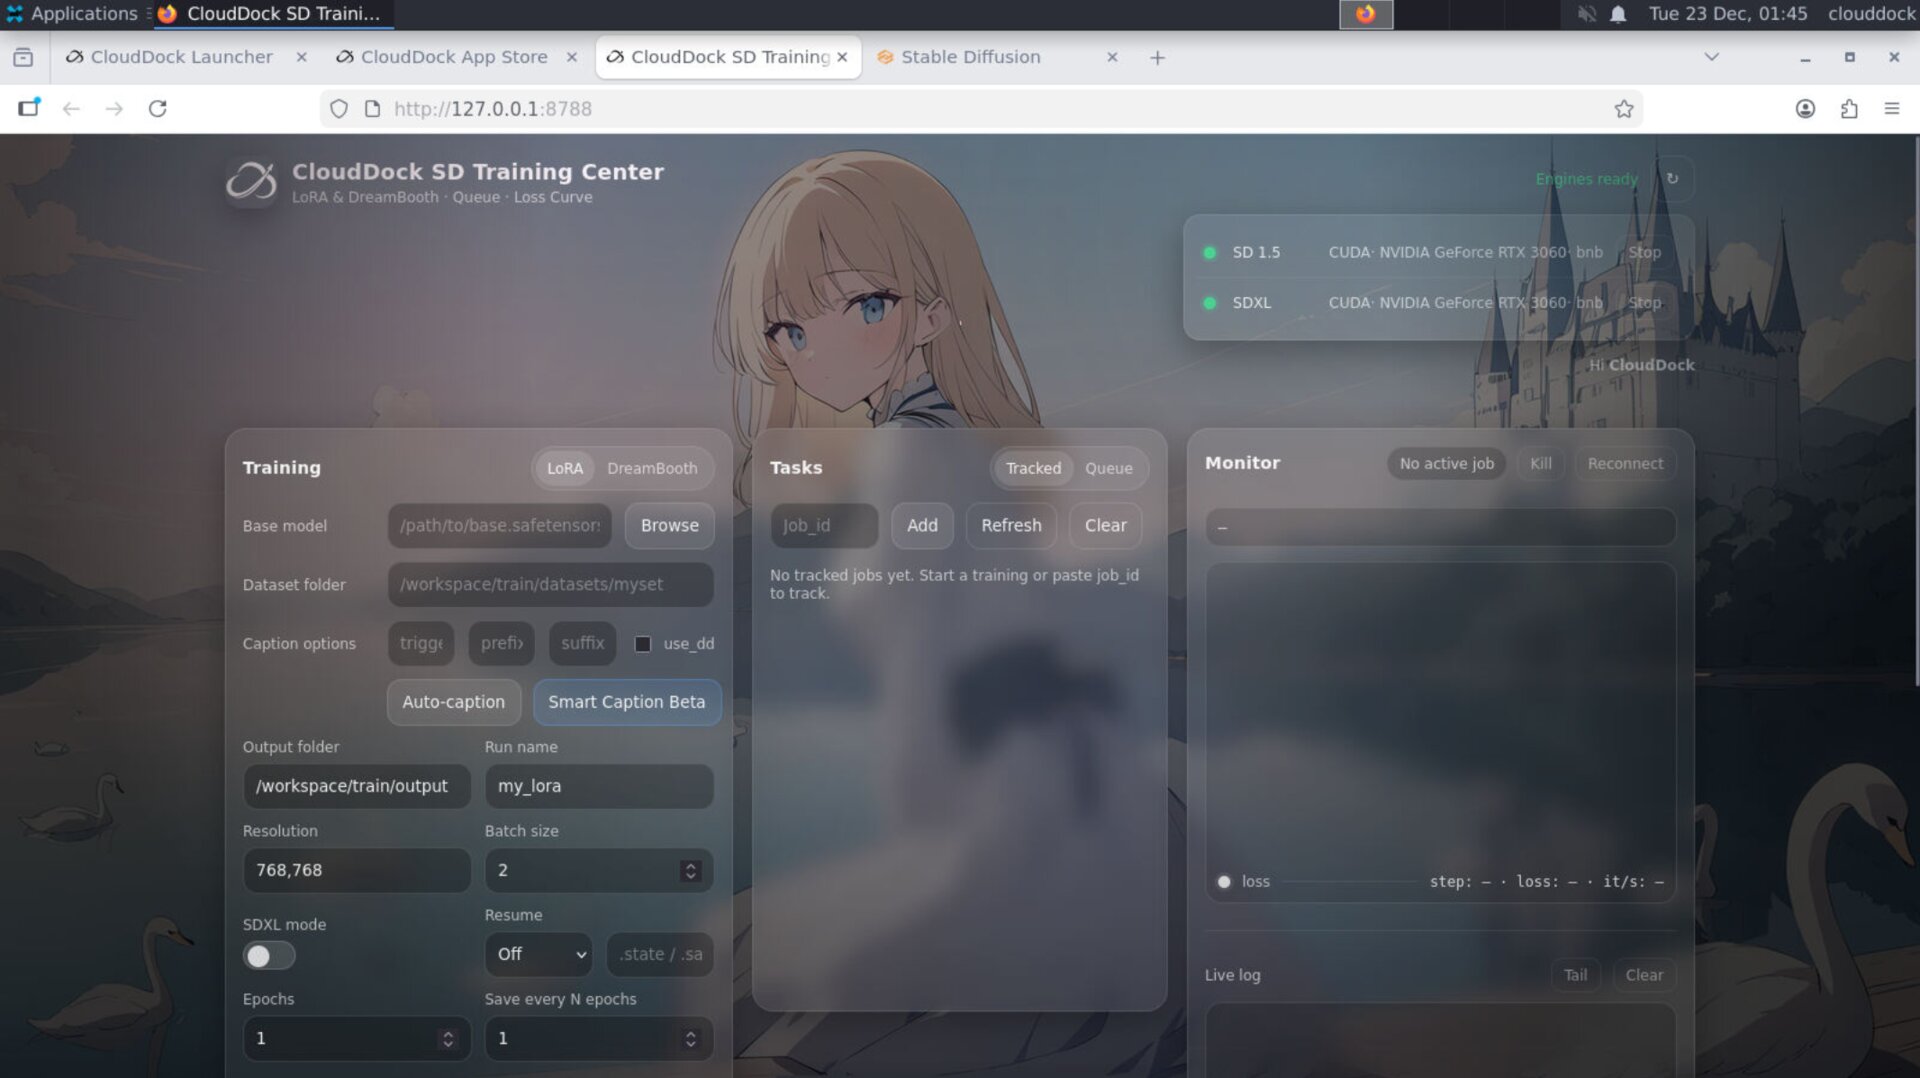
- CloudDock SD Training Center — train LoRA / DreamBooth with a guided UI and live monitoring.
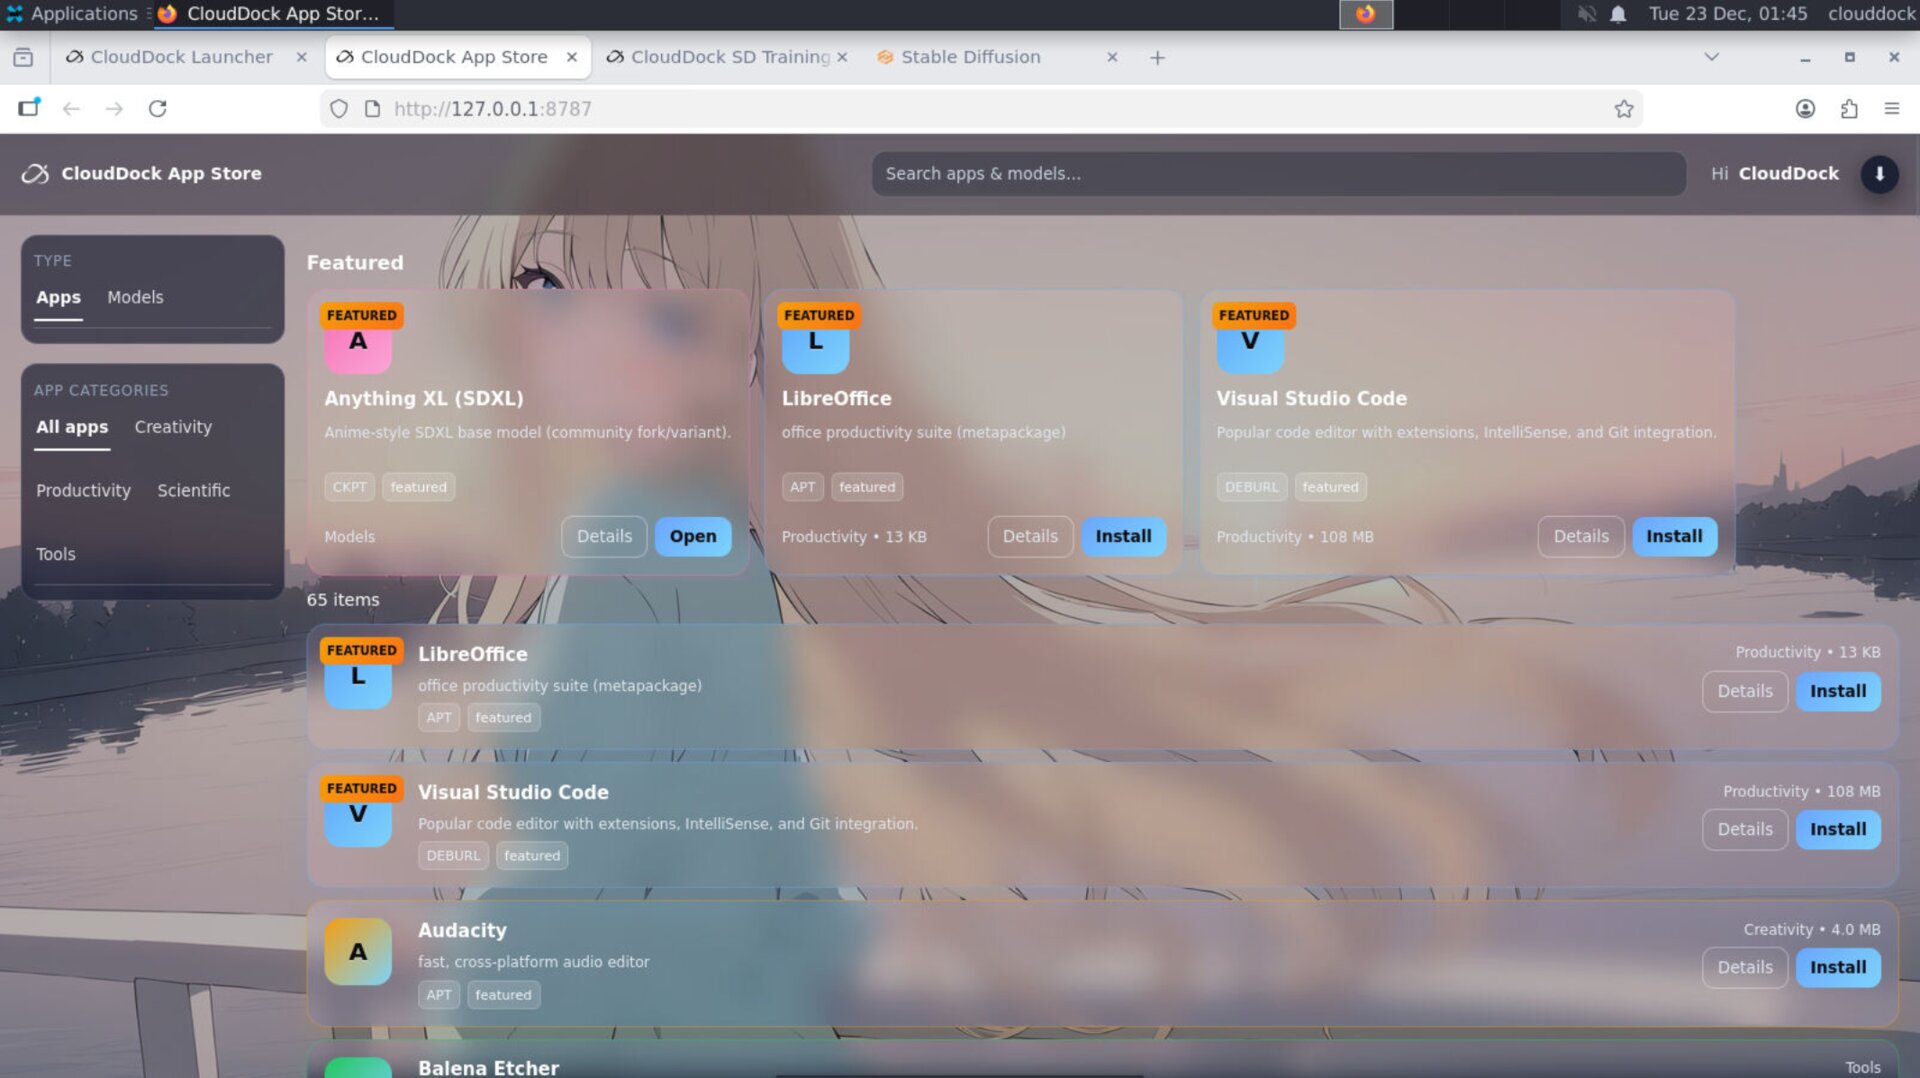
- CloudDock App Store — install curated tools and add-ons without dependency nightmares.
- JupyterLab — optional power tools for notebooks and advanced workflows (still no terminal required).
- Built-in Browser — docs, downloads, references, and assets in the same workspace.

Zero-terminal SD: the core design principle
Usagi is designed so you can complete the full SD workflow without touching the command line:
- Generate in A1111 (prompt → iterate → pick a winner).
- Train in SD Training Center (dataset → settings → live log + loss curve).
- Use your trained model back in A1111 (click to load, click to create).
- Learn with built-in docs and tutorials (the guide is inside the workspace).
Why Usagi is the fastest container to develop
Usagi is CloudDock’s primary SD container and the one we iterate on the most. That means it gets:
- The newest workflow improvements first (UI, stability, faster iteration loops).
- The strongest compatibility focus (we build for our own machines, so we know the edge cases).
- Curated defaults that work across A/B/C/D groups without constant tweaking.
- Safe failure modes — fewer “mystery crashes,” more predictable behavior.
Who Usagi is for
- Creators who want results, not DevOps.
- Students learning SD workflows without fighting setup issues.
- Power users who want a stable base, plus optional advanced tools (JupyterLab).
- Teams that want consistent environments for tutorials, training, and repeatable outputs.
Getting started (30 seconds)
- Start a CloudDock machine and open Universal Usagi.
- In the Launcher, click A1111 Stable Diffusion.
- Generate your first image (Prompt → Generate).
- When ready to train, click SD Training Center and follow the guided flow.
Notes & expectations
- Keyboard still exists: you may need it for rare tasks (e.g., logging into a cloud drive), but it shouldn’t be your main tool.
- Performance depends on machine group: Usagi runs everywhere, but higher VRAM tiers allow bigger resolutions and heavier workflows.
- Everything is designed for SD: Usagi is optimized around the generate → train → create loop, not general-purpose compute.
What’s next?
-
Choosing Your Machine: pick A/B/C/D based on your workflow and VRAM needs.
Go to “Choosing Your Machine →” -
ControlNet & Hires Fix: control anatomy + upscale without soup.
Go to “ControlNet & Hires Fix →” -
SD Training Center: train LoRA / DreamBooth with the guided UI.
Go to “SD Training Center →”