Why this guide exists
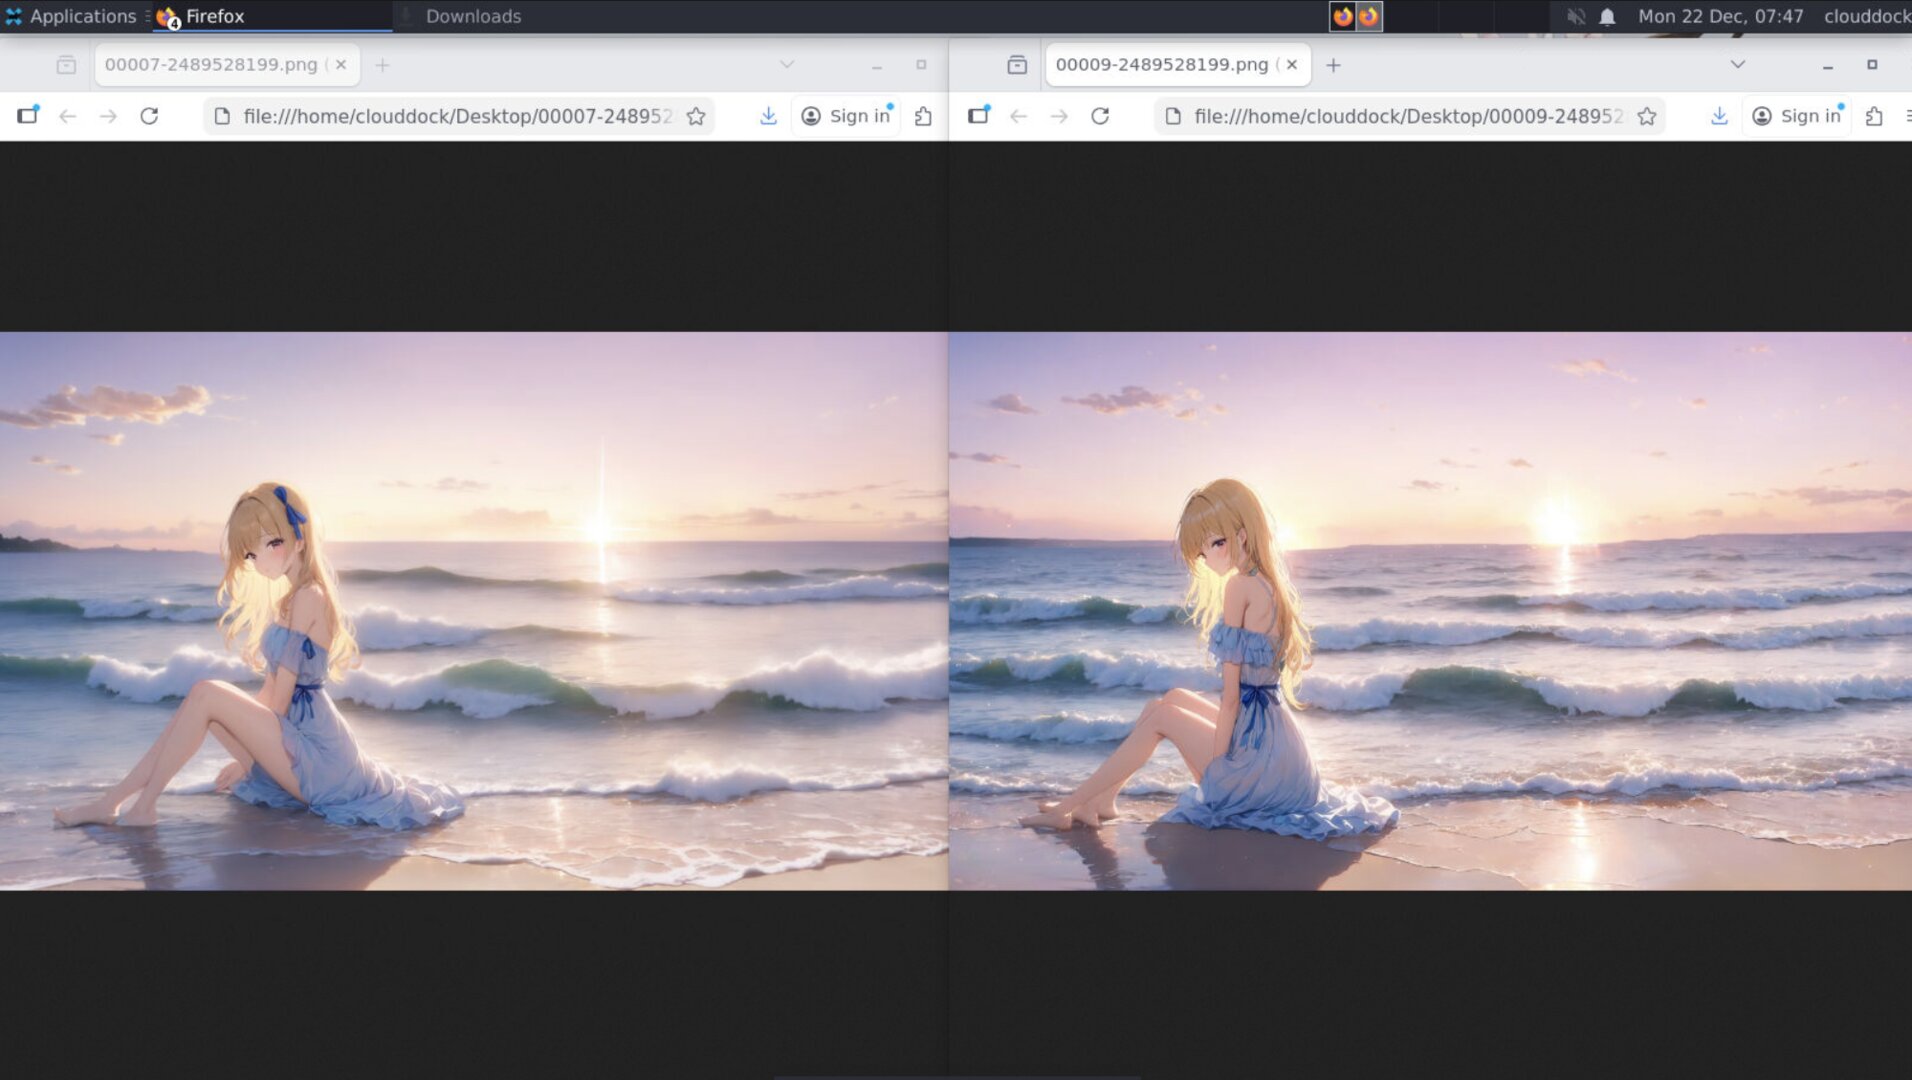
The two most common “anime SD pain points” are: (1) anatomy drift (pose/hands/face change every roll), and (2) mushy upscales (hires fix turns crisp lines into blurry soup).
This page gives you a stable workflow: ControlNet for control + a hi-res ladder for detail. You’ll get cleaner lines, fewer broken hands, and sharp results at higher resolution — without endless retries.
TL;DR recipe (copy this first)
If you just want the “works for most anime” setup, start here:
Base pass
- Resolution: start around
768×512(portrait:832×1216), not 2K/4K. - Sampler / Steps: a modern sampler +
22–30steps. - CFG:
5–7(too high can worsen “crispy noise” and hires mush). - Batch: keep it small while tuning (1–2).
ControlNet stack (anime-friendly)
- CN #1 Pose: OpenPose / DWpose, weight
0.75–0.95, end0.75–0.85 - CN #2 Depth (optional): MiDaS/Depth, weight
0.45–0.70, end0.60–0.80 - CN #3 Line/Edge (optional): SoftEdge/Lineart, weight
0.35–0.55, end0.50–0.70
Hi-res ladder (the “non-mushy” way)
- Stage A: Hires fix
1.25×–1.35×, denoise0.25–0.35 - Stage B (optional): tiny polish pass (img2img) denoise
0.15–0.25 - Never: jump directly to 2× with denoise 0.6+ unless you want a redraw.
What is ControlNet?
ControlNet lets you give Stable Diffusion a “map” to follow: pose skeleton, depth, edges/lineart, or other guidance. Instead of hoping the model respects your prompt, you provide a concrete structure it can’t easily ignore.
- Pose → locks body position (and can help hands if you feed hand keypoints)
- Depth → stabilizes 3D structure (face angle, body volume, background perspective)
- Edges/Lineart → keeps clean line boundaries and composition
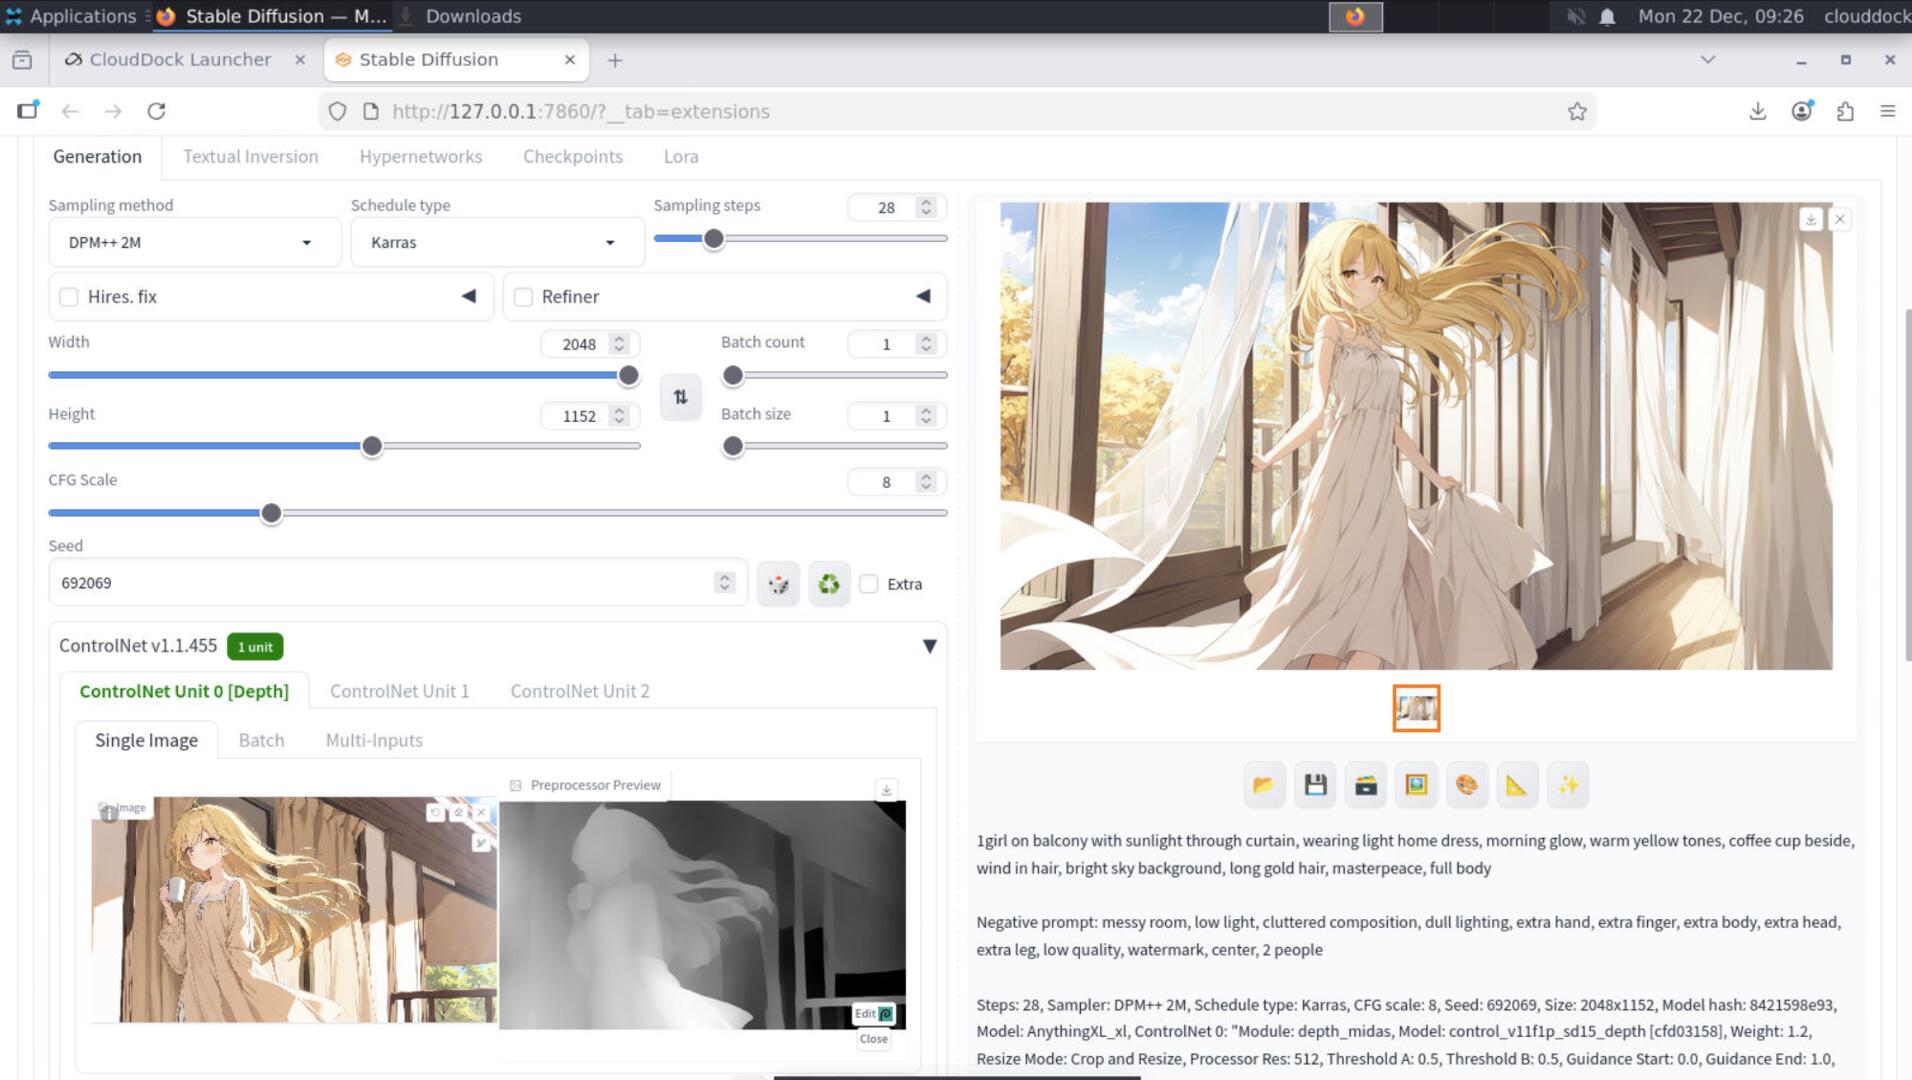
The workflow: control first, detail later
The biggest mistake is trying to get everything perfect in one shot. A clean pipeline is:
- Base image: generate at a sane resolution with your prompt (fast iterations).
- ControlNet lock: add pose/depth/edge maps to stabilize anatomy and composition.
- Hi-res ladder: upscale gently to add detail without rewriting the whole image.
- Optional polish: tiny img2img or inpaint only where needed (face/hands).
Layered ControlNet presets tuned for anime
You can run multiple ControlNets at once, but think like a chef: one main ingredient (pose), then light seasoning (depth/edge). If you max everything, the image becomes stiff or fails (or eats VRAM).
Preset 1 — Pose lock (the backbone)
Use this when you care about body position, gesture, camera angle, or consistent composition. It also reduces “random limb invention.”
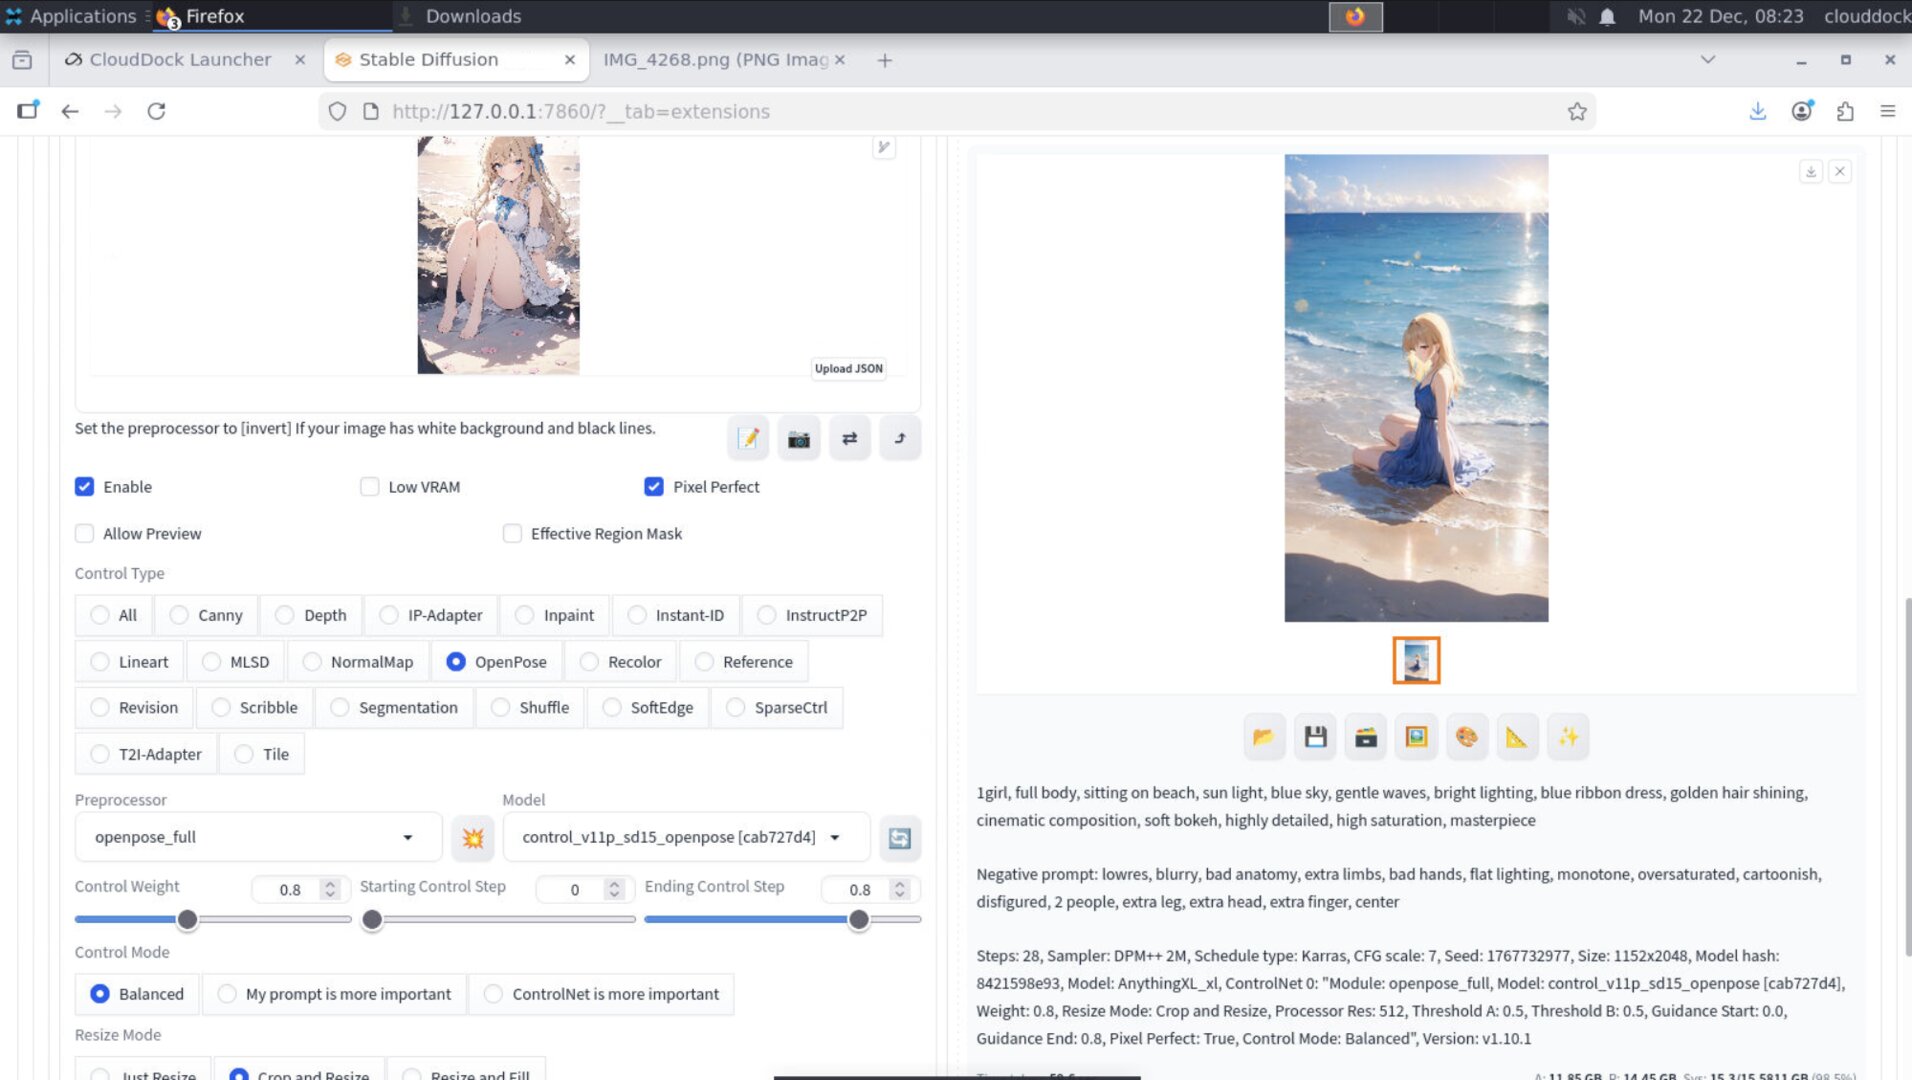
- Preprocessor: OpenPose / DWpose (full body)
- ControlNet model: Pose-compatible model
- Weight:
0.75–0.95 - Start / End:
0.00 → 0.75–0.85 - Control mode: Balanced (start here)
- Resize mode: “Crop and Resize” if framing matters; “Just Resize” if you must preserve full map
- Pixel Perfect: ON (usually safer)
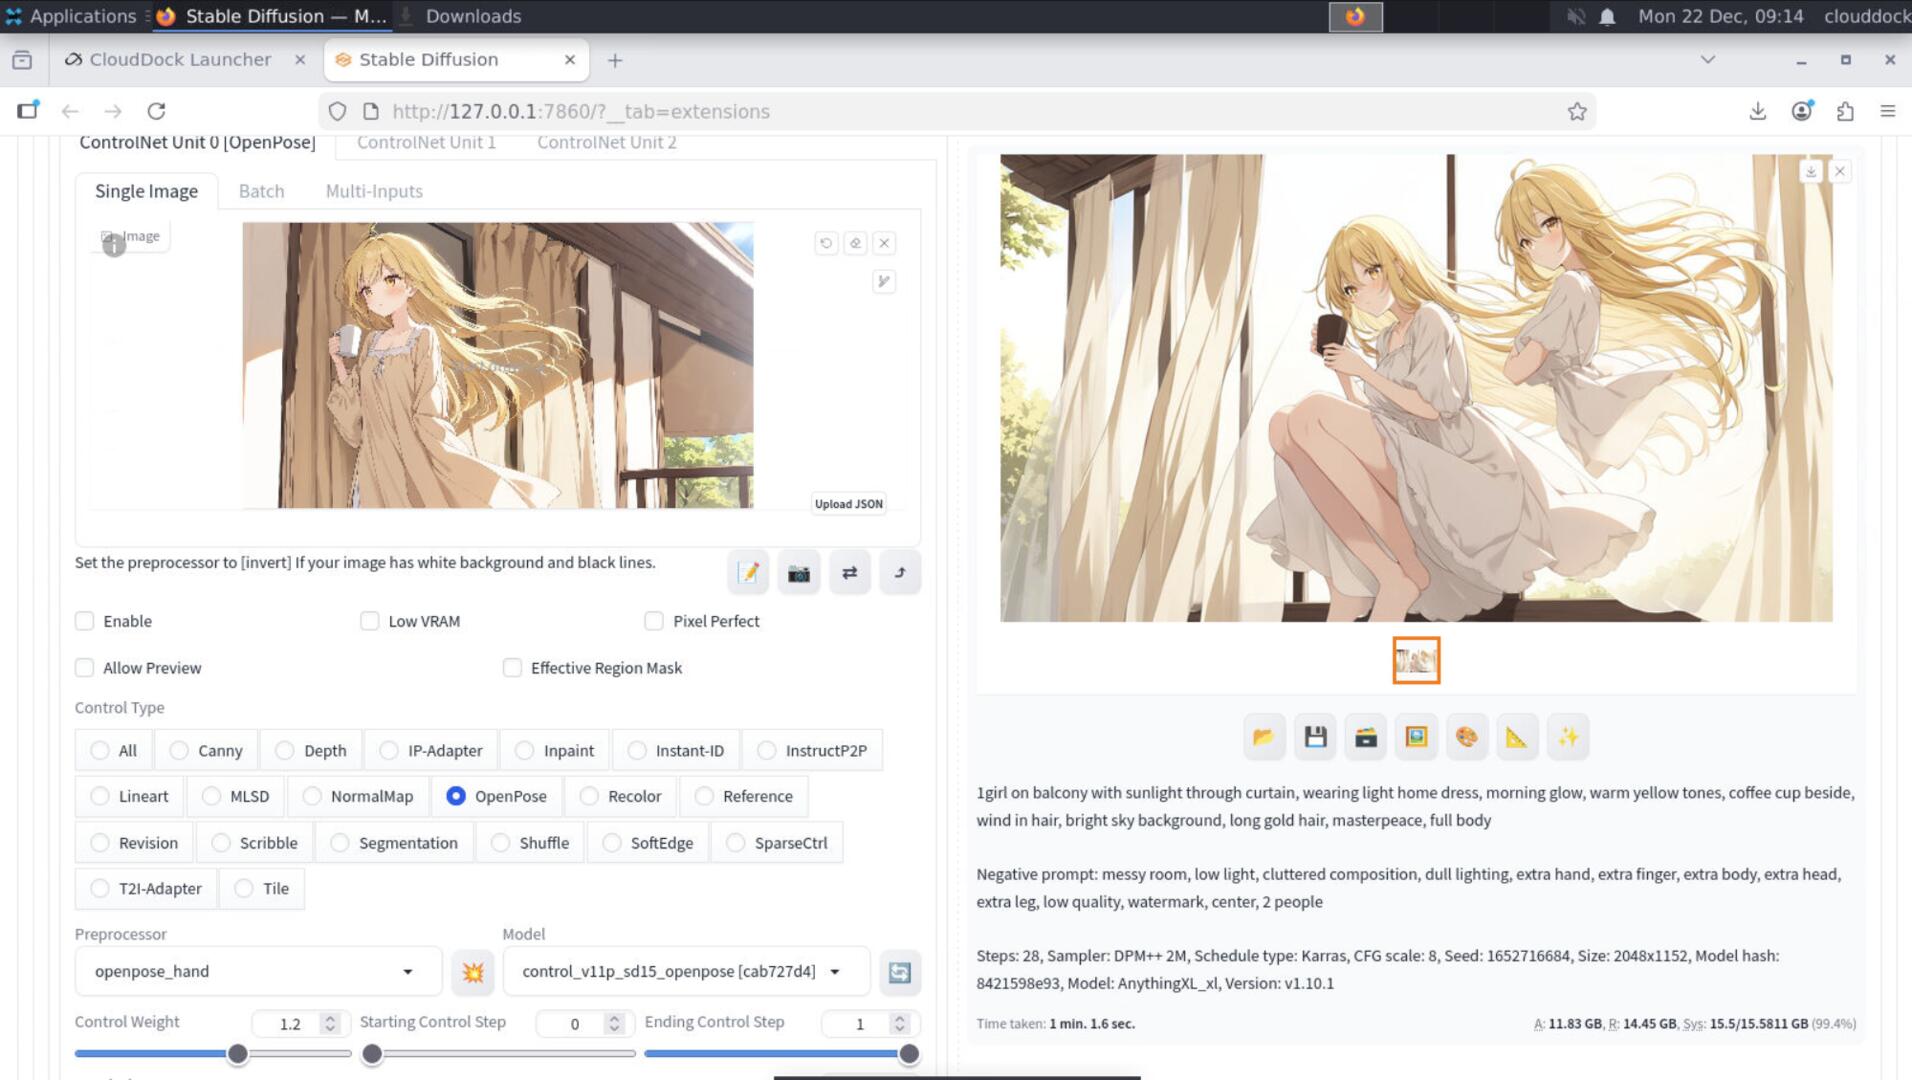
Preset 2 — Hands (when it’s a close-up)
Hands are hard because they’re small and high-detail. The trick is: don’t over-constrain the whole image just to fix fingers. Use hand guidance only when hands are prominent, or do a targeted inpaint pass later.
- Option A (global): Add a second ControlNet focusing on hands (if available)
- Option B (recommended): Base + pose ControlNet, then inpaint only hands at the end
0.55–0.75 and end around 0.50–0.65.
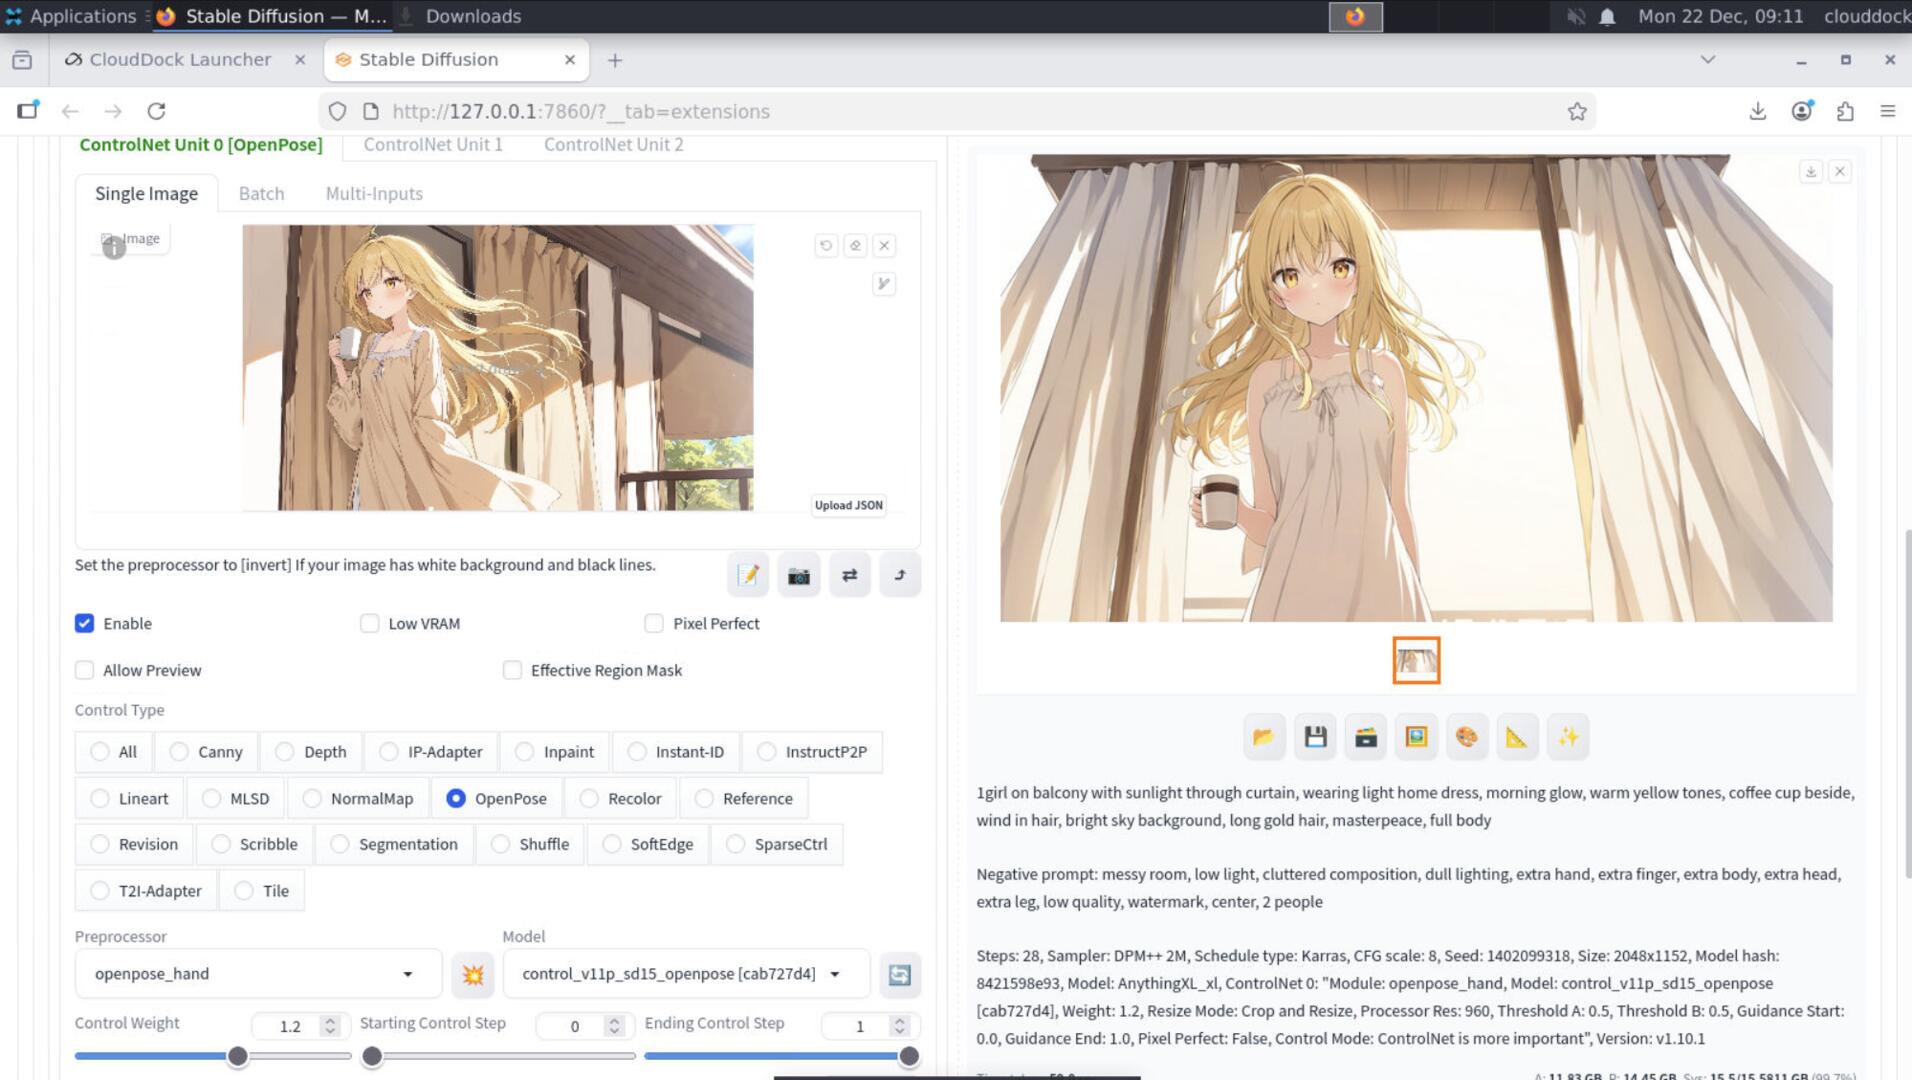
Preset 3 — Face stability (without turning it into a mask)
For anime, “face stability” usually means: eyes stay aligned, nose/mouth don’t drift, and the face doesn’t become waxy after hires.
ControlNet can help by stabilizing structure (depth/edge), but the real win is a gentle hi-res ladder + optional micro inpaint.
- If face angle keeps drifting: add a light Depth ControlNet (below).
- If lines get mushy: reduce hires denoise and keep scale smaller.
- If one eye is wrong: inpaint only the eye region (don’t redraw the whole image).
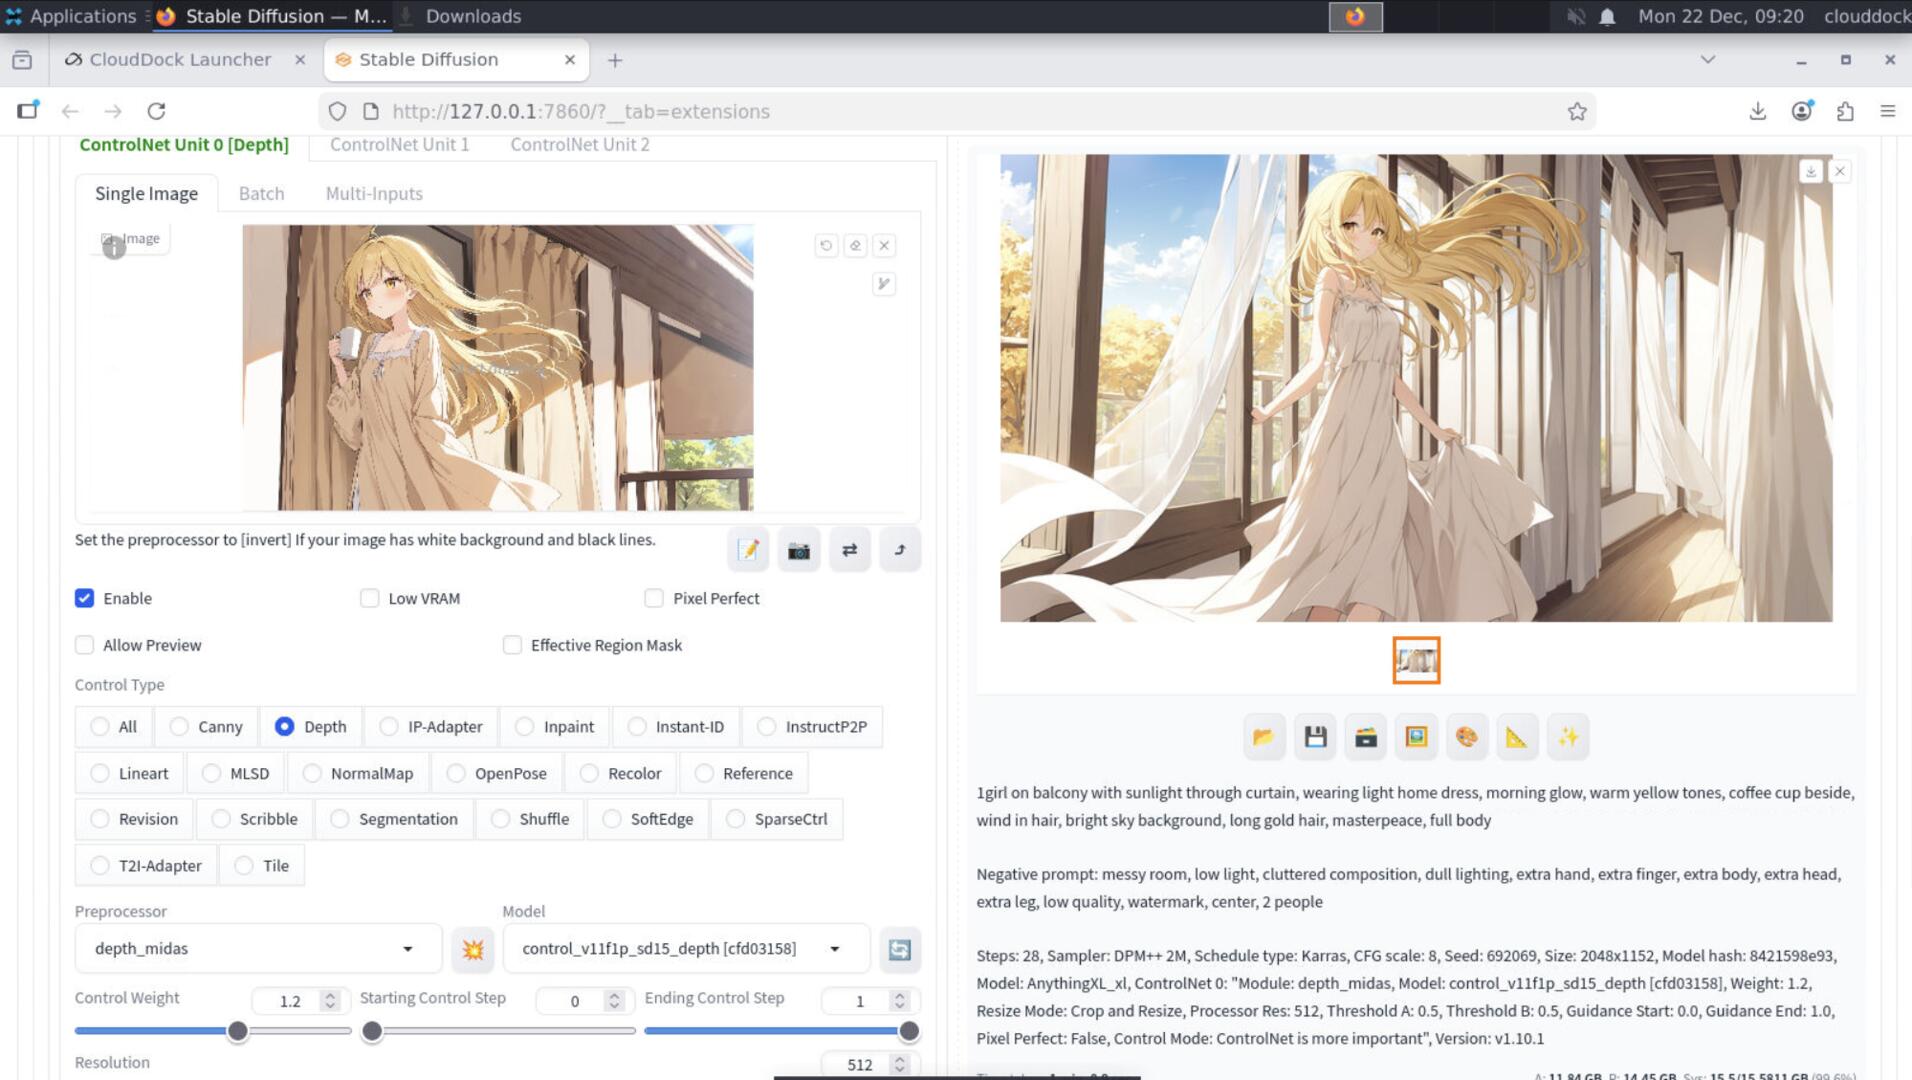
Preset 4 — Depth (the “anti-weird 3D” stabilizer)
Depth guidance is underrated for anime: it keeps camera perspective and facial plane consistent, especially on 3/4 view faces.
- Preprocessor: Depth (MiDaS / similar)
- Weight:
0.45–0.70 - Start / End:
0.00 → 0.60–0.80 - When to use: dynamic poses, strong foreshortening, tricky camera angles
Preset 5 — SoftEdge / Lineart (light seasoning)
Use edge/line guidance lightly to keep composition and major boundaries consistent. If you crank this too high, the image can look traced or rigid.
- Preprocessor: SoftEdge / Lineart (choose based on your map source)
- Weight:
0.35–0.55 - Start / End:
0.00 → 0.50–0.70
Making control maps (fast and painless)
You have two common ways to get ControlNet input maps:
- From an existing image: upload an image, let the preprocessor generate pose/depth/edges.
- From a sketch / reference: use your own rough lineart or a pose reference image.
In A1111’s ControlNet panel, use the preprocessor and click Preview (or equivalent). If the preview looks wrong, the output will look wrong — fix the map first.

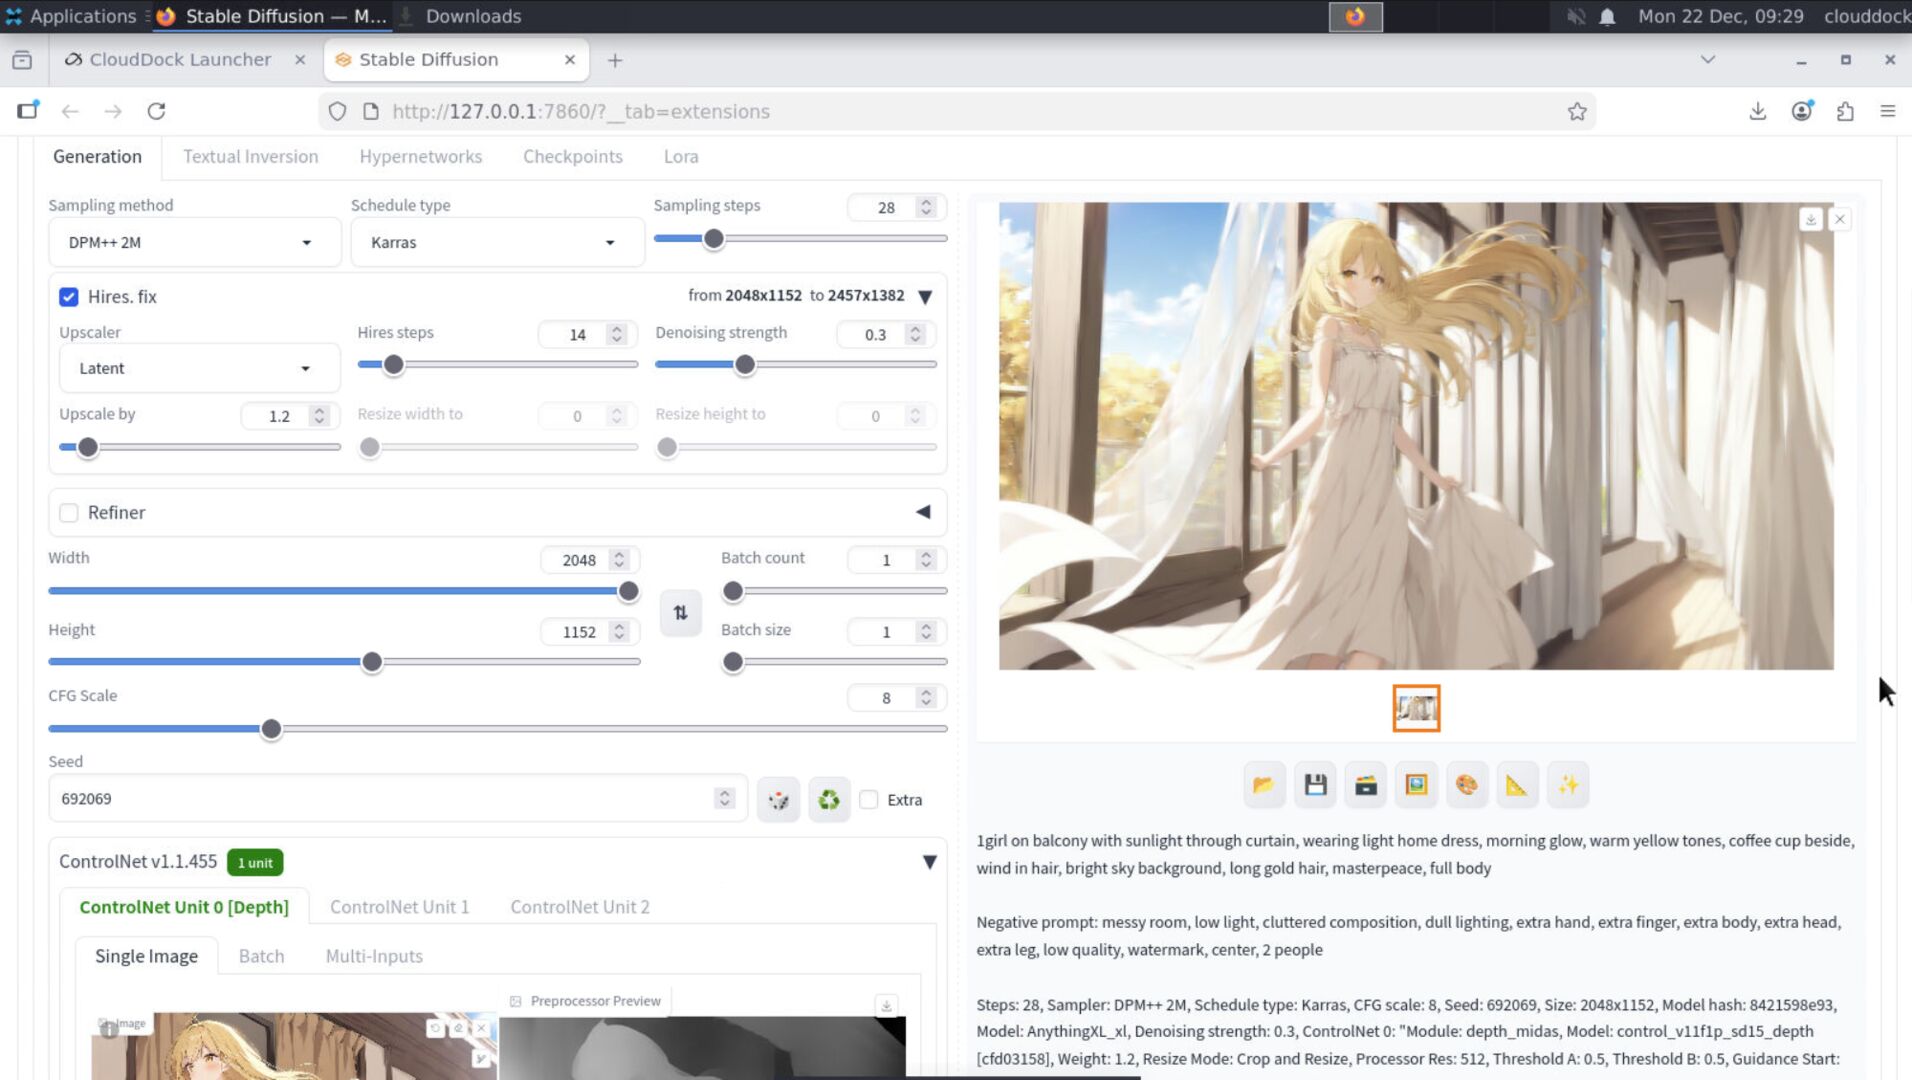
Hires Fix: why it becomes mush (and how to stop it)
“Mushy hires” happens when your upscale step is secretly doing a redraw. The usual causes:
- Denoise too high (0.5–0.8 = you’re rewriting the image)
- Scale too big (jumping straight to 2× or more)
- Too few steps in the hires stage (detail never resolves cleanly)
- Over-aggressive upscaler + high denoise (over-smoothed lines)
- Trying to fix anatomy in hires (use ControlNet / inpaint instead)
The non-mushy hi-res ladder (1× → 1.3× → optional polish)
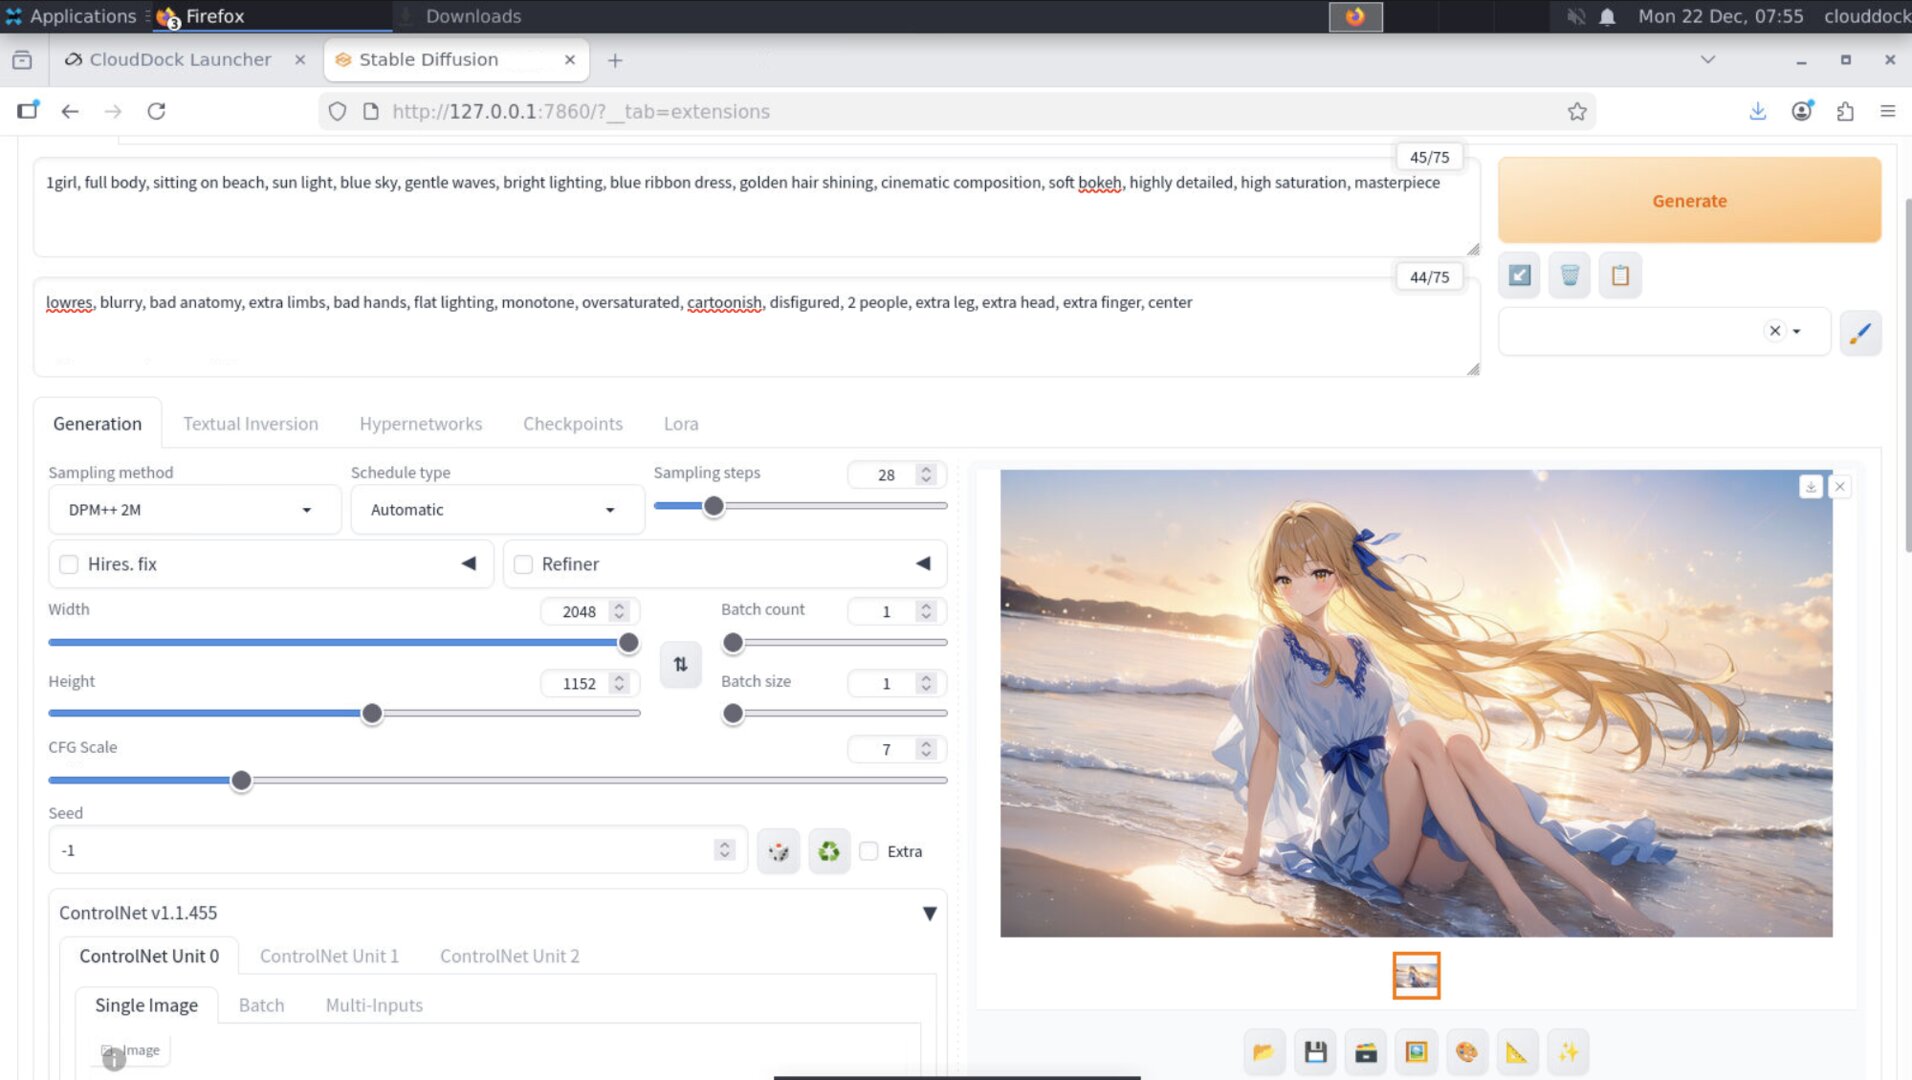
Stage 1 — Base (1×)
Generate a clean base image at a moderate resolution. This is where you solve composition and anatomy.
- Suggested sizes (anime):
768×512,832×512,768×768,832×1216(full body portrait) - Steps:
22–30 - CFG:
5–7 - ControlNet: pose (and optionally depth/edge) tuned as above
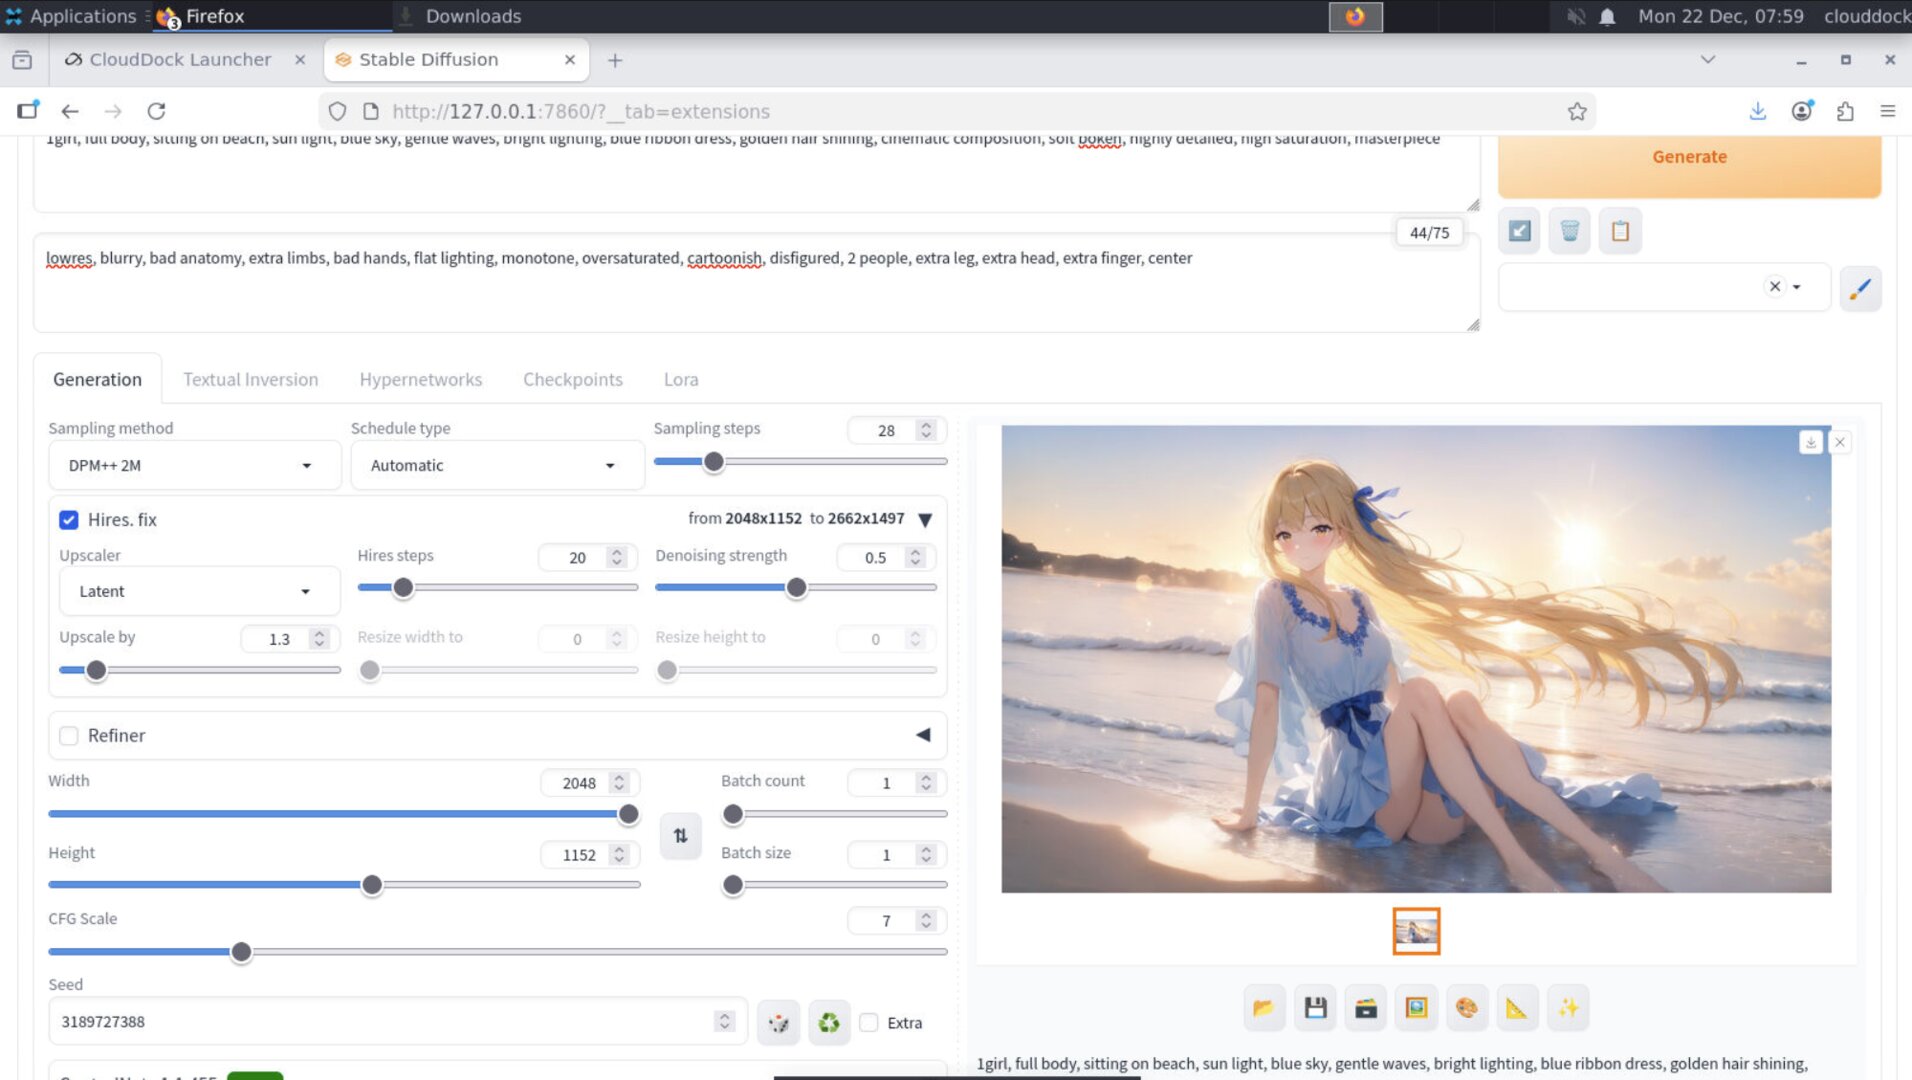
Stage 2 — Detail (1.25×–1.35×)
This stage adds texture, hair strands, fabric detail, and sharper edges — while preserving identity and linework.
- Upscale factor:
1.25×–1.35×(start at 1.3×) - Denoising:
0.25–0.35(lower = safer) - Hires steps:
10–16(don’t starve it) - Upscaler: choose a detail-friendly option (avoid “super smooth” unless you like that style)
Stage 3 — Optional polish (tiny, targeted)
If you still see one problem area (usually face or hands), do a tiny polish pass: img2img with low denoise, or inpaint only the broken part. This is where you “spend” extra compute, not by brute-forcing hires.
- img2img denoise:
0.15–0.25 - Inpaint: small masks, low denoise, repeat 2–4 times if needed
VRAM sanity: read the danger signs before you OOM
VRAM issues don’t only cause crashes — they also cause “silent quality loss”: slower generation, unstable results, and settings that behave differently than expected.
- Keep ControlNet count reasonable: start with 1 (pose), add others only if needed.
- Keep hires scale modest: 1.3× is the sweet spot for “detail without redraw.”
- Batch low while tuning: batch 1 is your friend when testing ControlNet weights.
- If you must go bigger: do it in stages, not one giant leap.
0.25–0.35 and scale to 1.25×–1.35× first.
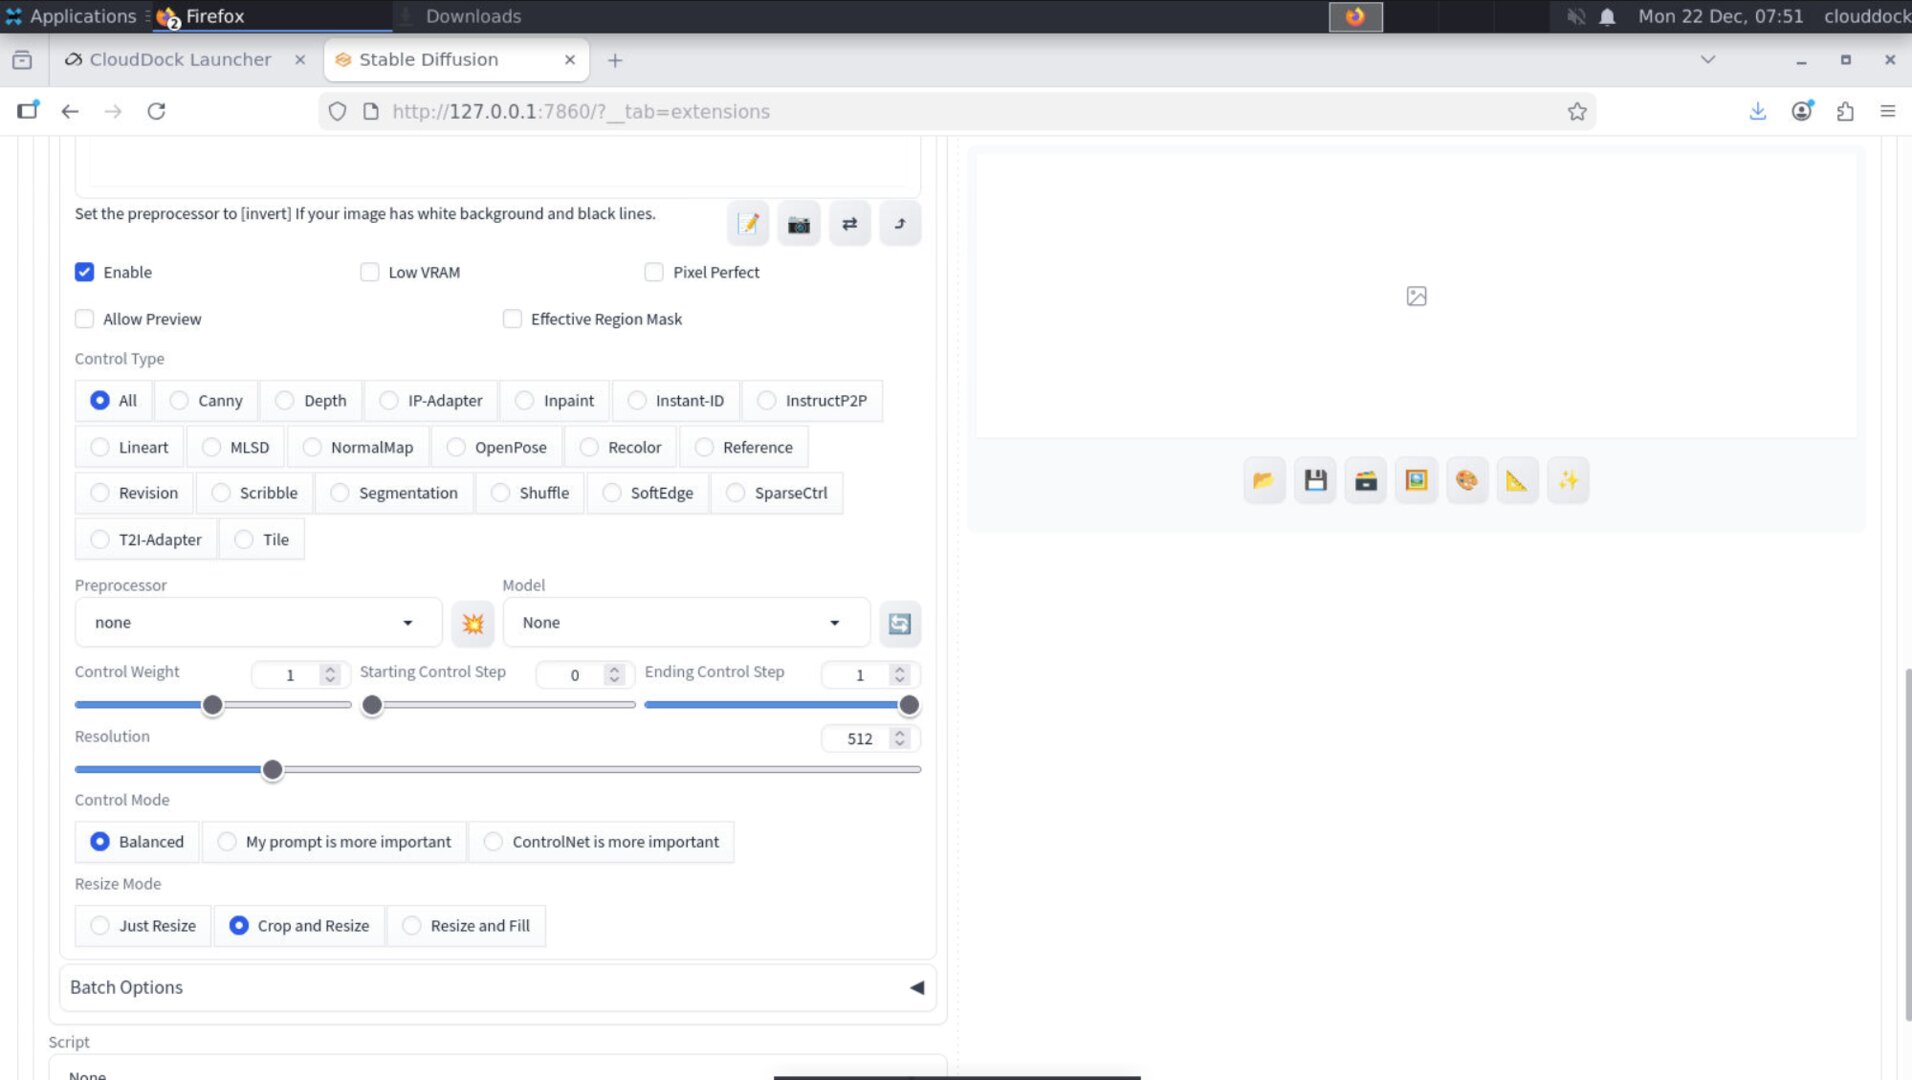
Troubleshooting
“ControlNet does nothing.”
- Check Enable is on (sounds silly, happens daily).
- Preview the control map — if the map is wrong, the output won’t follow.
- Increase weight slightly (e.g., 0.7 → 0.85) and ensure end isn’t too low.
- Make sure you selected a compatible ControlNet model for that preprocessor.
“It follows the map but looks stiff / traced.”
Lower weight, or end earlier. For edge/line guidance, keep it light — it’s seasoning, not the whole meal.
“Hands are still broken.”
Don’t brute force hires to fix hands. Use a targeted inpaint pass on hands with low denoise and a hand-friendly negative prompt.
“Hires fix makes it mush.”
- Lower hires denoise to
0.25–0.35. - Lower hires scale to
1.25×–1.35×(don’t jump to 2×). - Give hires enough steps (
10–16), and avoid extreme CFG. - Fix structure in base pass (with ControlNet), not in hires.
“Out of memory (OOM).”
Reduce in this order: batch → hires scale → number of ControlNets → base resolution. If you still need higher final resolution, do it in multiple smaller steps.
What’s next?
-
img2img Basics: use low-denoise img2img for gentle polish and safe iterations.
Go to “img2img Basics →” -
Model Library: pick ControlNet models/checkpoints that match your anime style.
Go to “Model Library Overview →”