Quick picker (60-second answer)
If you don’t want to read the whole page, use this:
- A (RTX 3060 class) → best value for SD 1.5 image generation, light ControlNet, basic hires.
- B (RTX 3090 class) → pick this for SDXL, heavier ControlNet stacks, higher-res hires, more “room to breathe”.
- C (A100 40GB class) → for training (LoRA / heavier jobs), big batches, fewer OOM surprises.
- D (A100 80GB class) → for large-scale training, big VRAM workloads, and “I really don’t want to babysit memory”.
What you’re actually paying for
Most “which GPU is better?” questions are actually “how much VRAM headroom do I need?” More VRAM means:
- Higher base resolution without OOM
- More ControlNet units at once
- Higher hires scale at safer denoise
- Bigger batches (or faster iteration per hour)
- Training workflows that don’t explode
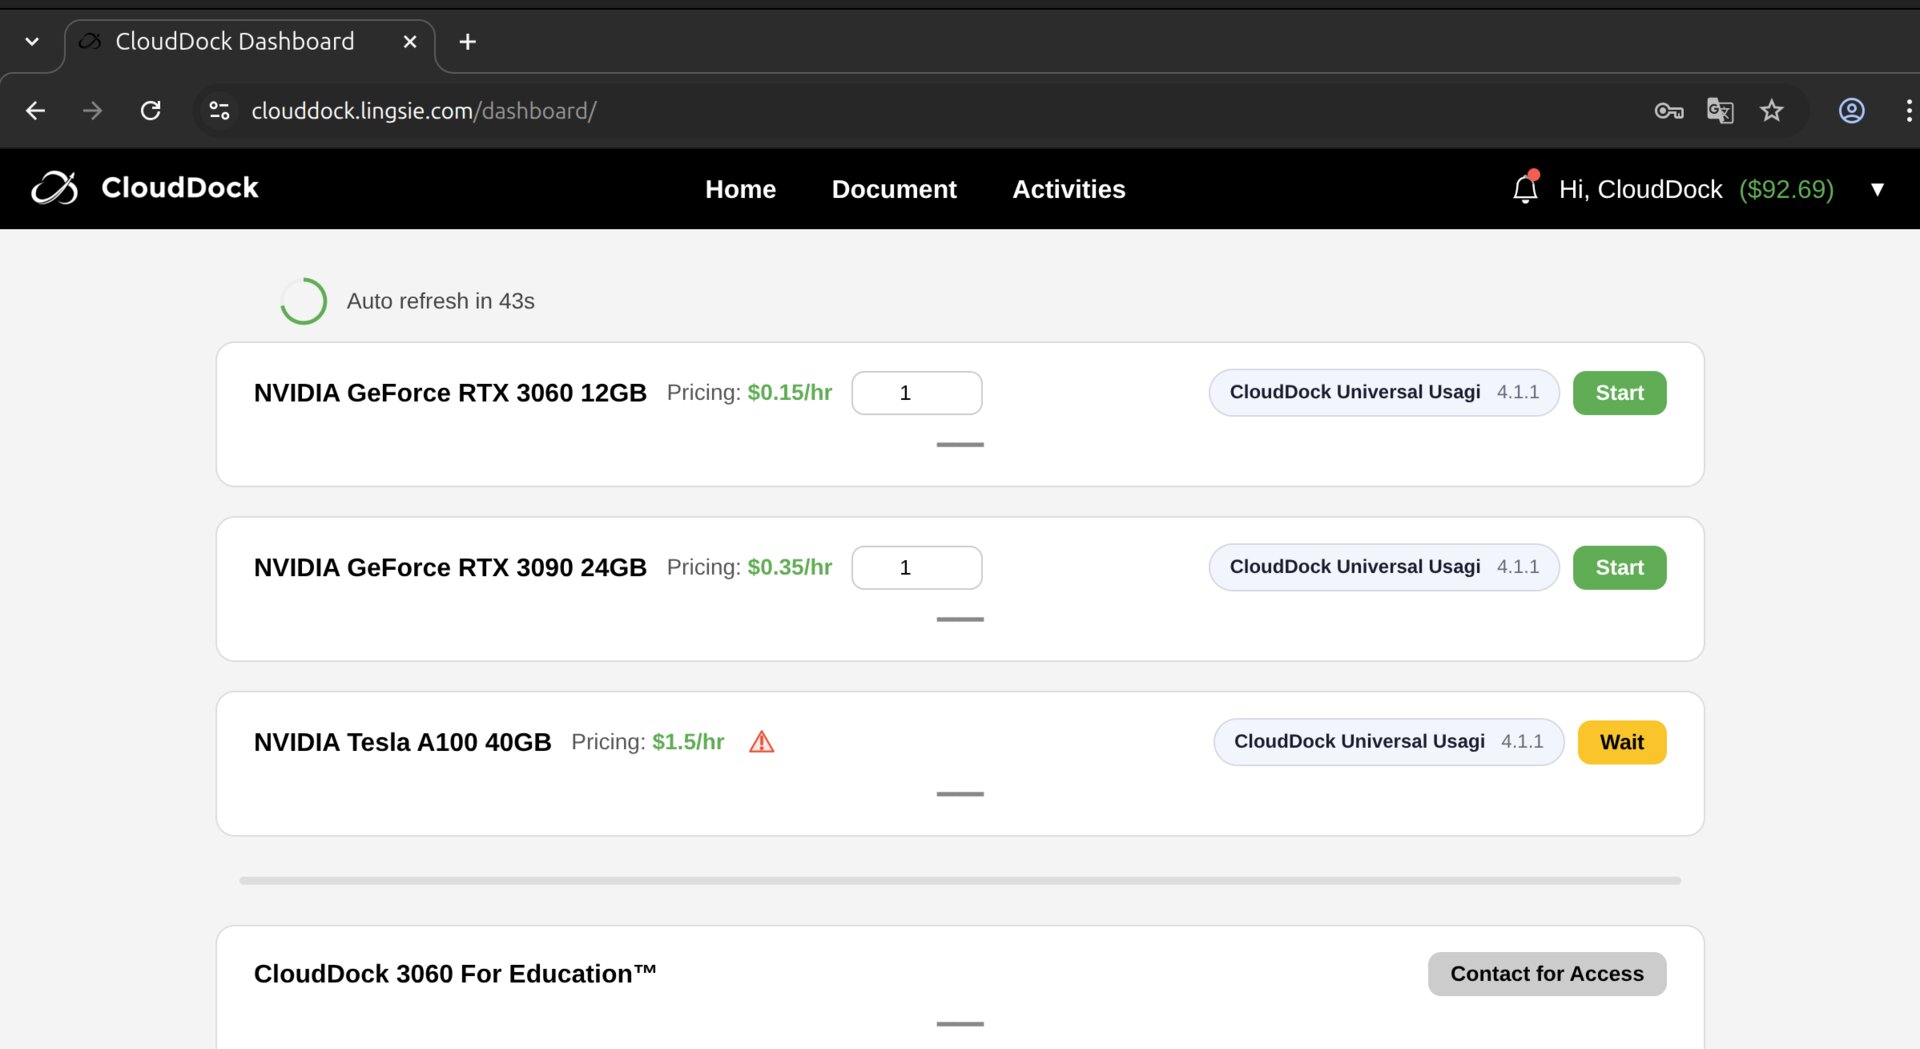
CloudDock groups at a glance
A/B/C/D comparison (practical view)
- A — RTX 3060 class (entry / best value)
- Best for: SD 1.5 generation, anime art, basic ControlNet, light hires
- Typical comfort: 512–900px base, hires ~1.2×–1.35×, ControlNet 1–2 units
- Avoid: aggressive SDXL + heavy ControlNet + big hires all together
- B — RTX 3090 class (SDXL / high-res comfort)
- Best for: SDXL generation, higher res, heavier ControlNet stacks, faster iteration
- Typical comfort: 768–1200px base, hires ~1.3×–1.6×, ControlNet 2–3 units
- Good when: you’re tired of “almost works” on A
- C — A100 40GB class (training + stability)
- Best for: LoRA training, bigger batches, multi-ControlNet pipelines, fewer memory surprises
- Typical comfort: “do the same things as B, but with headroom”
- Pick C when: you want training + generation on one machine without dancing around VRAM
- D — A100 80GB class (serious workloads)
- Best for: large-scale training, heavy pipelines, big VRAM jobs, multi-task workflows
- Pick D when: you already know what you’re doing — or you absolutely hate babysitting memory
Pick by task (most common scenarios)
Scenario 1 — SD 1.5 image generation (most users)
If your goal is “click & draw” (A1111, anime, portraits, character art), A is usually the best deal.
- Start with: A
- Upgrade to B if: you want bigger resolution / more ControlNet / smoother hires without compromises
Scenario 2 — SDXL generation
SDXL tends to want more VRAM for a comfortable experience. If you plan to live in SDXL, B is the “default comfortable pick”.
- Start with: B
- Consider C/D if: you’re also training, batching, or stacking many controls
Scenario 3 — Heavy ControlNet stacks (pose + depth + face + line)
ControlNet is additive memory pressure. The more you stack, the more you want headroom.
- 1–2 ControlNet units → A is fine
- 2–3 units + higher-res → B feels better
- 3+ units + hires + “don’t want to think” → C/D
Scenario 4 — Training (LoRA / DreamBooth)
Training is where VRAM stops being a “nice-to-have” and becomes the main limiter.
- Light LoRA experiments → B can work (with sane settings)
- Regular LoRA training / fewer limits → C is the sweet spot
- Bigger models, higher resolution, larger batch, faster iteration → D
Scenario 5 — High-res outputs (the “hires fix addict”)
If your workflow is “base → hires → polish” and you hate mush, you want headroom.
- Hires ~1.3× and careful denoise → A works
- Hires bigger, SDXL, heavier detail pipelines → B recommended
- Large outputs + heavy controls + stability → C/D
VRAM rules of thumb (don’t OOM)
If you only remember one thing: memory pressure stacks. The biggest multipliers are:
- Resolution (base width/height)
- Batch size
- Number of ControlNet units
- Hires scale + denoise
- Model family (SDXL generally heavier than SD 1.5)
How to save money without suffering
- Do ideation on A: compose, prompt, rough pose, quick drafts.
- Upgrade only for the “final pass”: switch to B/C/D when you’re polishing or training.
- Don’t pay for idle time: plan your prompt + reference first, then spin up compute.
- Use the ladder: smaller hires steps are often better than one giant upscale.
FAQ
“I’m new. Which should I pick?”
Start with A. It’s the easiest and most cost-efficient way to learn. If you outgrow it, you’ll know exactly why (SDXL / hires / more ControlNet / training).
“Why do I OOM even though the same settings worked earlier?”
Memory pressure can change based on: model/checkpoint, ControlNet stack, browser tabs/apps, batch size, and whether hires/training is active. If it becomes unstable, reduce one multiplier at a time.
“Which group gives the best quality?”
Quality mostly comes from model + prompt + settings. Bigger GPUs don’t magically “draw better,” they just let you run heavier workflows (higher res, more controls, bigger training) without compromise.
What’s next?
-
ControlNet & Hires Fix: the non-mushy workflow.
Go to “ControlNet & Hires Fix →” -
img2img Basics: cheap polish, safe iterations.
Go to “img2img Basics →” -
Training Center: LoRA / DreamBooth done right.
Go to “SD Training Center →”